
Create a professional Sony Xperia Ad using the tools in Photoshop. This tutorial will show you how to create a Sony Xperia phone from scratch then use it to create an advertisement.
Preview of Final Results
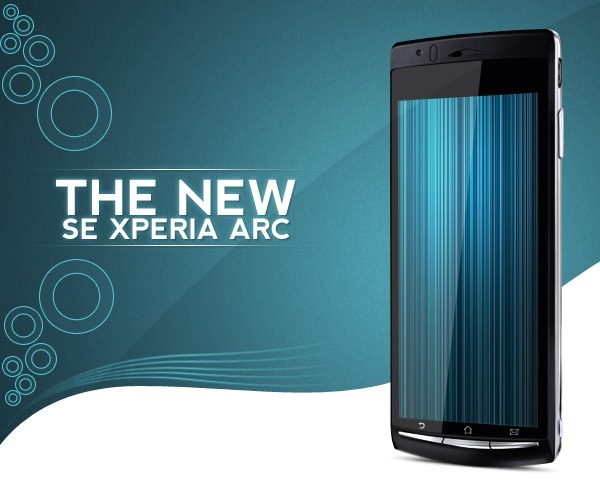
Download the PSD
Sony Xperia Ad Photoshop Tutorial
Resources
- Nevis Font - Download the Nevis typeface
Step 1 - Create a new document.
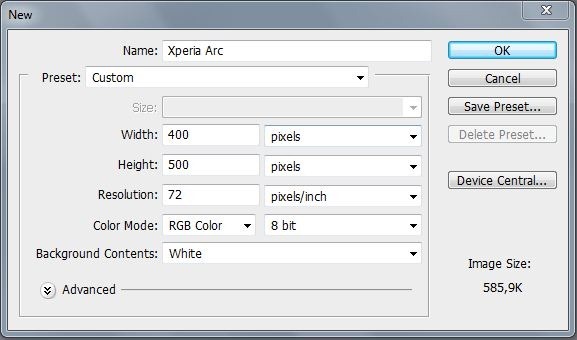
Start by making a new image(File->New) with these settings :- Width : 400 pixels
- Height : 500 pixels
- Resolution : 72 pixels/inch
- Background Contents : White
Step 2 - Shape of the phone
Make a new layer(Ctrl+Shift+N or you can go to Layer->New->Layer). Rename the layer to "Base". You can rename a layer by pressing right click on it , then selecting "Layer properties" option and in the "Name" box you can enter what name you prefer. From the Tools menu select Pen Tool (P key) and make a path like in the picture below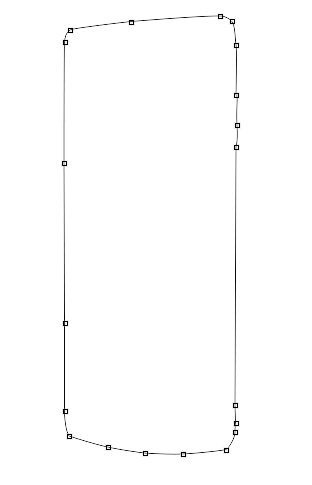
Step 3
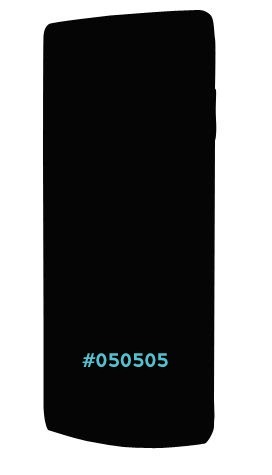
Use a selection tool ( Lasso Tool , Polygonal Lasso Tool , Pen Tool ) to make a selection like in the next picture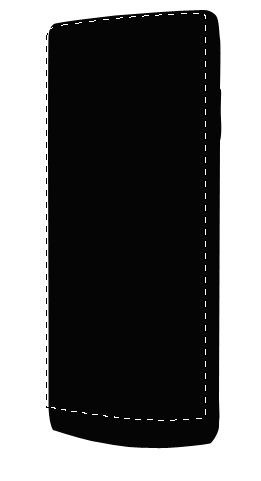
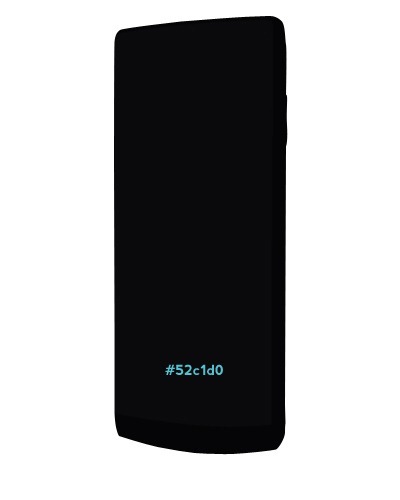
Step 4 – Highlights
Make next selection using a selection tool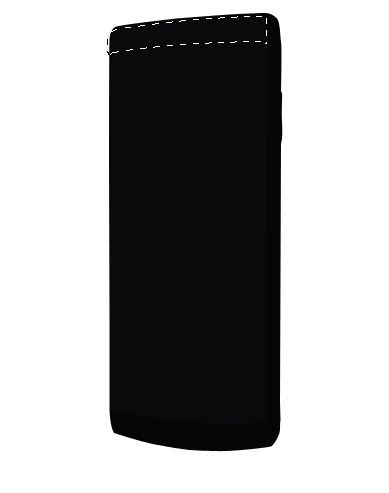
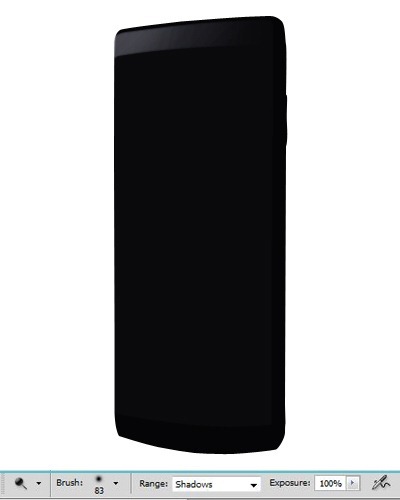
Step 5
Make a new layer(Ctrl+Shift+N or you can go to Layer->New->Layer) or you can press the indicated button in the picture below ). Rename the layer to "Stroke1". You can rename a layer by pressing right click on it , then selecting "Layer properties" option and in the "Name" box you can enter what name you prefer. From the Tools menu select Pen Tool (P key) and make a path like in the picture below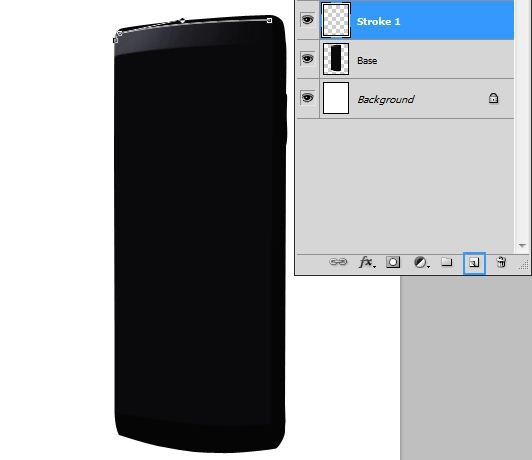
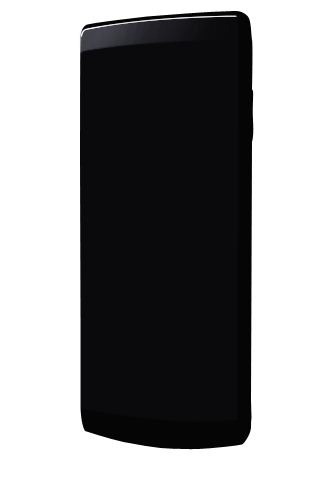
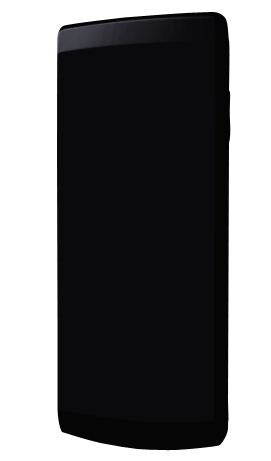
Step 6
Make another new layer (Ctrl+Shift+N) , rename it "Glossy part" then using Pen Tool (P) make a path like in the picture below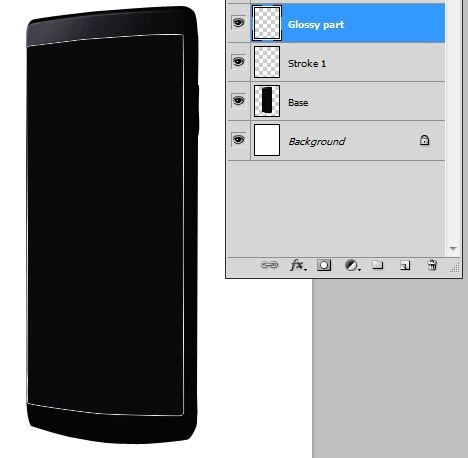
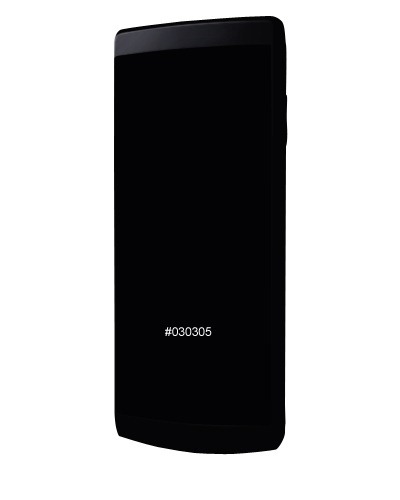
Step 7
Into a new layer called "screen" make a square using #080808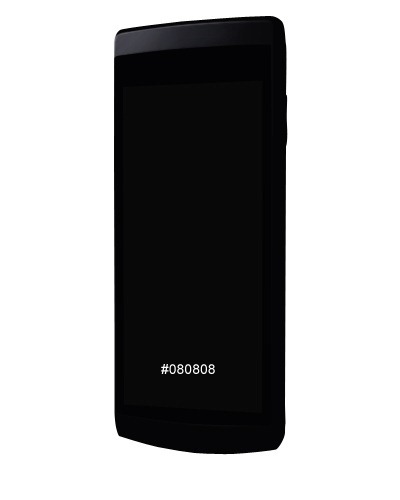
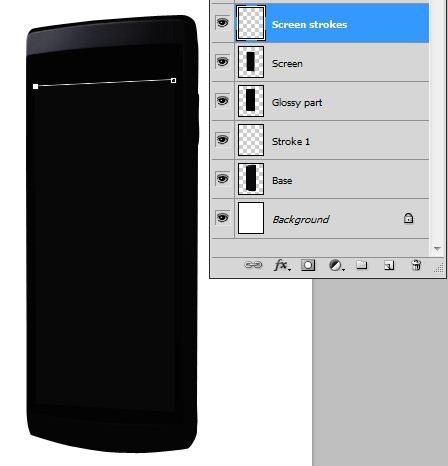
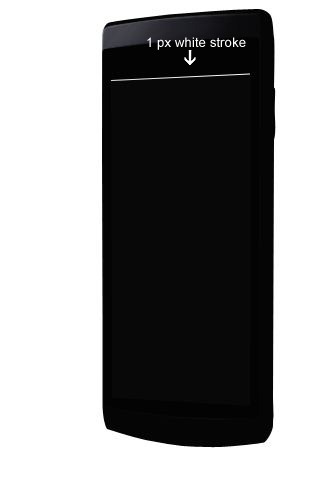
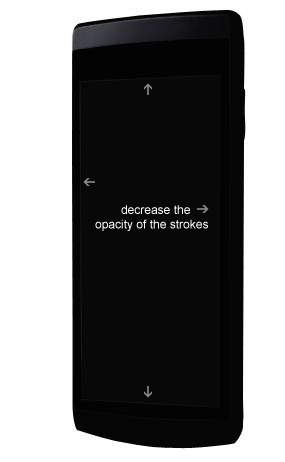
Step 8
Make next selection using one of next tools (Pen Tool , Lasso Tool or Polygonal Lasso Tool )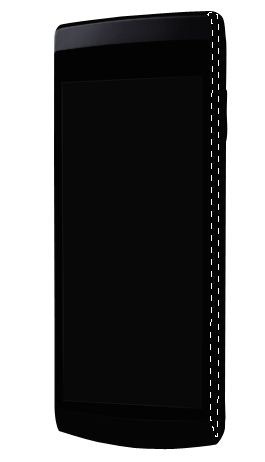
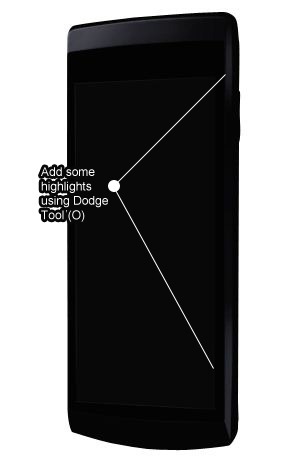
Step 9
: Make a new layer(Ctrl+Shift+N or you can go to Layer->New->Layer) or you can press the indicated button in the picture below ). Rename the layer to "Stroke2". You can rename a layer by pressing right click on it , then selecting "Layer properties" option and in the "Name" box you can enter what name you prefer. From the Tools menu select Pen Tool (P key) and make a path like in the picture below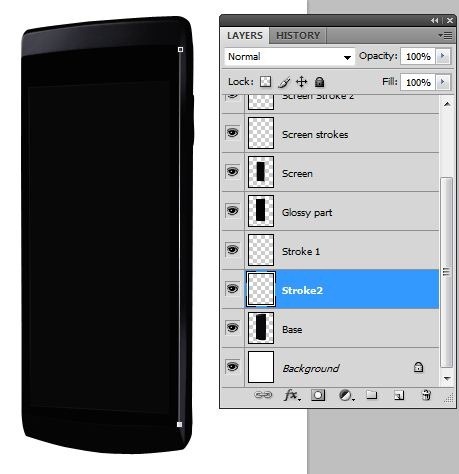
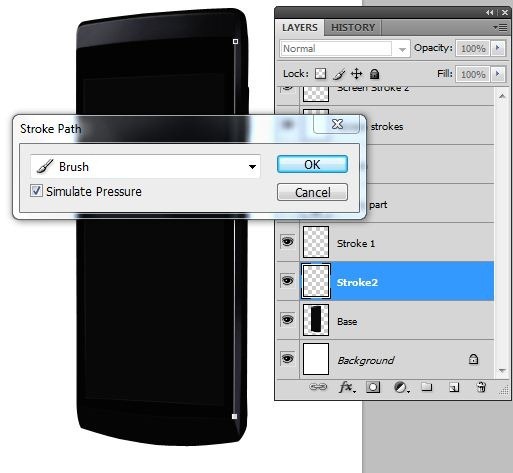
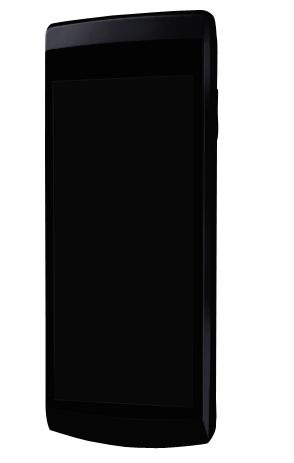
Step 10
Make a new layer(Ctrl+Shift+N or you can go to Layer->New->Layer) or you can press the indicated button in the picture below ). Rename the layer to "Metal Part" and make next selection using Polygonal Lasso Tool (L)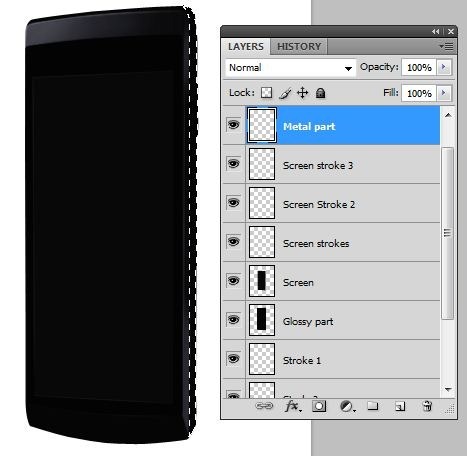
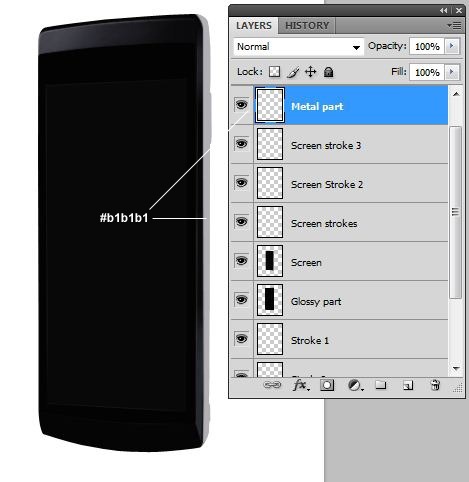
Step 11
Make next selection using Polygonal Lasso Tool (L) over the Metal part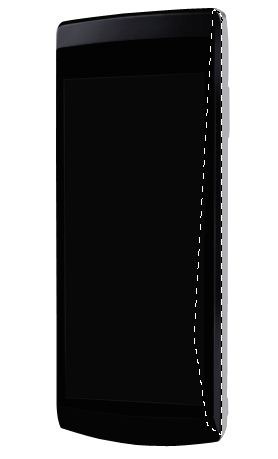
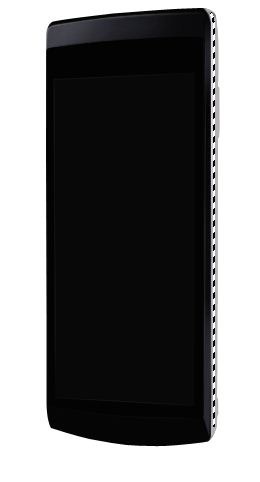
Step 12
Use Pen Tool (P) to create a path like in the next picture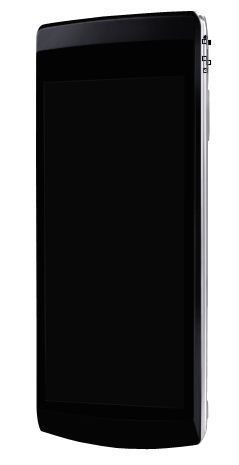
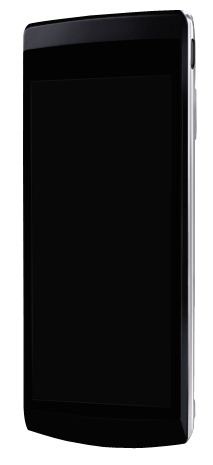
Step 13
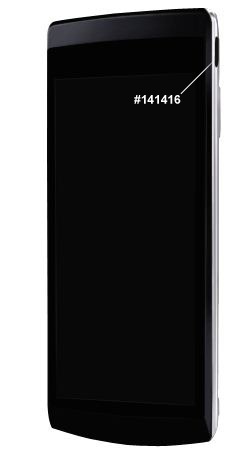
Make a new layer(Ctrl+Shift+N or you can go to Layer->New->Layer) then rename the layer to "Stroke3". You can rename a layer by pressing right click on it , then selecting "Layer properties" option and in the "Name" box you can enter what name you prefer. In this layer add a 1 px stroke like in the picture below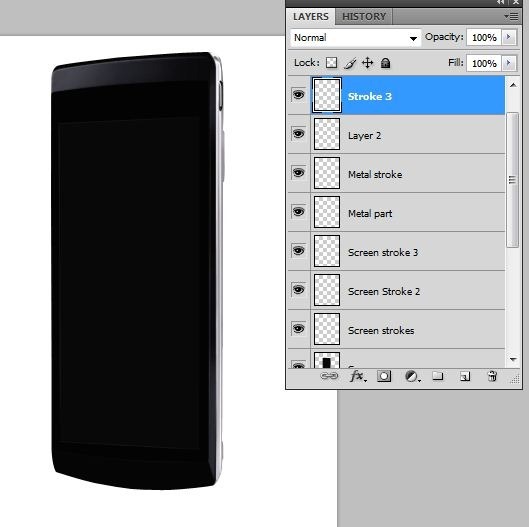
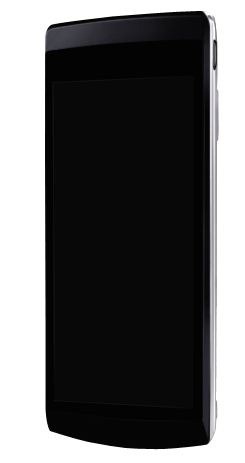
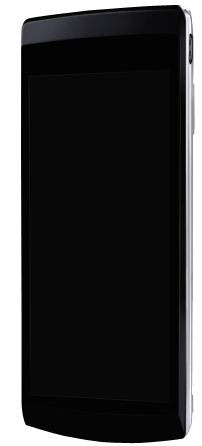
Step 14
Make another new layer and using Pen Tool create a path like in the next picture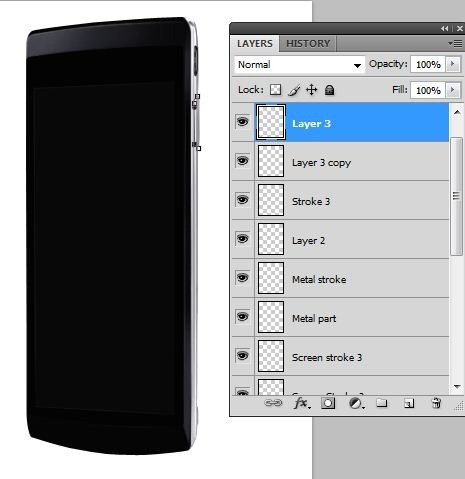
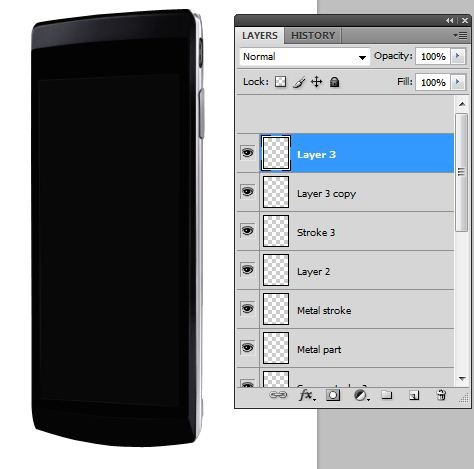
Step 15
Select the „metal part „ layer and add some highlights over it using Dodge Tool (O)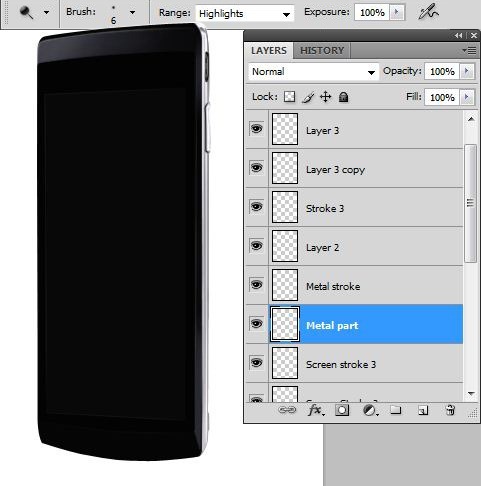
Step 16
Make a new layer(Ctrl+Shift+N or you can go to Layer->New->Layer) then rename the layer to "Black Stroke". You can rename a layer by pressing right click on it , then selecting "Layer properties" option and in the "Name" box you can enter what name you prefer, then add a "skinny" black stroke like I did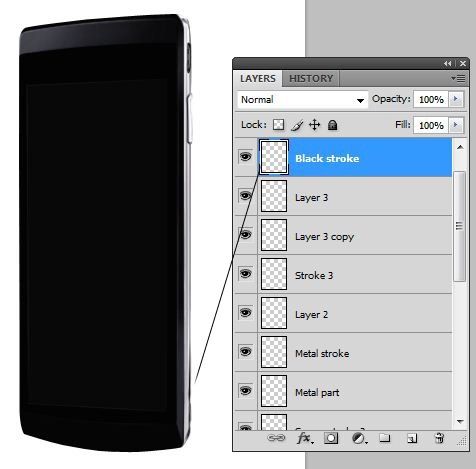
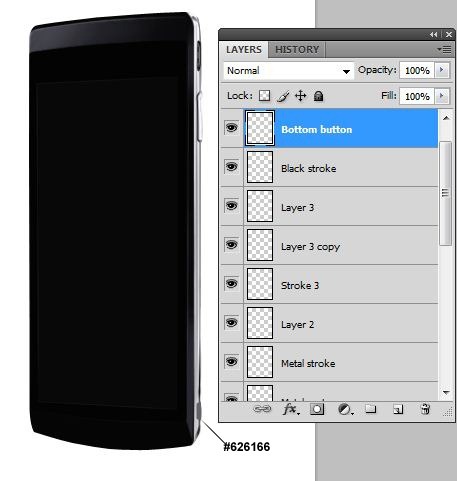
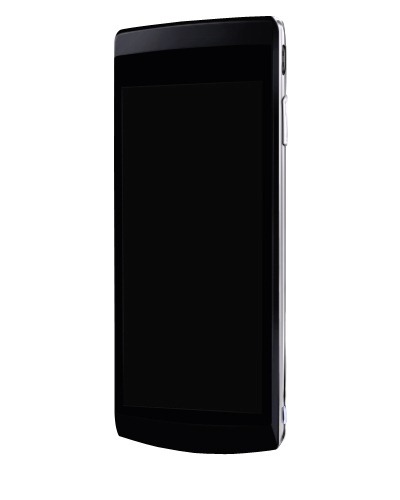
Step 17
Select the „base" layer and using Dodge Tool (O) add some highlights at the bottom of our Xperia phone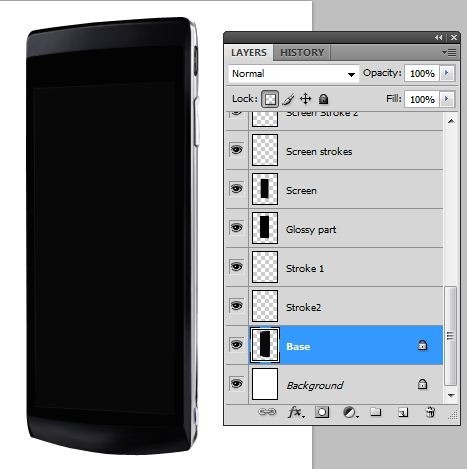
Step 18
Use same technique (highlights/shadows) to add the bottom buttons, then create a new path using Pen Tool (P)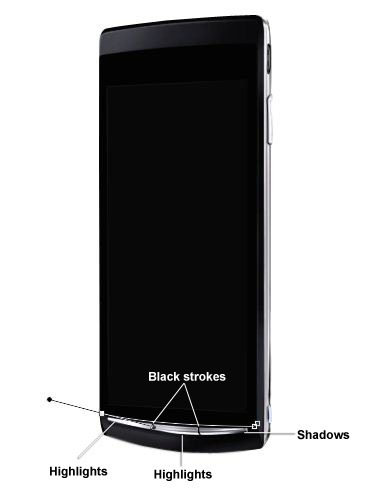
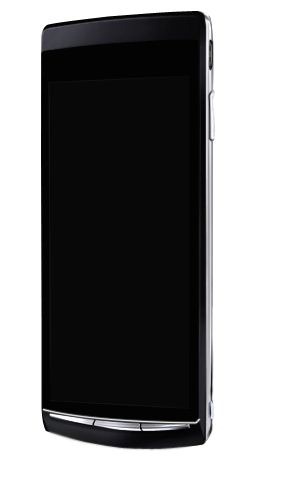
Step 19
Pick up Custom Shape Tool (U) and add next symbol above the bottom buttons (fix it better using warp/disort function) then decrease the opacity of the layer to ~75%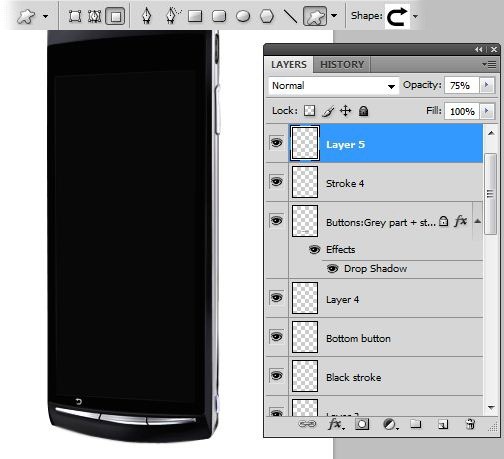
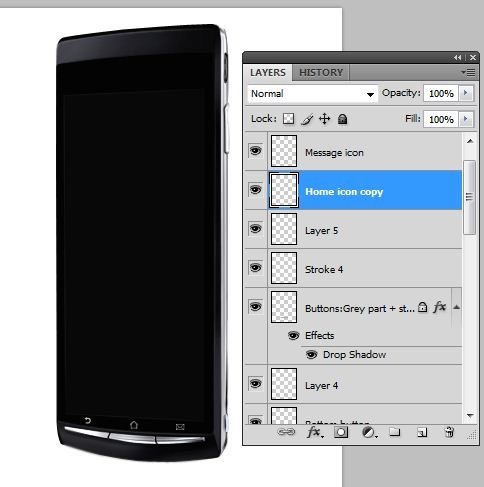
Step 20
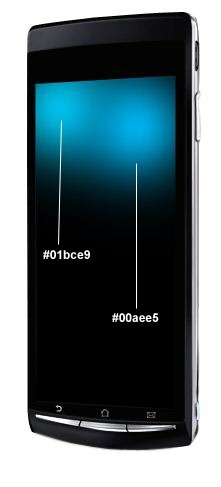
Now we going to create the wallpaper, into a new layer apply a black color on screen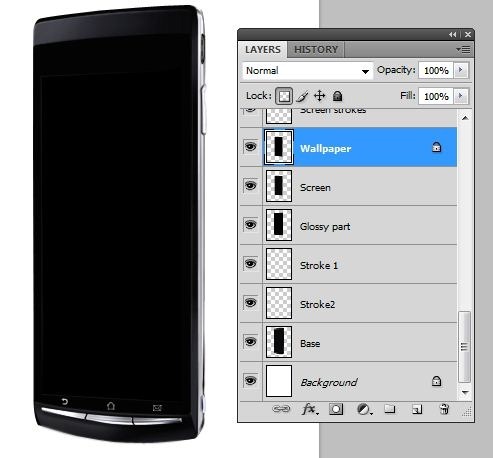
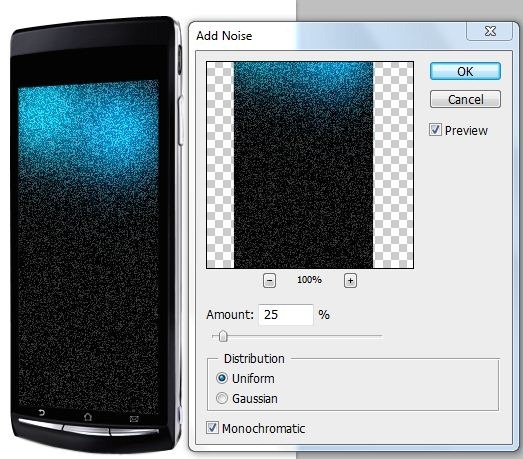
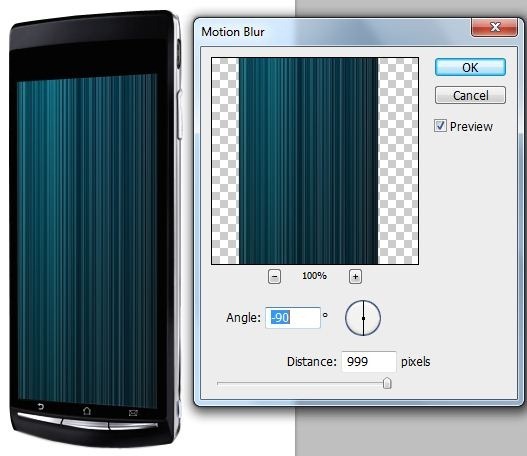
Step 21
Go to Image->Adjustments->Brightness/Contrast and make next settings then press Ok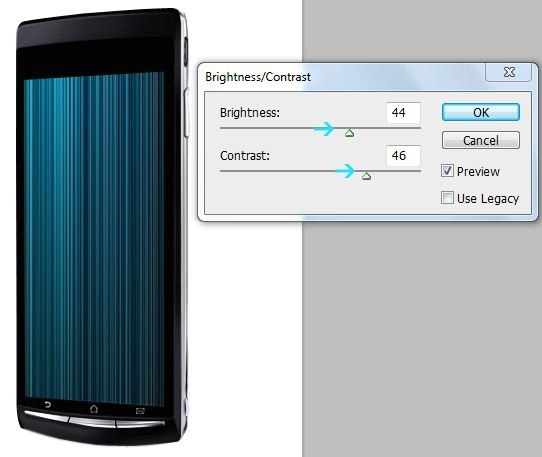
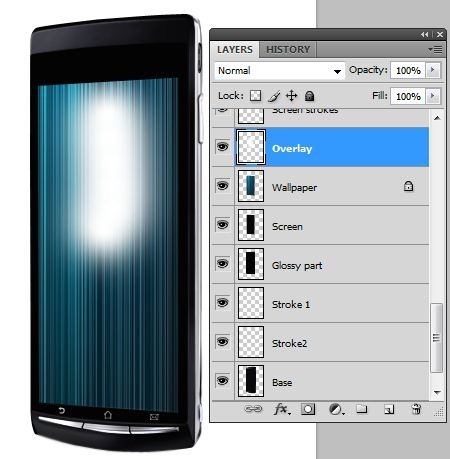
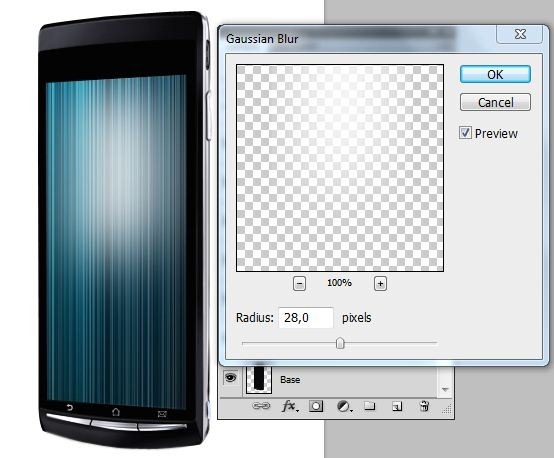
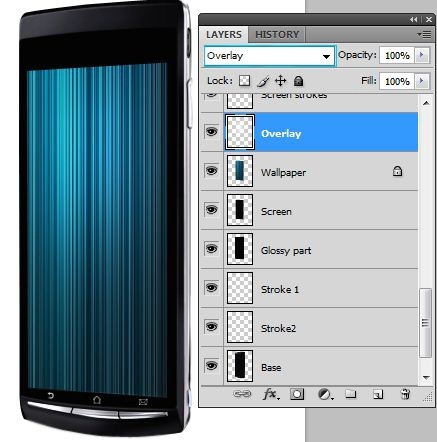
Step 22
Into a new layer called Highlight make next path using Pen Tool (P)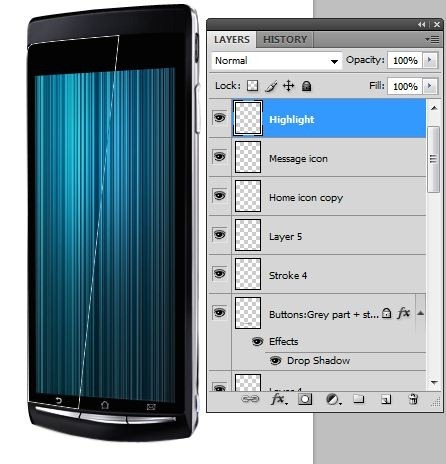
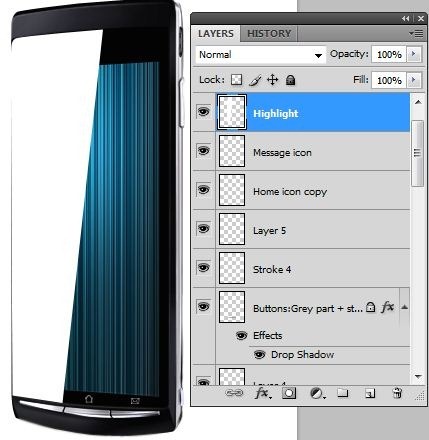
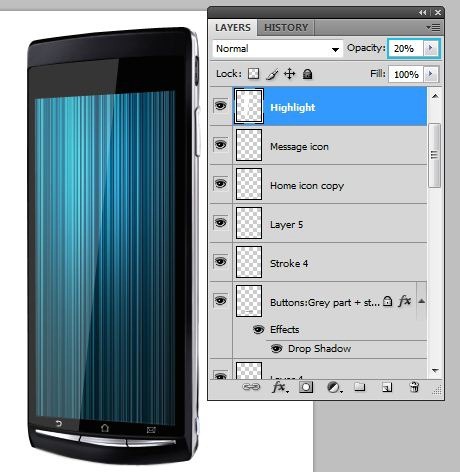
Step 23
Make a new layer(Ctrl+Shift+N or you can go to Layer->New->Layer) then rename the layer to "Stroke5" then with Pen Tool create next path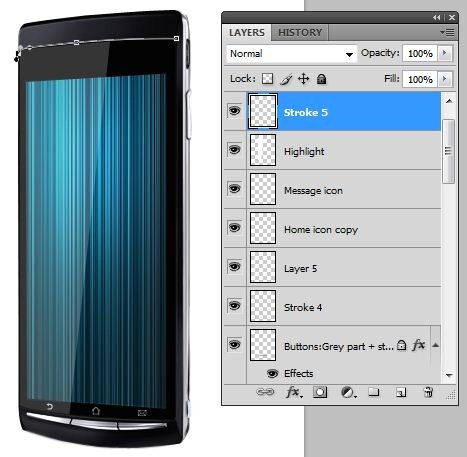
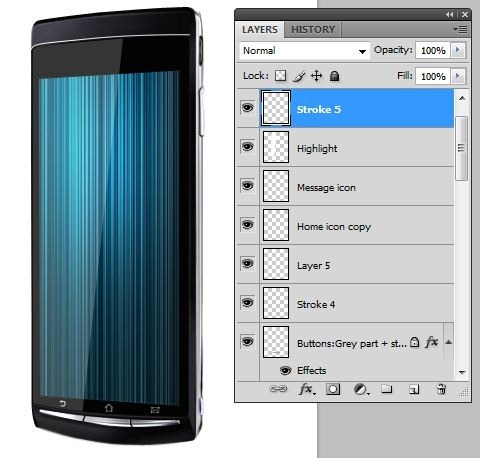
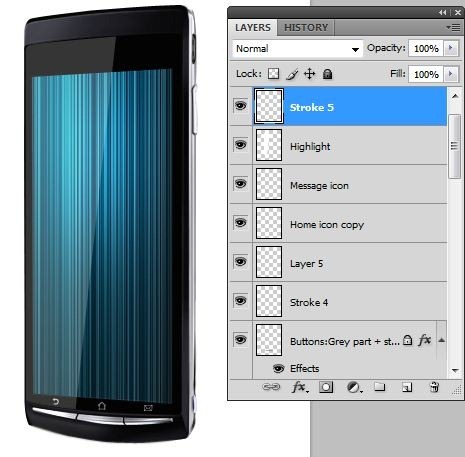
Step 24
I forgot to create a hole for our bottom buttons, so I`ll do it now, create a new layer, make next path using Pen Tool (P)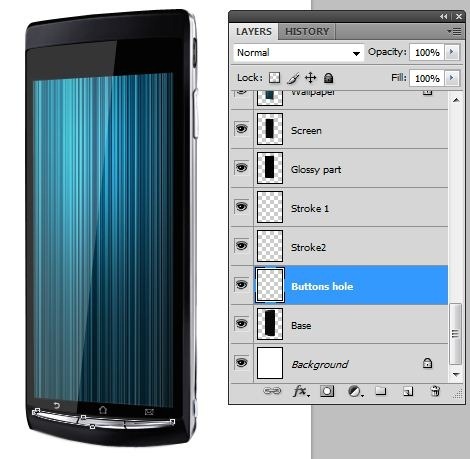
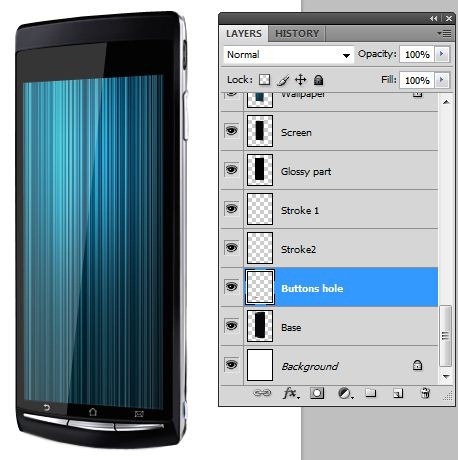
Step 25
Make another new layer, and using Pen Tool (P) create next path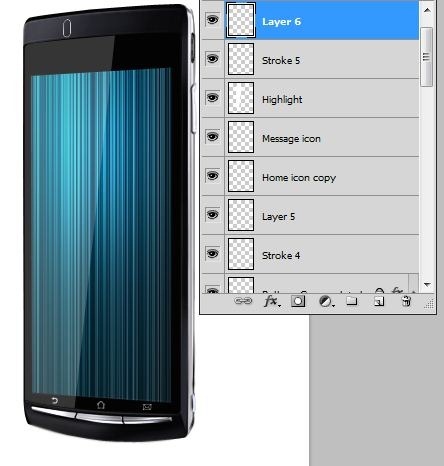
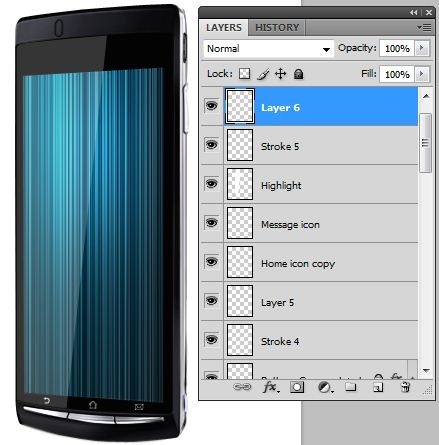
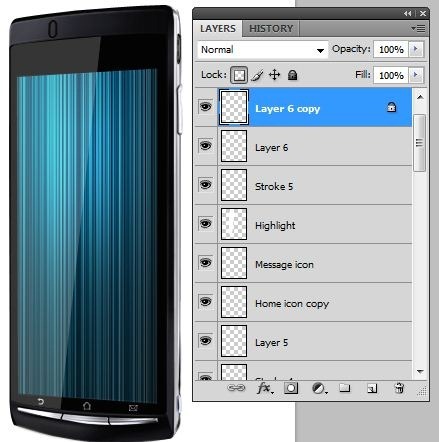
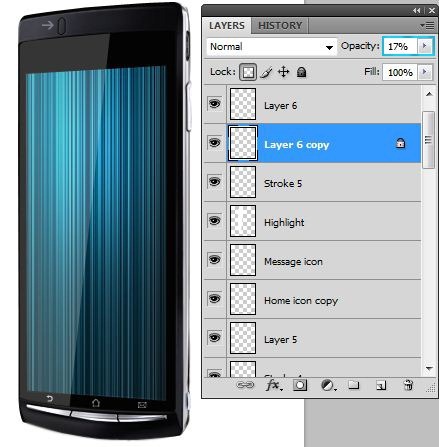
Step 26
Use Rounded Rectangle Tool (U) to add a dark grey rounded shape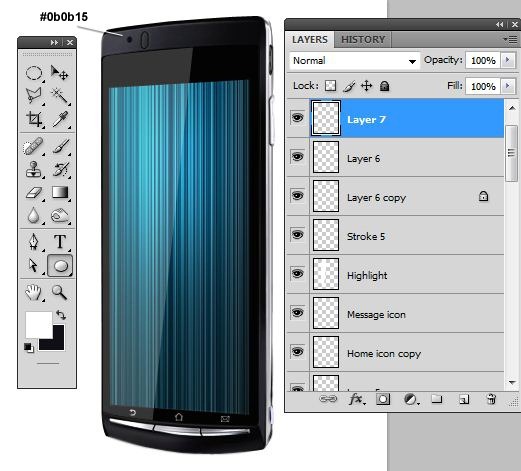
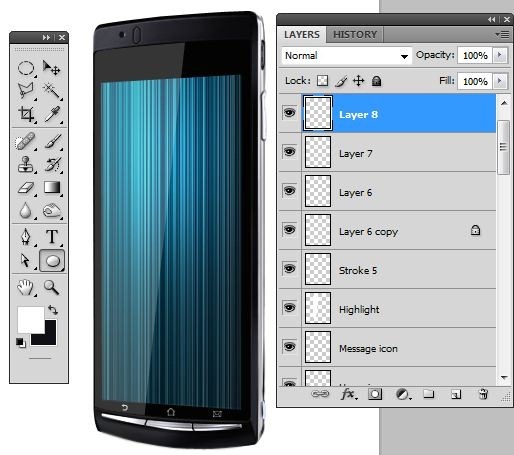
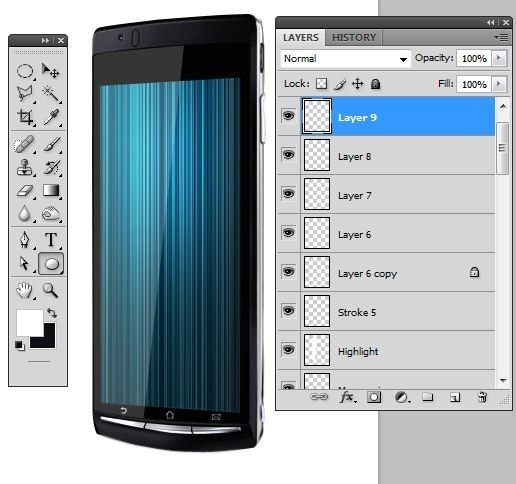
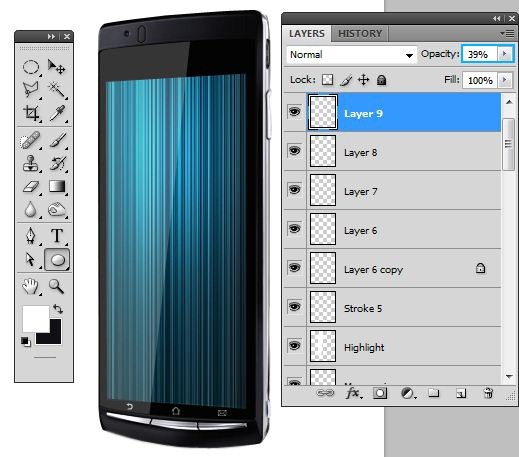
Step 27
Make another new layer and using Pen Tool (P) make next path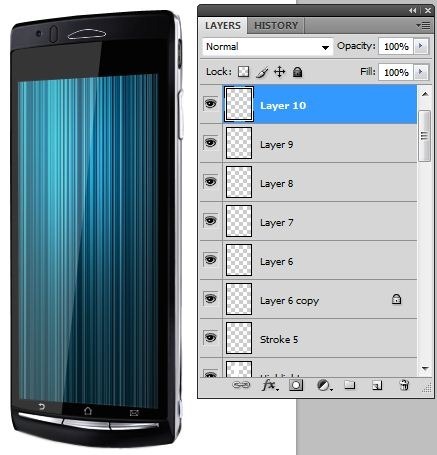
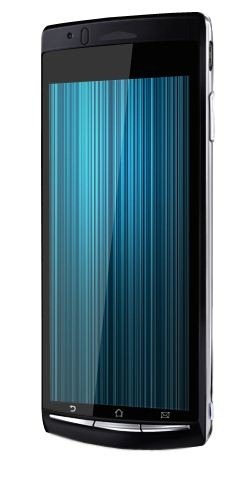
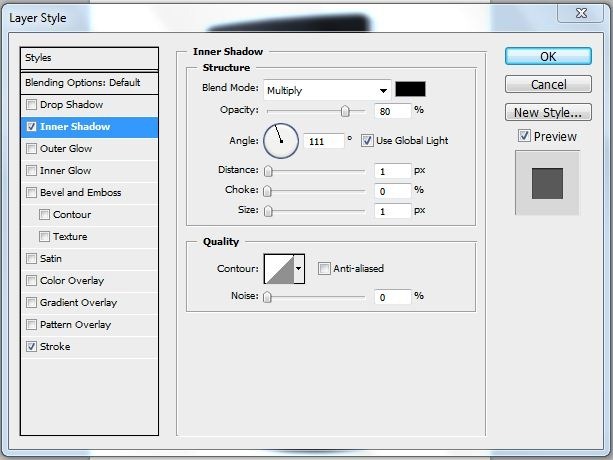
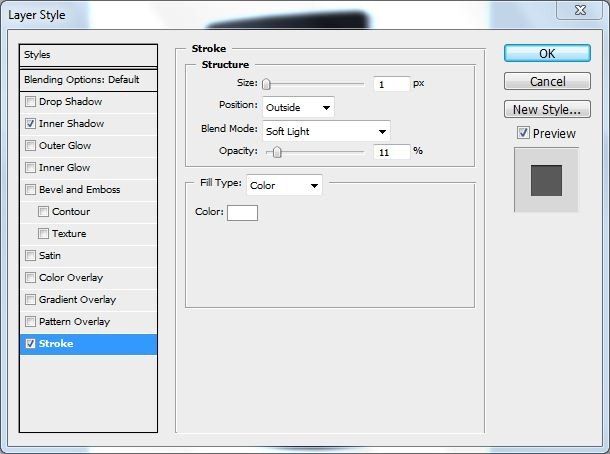
Step 28
Use Rounded Rectangle Tool (U) and make a black rounded shape like in the next picture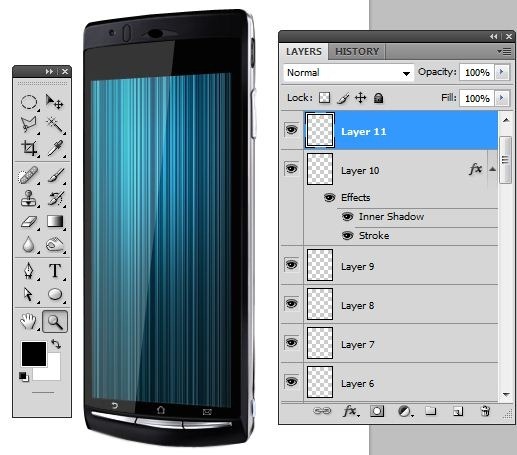
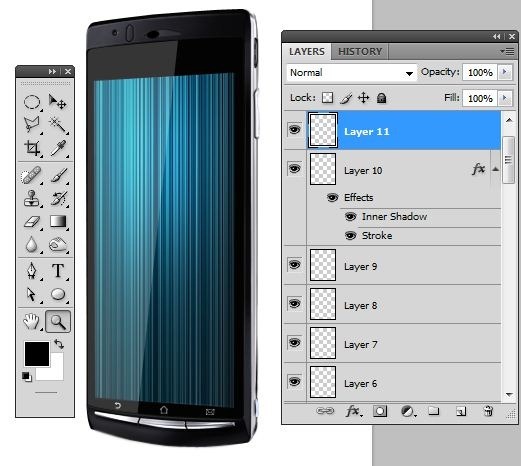
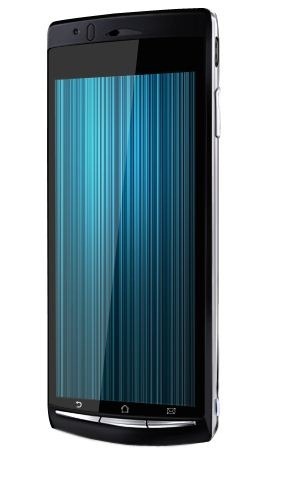
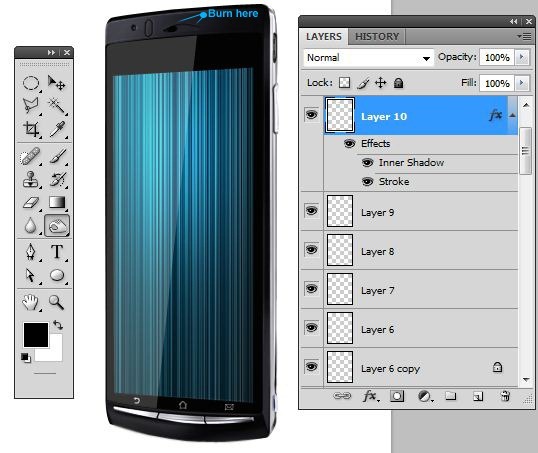
Step 29
Into a new layer add a 1 px black stroke in the indicated place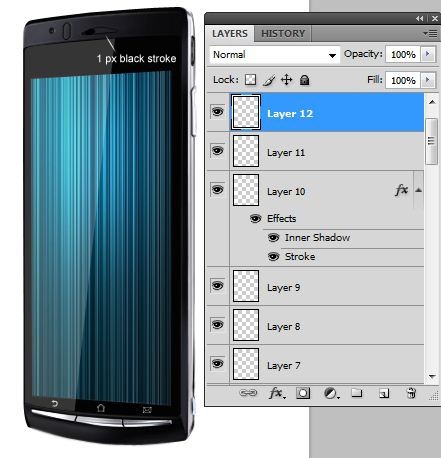
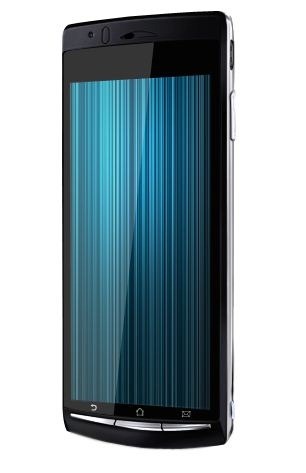
Step 30
With the Base layer selected, pick up a selection tool and make next selection at the bottom of the phone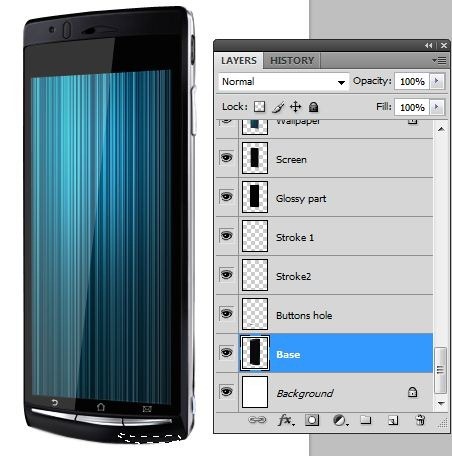
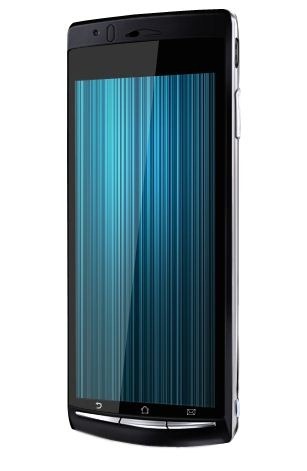
Step 31
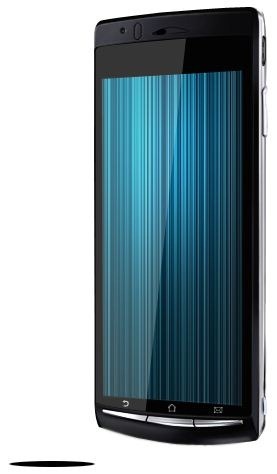
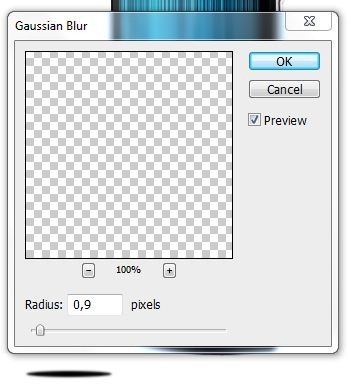
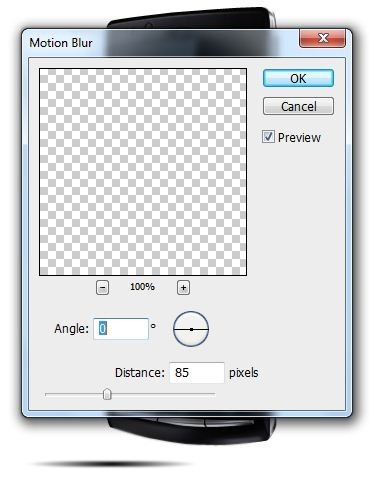
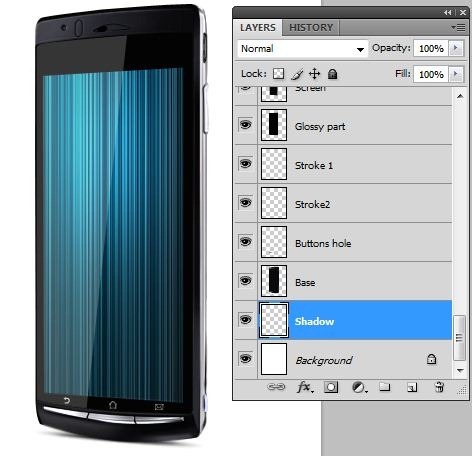
Now we`ll create the shadow for our phone… Make a new layer(Ctrl+Shift+N or you can go to Layer->New->Layer or you can press the indicated button in the picture below ). Rename the layer to "shadow". You can rename a layer by pressing right click on it , then selecting "Layer properties" option and in the "Name" box you can enter what name you prefer then make next selection using Eliptical Marquee Tool (M)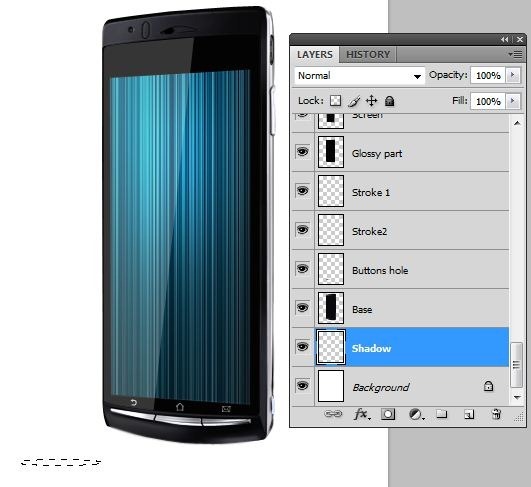
Step 32
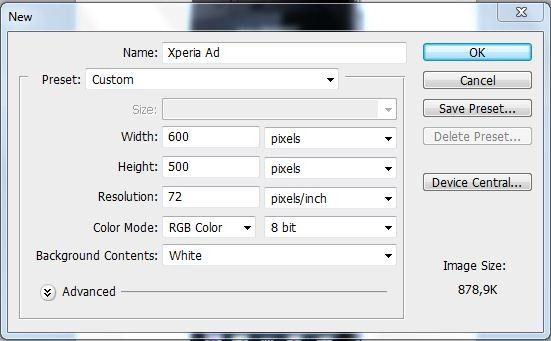
Let`s create the advertisement for our Xperia Phone, make a new image(File->New) with these dimensions :- Width: 600 pixels
- Height: 500 pixels
- Resolution: 72 pixels/inch
- Background Contents: White
Step 33
With Pen Tool (P) into a new layer (Ctrl+Shift+N) make next shape at the bottom of our image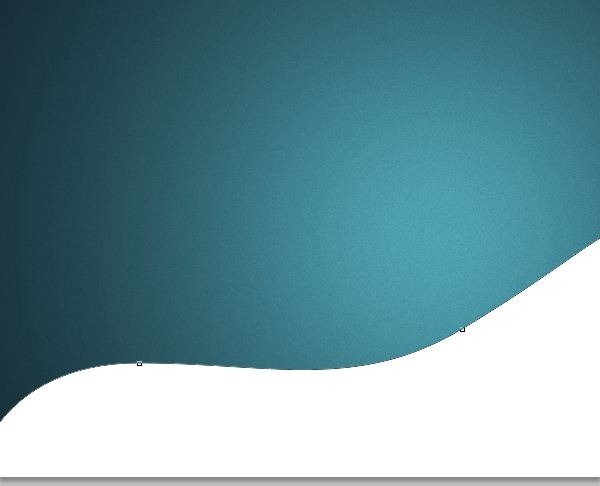
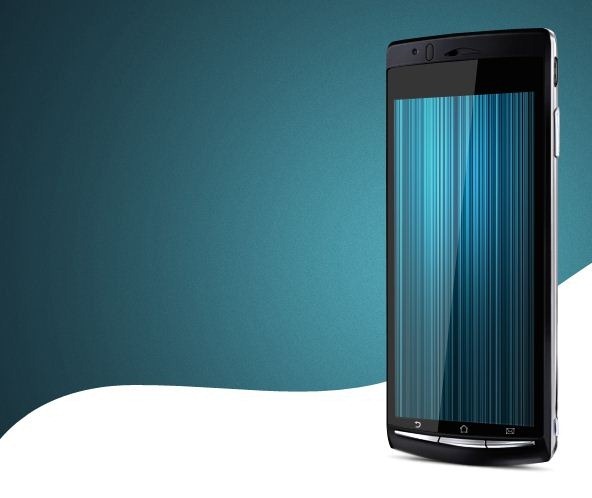
Step 34
Into a new layer (Ctrl+Shift+N) make next path using Pen Tool (P)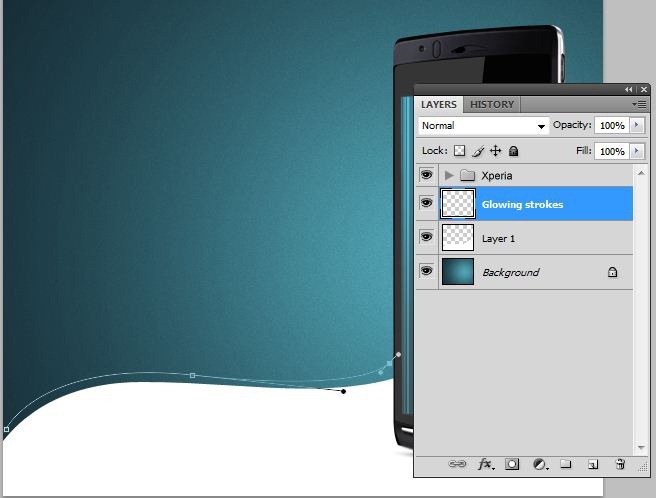
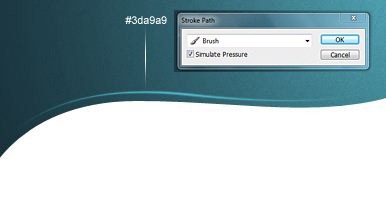
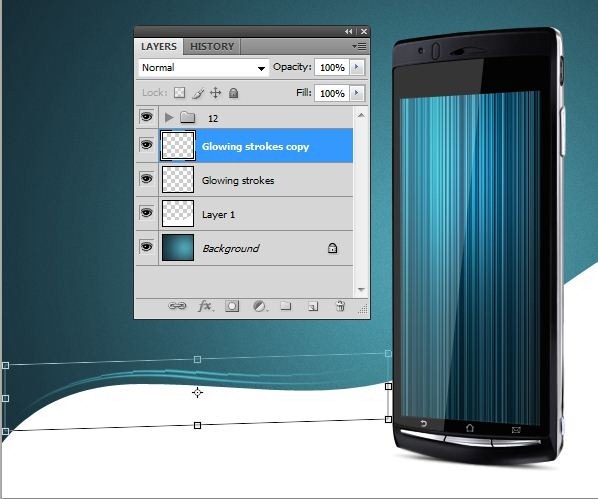
![34c[1] 34c[1]](http://photoshoptutorials.ws/images/stories/cdf1b60f579e_12916/34c1.jpg)
Step 35
Use Custom Shape Tool (U) and add some circles like in the next picture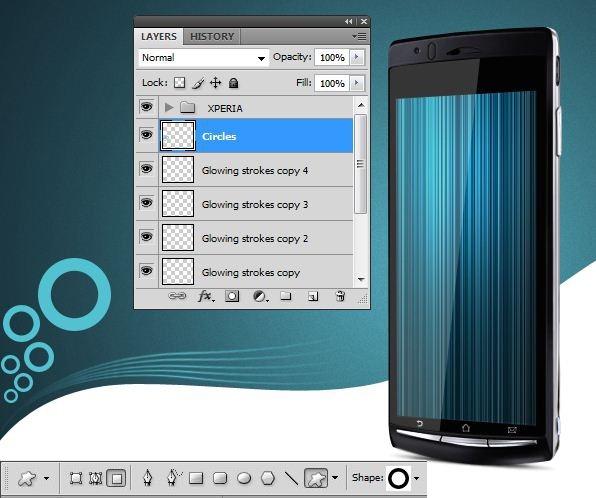
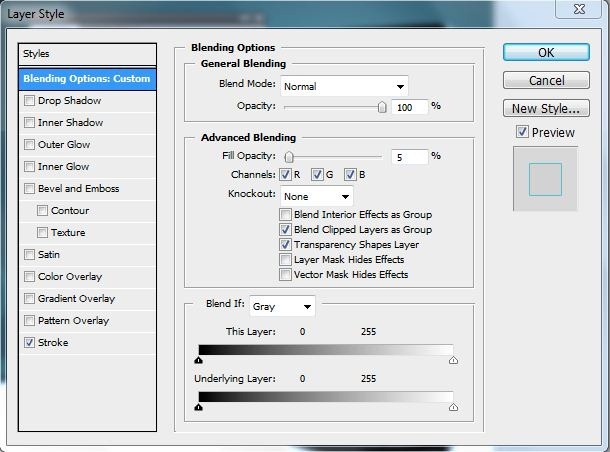
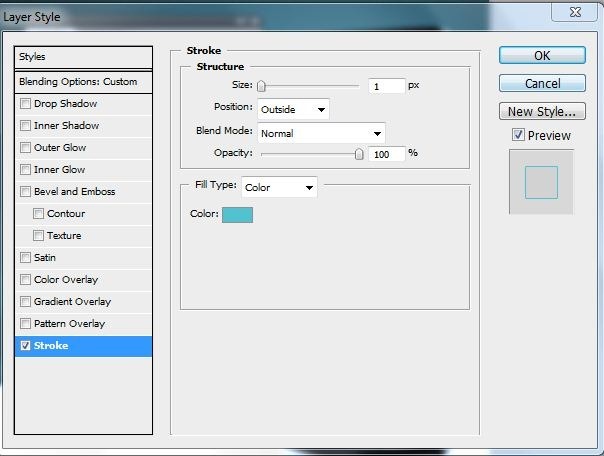
Step 36
Duplicate the layer with the circles (Ctrl+J) Flip it vertically and place it at the top of the image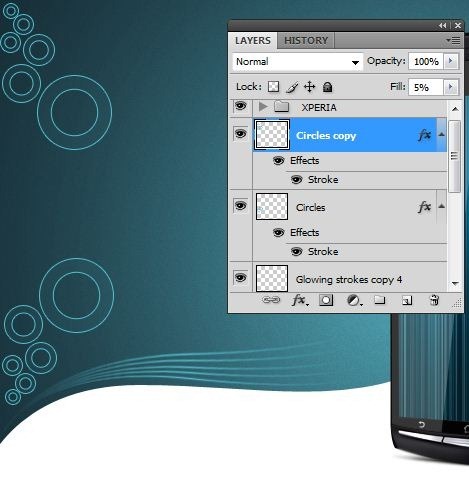

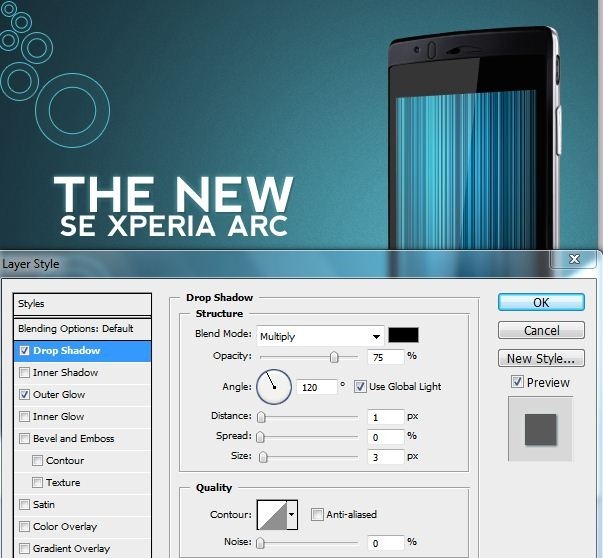
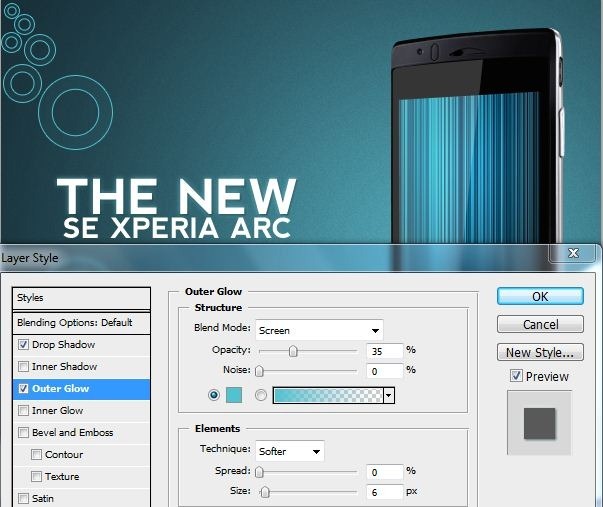
Step 37
Pick up Single Row Marquee Tool and make next selection

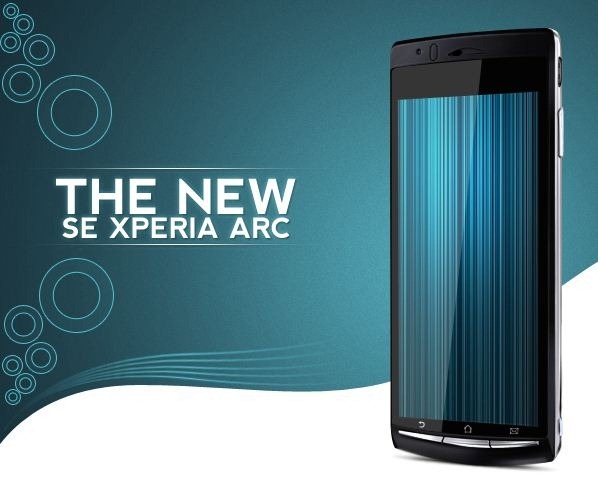
Step 38
Into a new layer, fill with white like in the picture below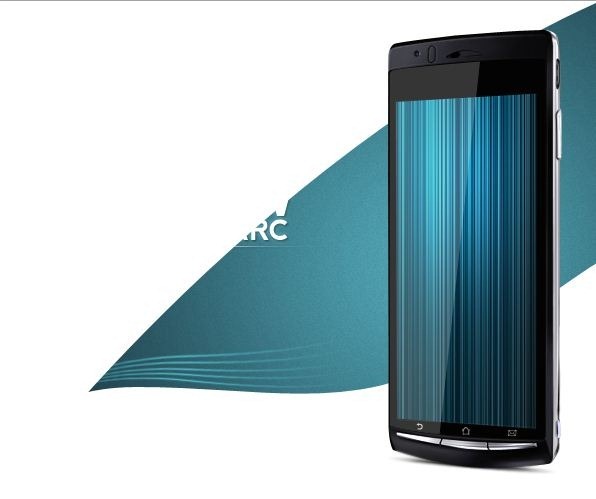
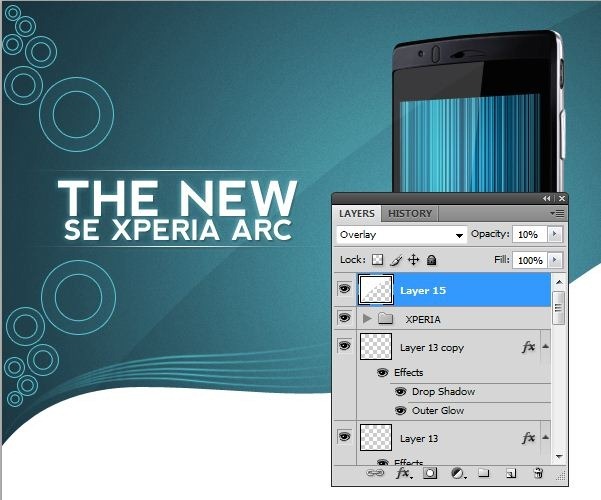
Final Results
![final[1] final[1]](http://photoshoptutorials.ws/images/stories/cdf1b60f579e_12916/final1.jpg)
Keine Kommentare:
Kommentar veröffentlichen