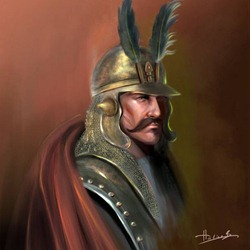
My name is Hatice Bayramoglu and I am a 3D artist and illustrator from Turkey. You remember me maybe by my first 3Dtutorial about human head modeling ('Head modeling with 3dsmax' by Hatice Bayramoglu ) and I will do a simple 2D painting tutorial for you.
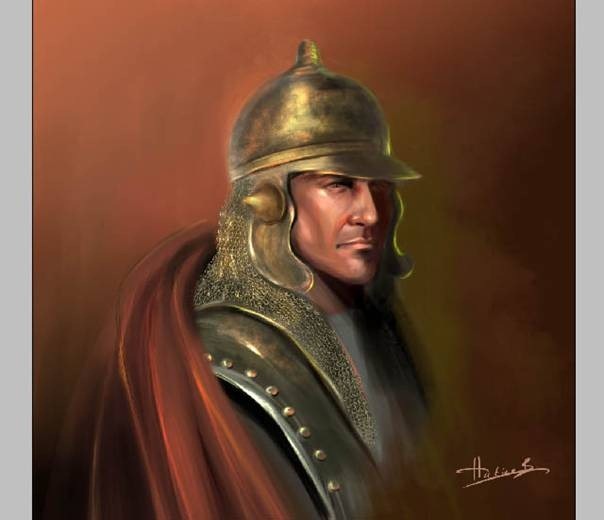
Preview of Final Results
Portrait of Sipahi Photoshop Tutorial
For this tutorial I will be using Adobe Photoshop and Wacom Tablet to create the finished result. I will also be using techniques and methods that I feel most comfortable with when coloring. I suggest that after following this tutorial, you find out what works best for you.
Step 1 Sketching and Opening a new File
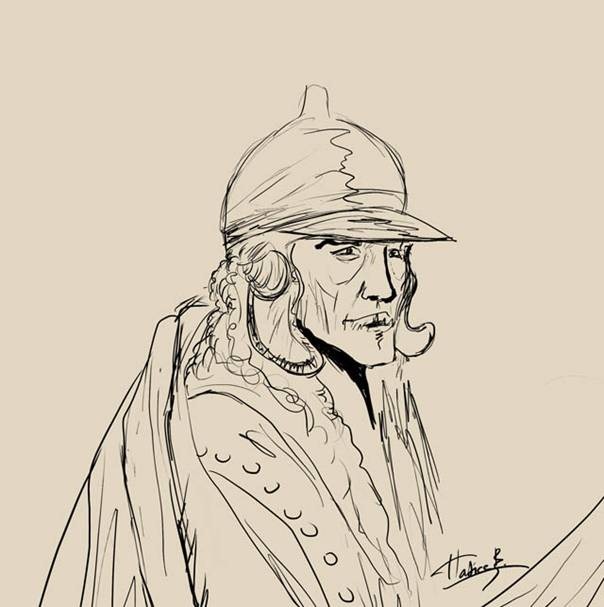
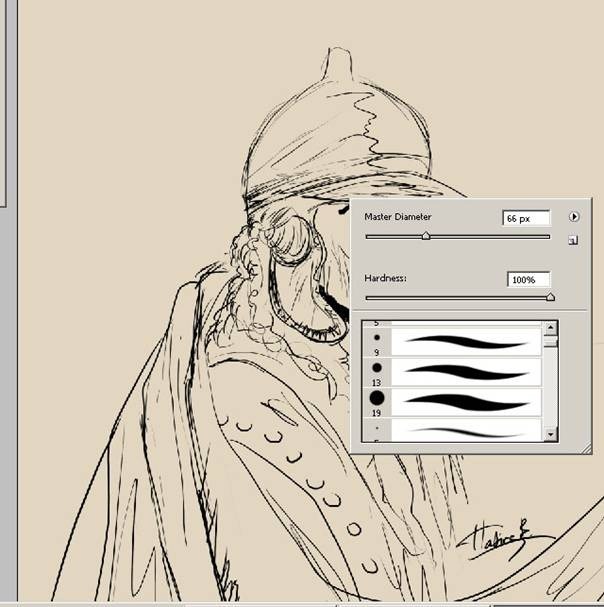
First step is to open a new file with the size 800x828. But of course it is up to your wish if you would like to make a different file size you can change the file via the help of Image/Canvas Size. Maybe I can change it later if I don't like the canvas size. The first step of the final image is the drawing. I started with some quick sketches to get a feeling for my character. Here is a simple sketch work I did with Photoshop. I don't go too much into details. I'm just trying to find out how I want him look like.
Step 2 Color Palette
The second thing here you to choose color scheme. I decide for background a some brown colors and Other colors are for the character face and his clothing.
Step 3: Choosing brush
The next step is choosing the brush. For my character I use only standard brushes with some different pen pressure settings.
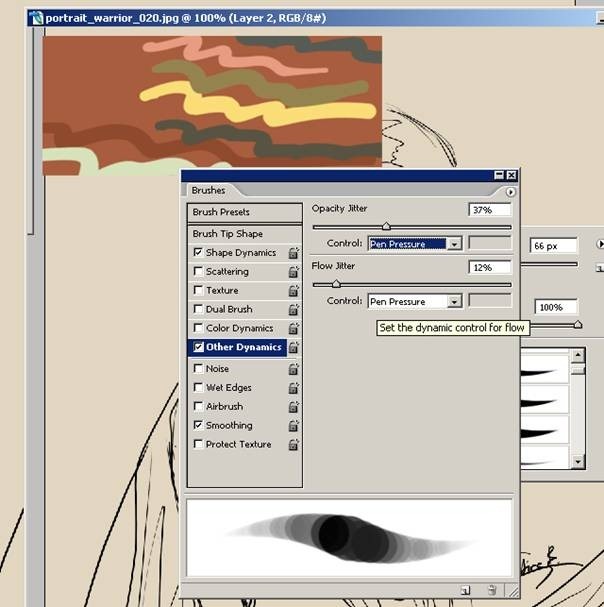
After that from brush panel choose "Other Dynamics" and make the setting as seen on the below picture. When painting, it is very helpful to have these settings for your pen.
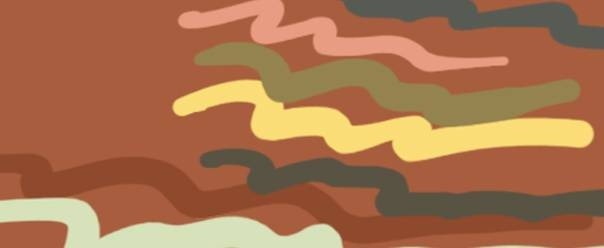
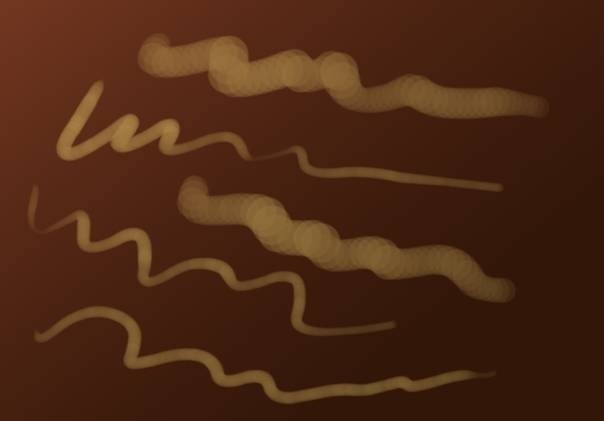
Now I draw some brush strokes to see my new brush. I do think this brush setting will do very good painting work .
Step 4: Coloring the Sketch work
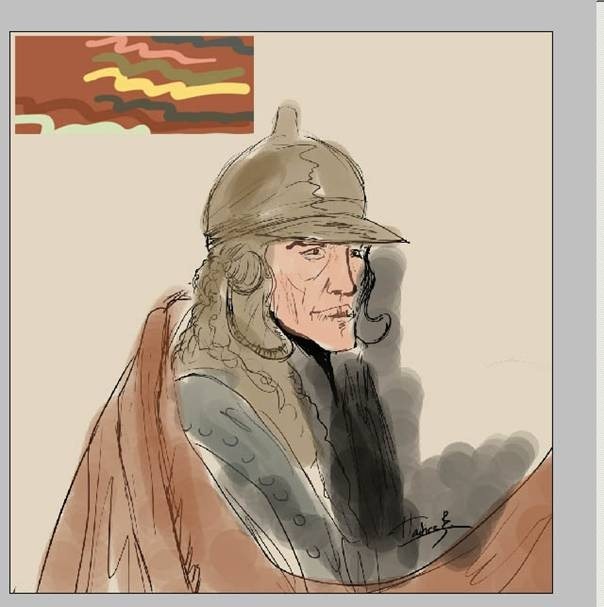
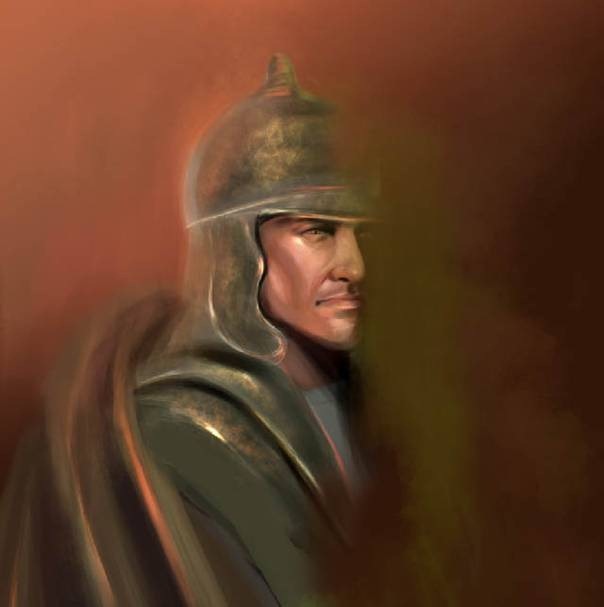
Now I start coloring and give the basic tone coloring to the sketch. I put some colors for the background. I try with some colors for to get more quicker result how the character face is going to look.
Here is the result. Since I already decided upon the colors, now I can start to add details. The light is from background and a little red color . I'll now begin to detail the face. The cloth need to be worked on too. You don't have too over detail everything for now. I just add some basic detail for my character at this step.
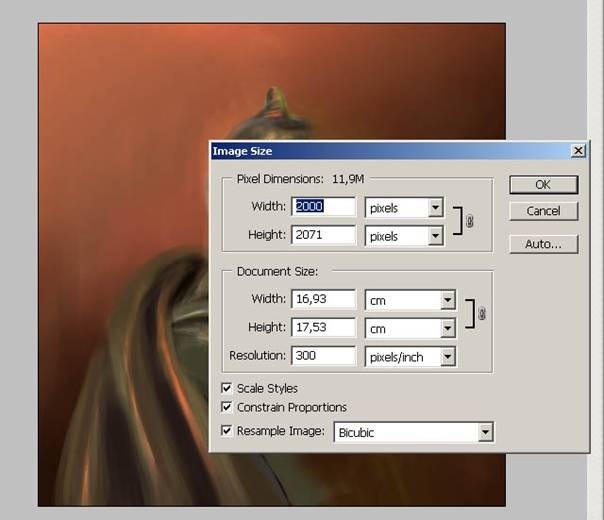
Okay now I continue to paint as you see. Now I do wish my file is to be more bigger size because at this stage I do think I can't make so much detailed painting. Okay here we go and open image from upper window and change the settings as you see.
When you are painting face and his clothing you can use dodge, and burn tool too. Now that the general details are almost fixed.
Step 5: Details
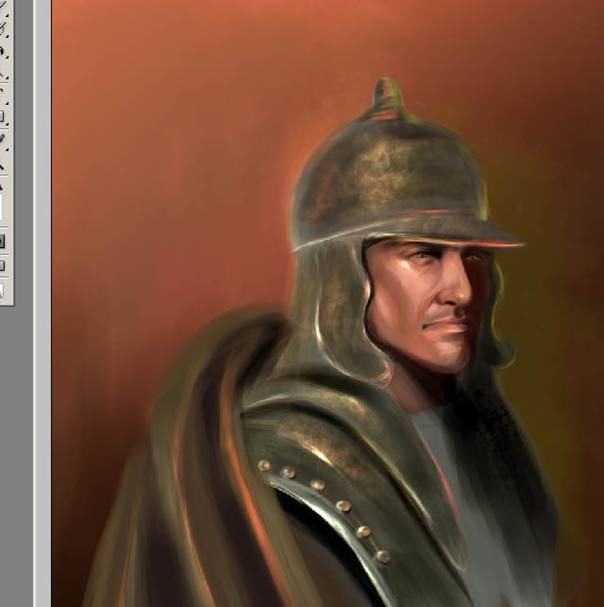
Not too much of a difference from the last step. I am adding some more color on his face. I try to get some more light on his cheek and on his cloth and adding some more light green color on the cap. I use the burn tool to dark some and I select the dodge tool to dodge the highlights.
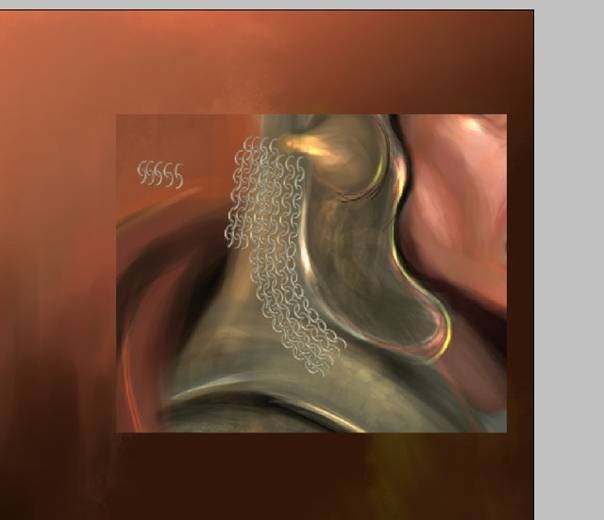
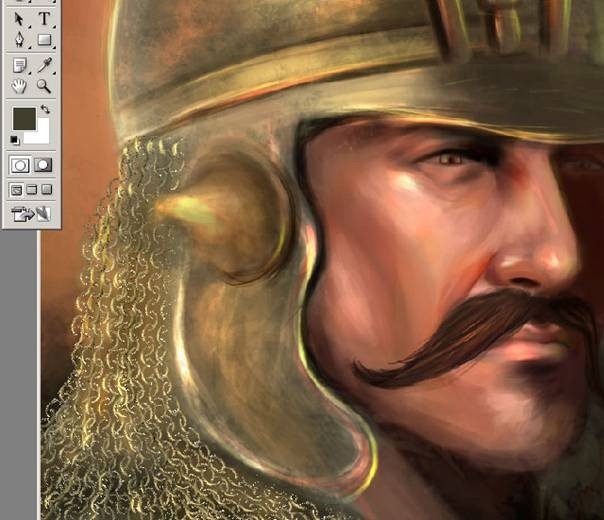
And here is a picture for the chain details on the helmet. Now, I'll try to apply some details to my character's helmet . For those lightened areas I used the brush with the setting color dodge and for the dark areas I used for Multiply settings.
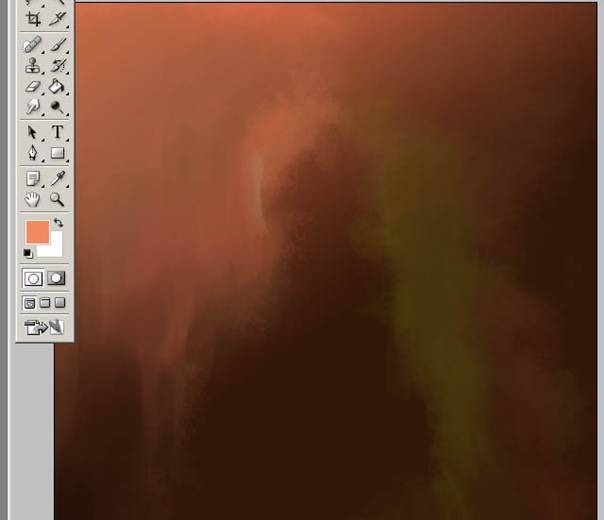
Now at this step I would like to add some colors at the background . First I opened a new layer at the top of the background layer and after that I used a round soft brush with opacity set to 50% I add some colors at the bottom and some highlight at the top of the background. Now you can't see my warrior character because I make my character layer invisible by clicking the eye on the menu.
After I finished with the background details I began a very detailed painting process on my character and for this step I use same brush but I'll change some settings when I was using the brush. And again when I do want to add some more light on the painting I am going to chose color dodge from here.
Now that the general details are almost fixed. Ah and I forget to say that I used the Smudge tool to refine the edges between the highlights and shadows.
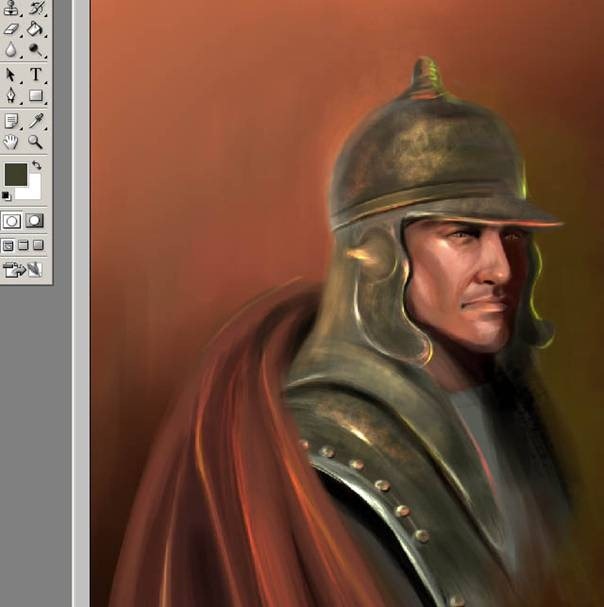
Here is the final stage but now I would like to add some more details my character. I increased the darkness around the background and added highlights to the cheeks.
Ah, I finally painted the a moustache with a little sized brush. I've also been making some adjustments to the face. A soft highlight just besides the lower lip and nose. Some more highlights on the nose and cheeks.
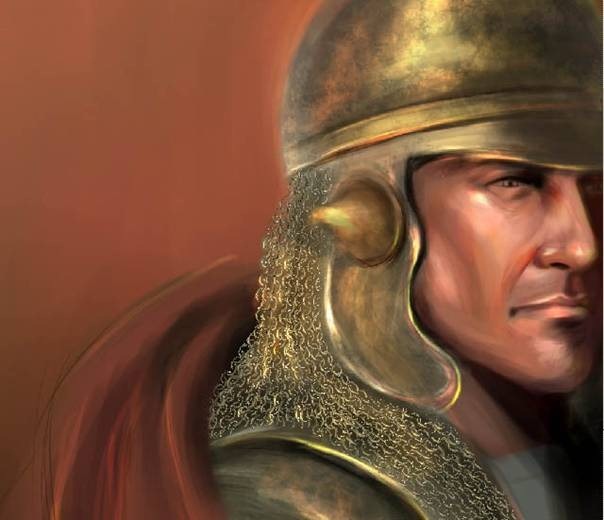
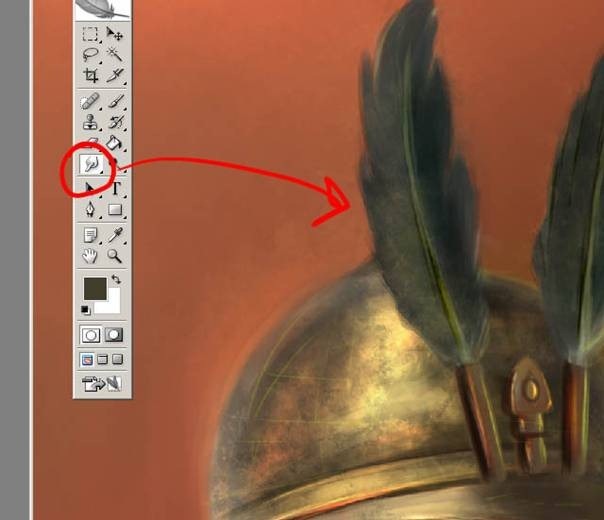
Here I have added some details for his helmet too and as you noticed I add some strokes with the smudge tool . The feather can be created with the same technique as the one used for the face. You'll be using the smudge tool for smoothing.
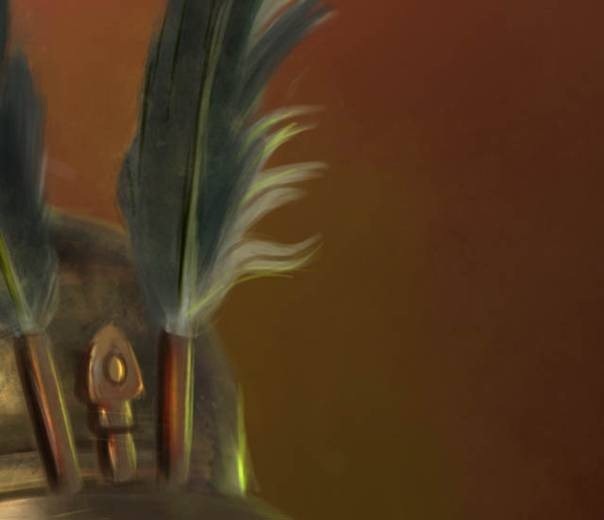
Using the smudge tool, continue to paint the rest of the feather and also add some light colors. As you can see in below image. I am using the Smudge tool at 30% strength for the feathers. Then I finish it with the Dodge and Burn tool to create shadows and highlights.
Step 6: Final Adjustment
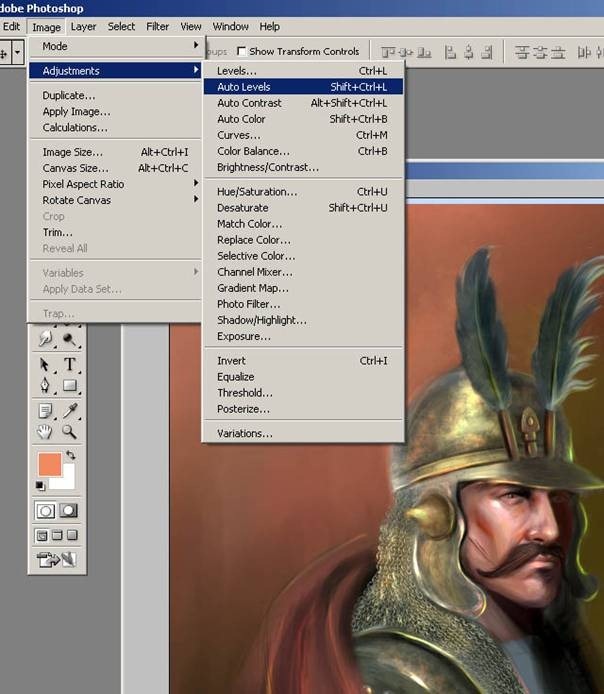
Also I am going to add some Adjustment/Auto Levels though the last merged layer.
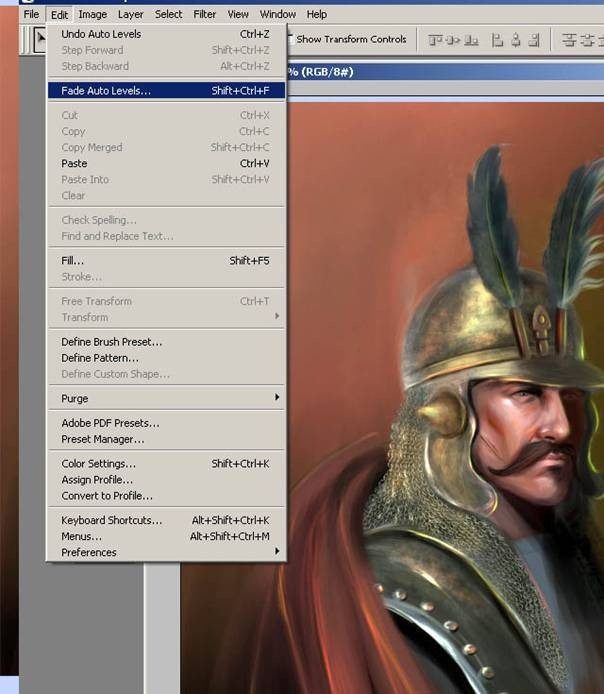
After you select Adjustment/Auto Levels then go to Edit click on Fade Auto Levels.
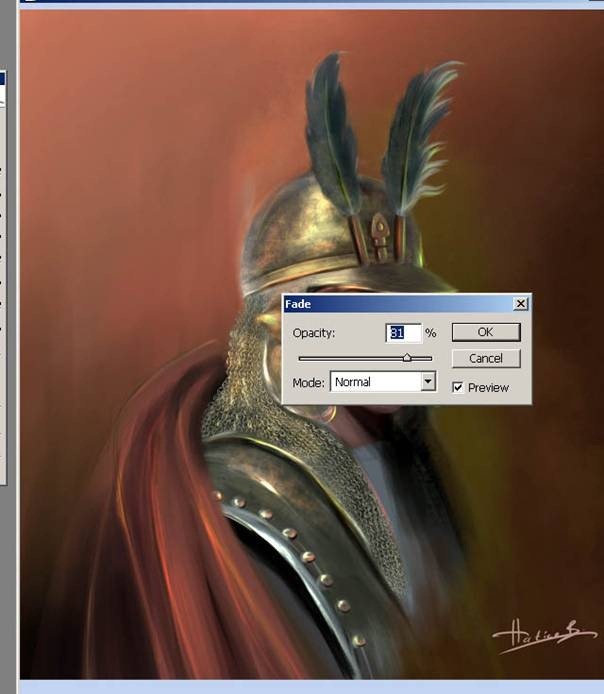
And make the opacity 82 or 81.
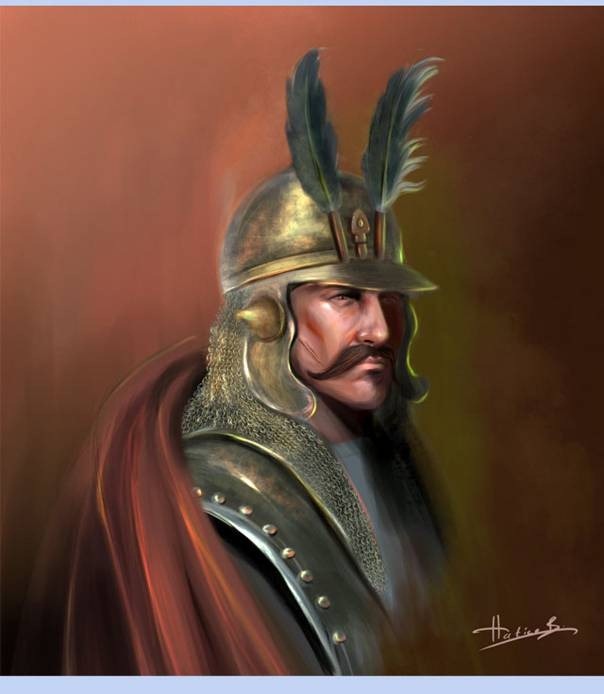
Final Results
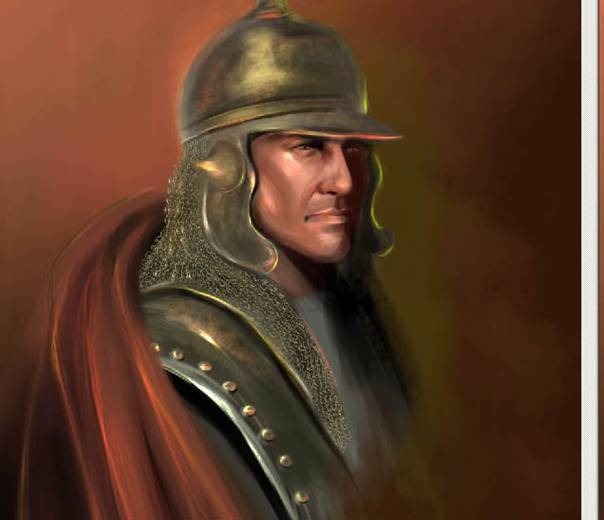
After all these steps are completed here's the final image, I hope you found this "Portrait of Sipahi Warrior" interesting. Thank you for reading.

![image023[1] image023[1]](http://photoshoptutorials.ws/images/stories/4062ff6481ea_10EDD/image0231.jpg)
Keine Kommentare:
Kommentar veröffentlichen