
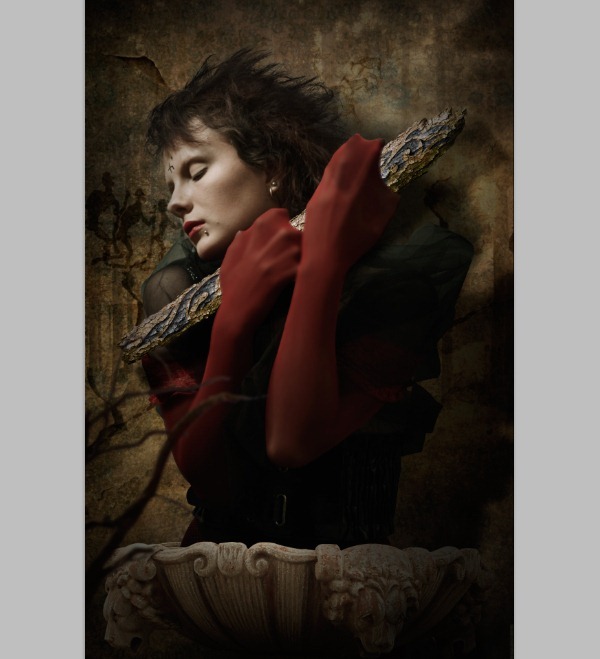
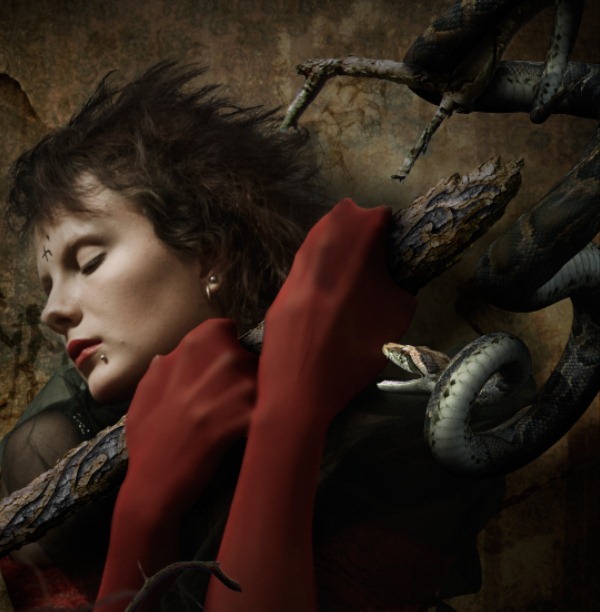
In this tutorial we are going to create a fantasy scene where a witchy women will be holding a sacred log in her hands. With this tutorial we are going to cover interesting topics like working with textures and blending modes, lighting, advanced image cutting techniques, and typography.
Preview of Final Results
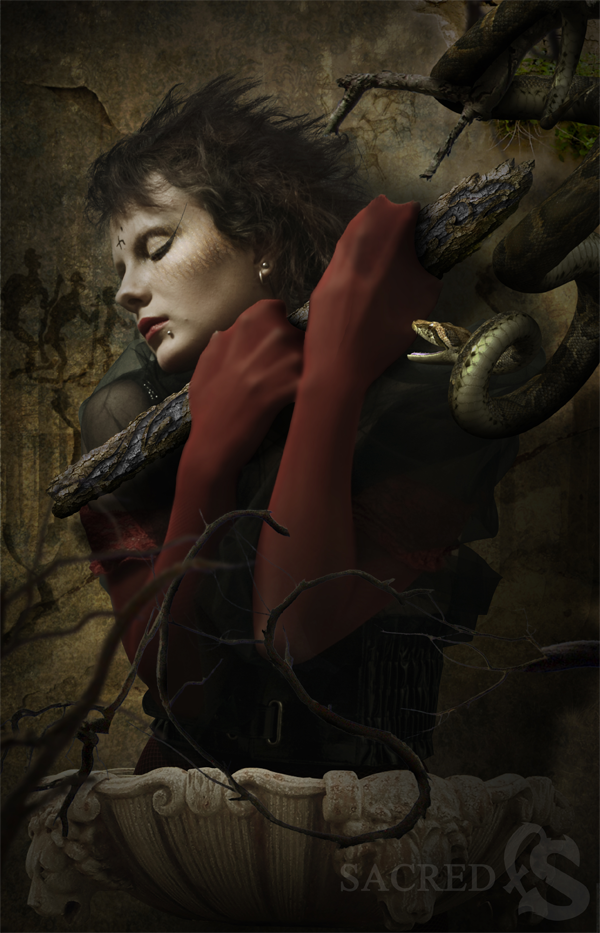
Eerie Portrait Photo Manipulation Photoshop Tutorial
Resources
- Model - Flex-Flex
- Wall Texture - fudgegraphics
- Retro Wallpaper - Texturepack
- Forest - silaynnestock
- Cracks 1 - Jaydias
- Cracks 2 - sd-stock
- Fountain - phatpuppy
- Dead Tree - wicasa-stock
- Dead Tree 2 - diesel-stock
- Log - sxc.hu
- Stonage Art Brush - qbrushes
- Font - ffonts
- Snake - madetobeunique
- Dead Tree 3 - sxc.hu
Step 1
Create a new canvas in Photoshop with the dimensions Width=2489px and Height=3872.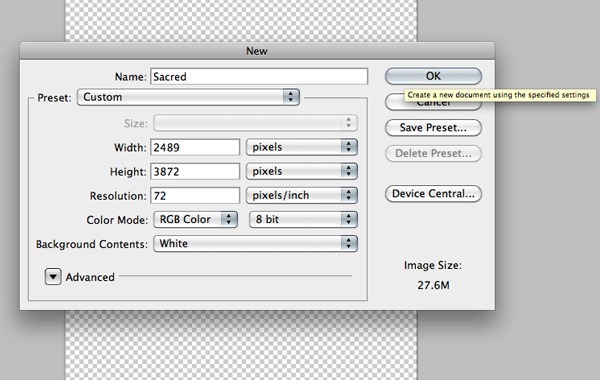
Step 2
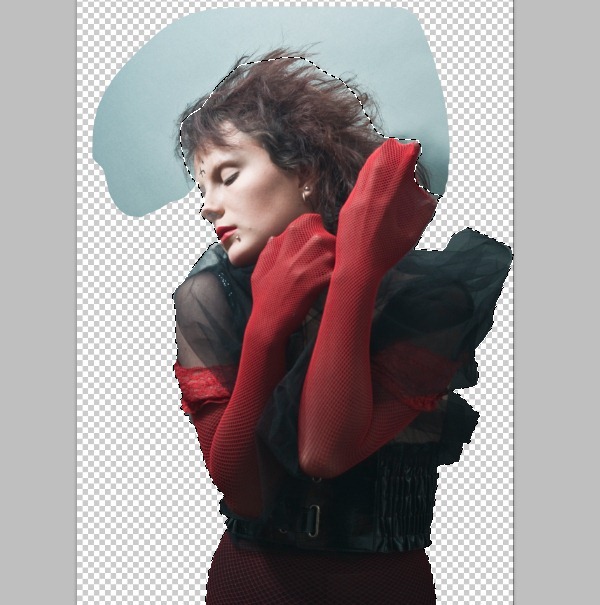
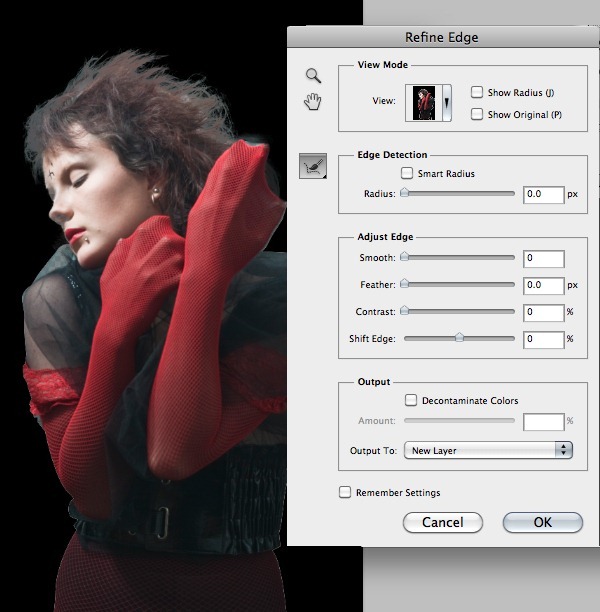
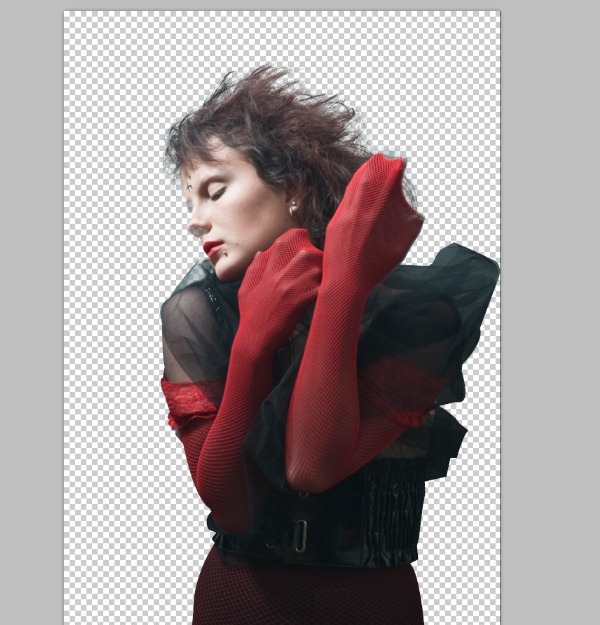
1) Now import the image of the Model into Photoshop and create a mask around the body using the Pen Tool (P). While masking the hair create a rough mask because we will be using different technique to cut the hair with details.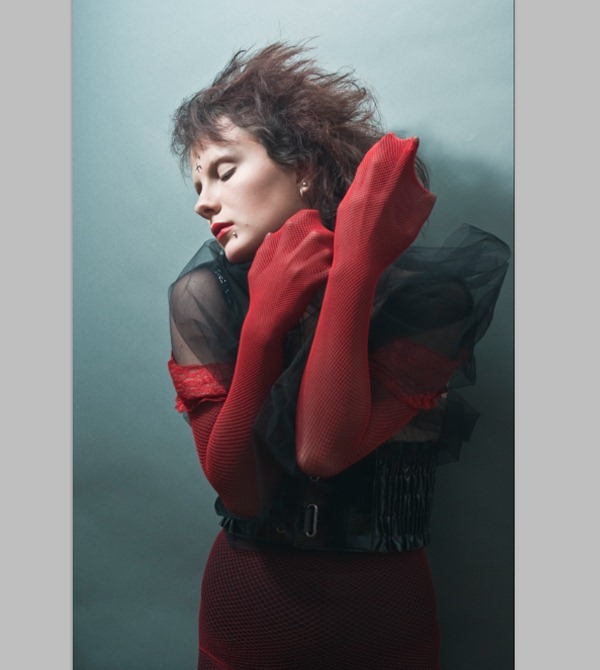
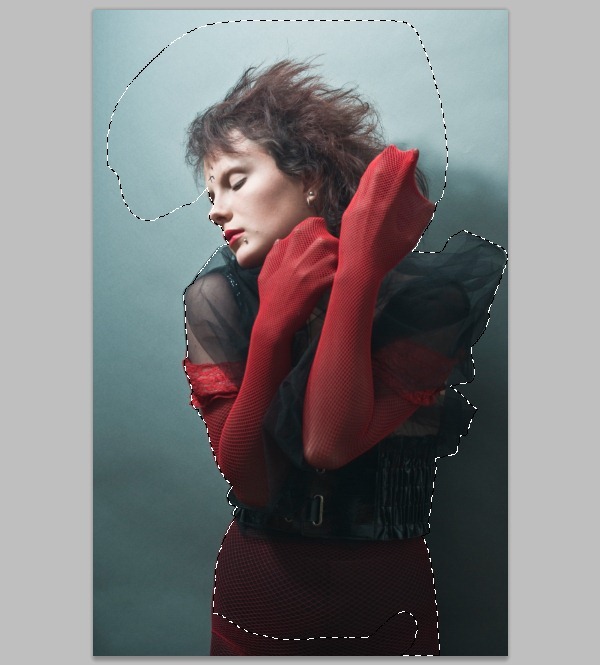
Then press OK to separate the model into a new layer with fine details.
Step 3
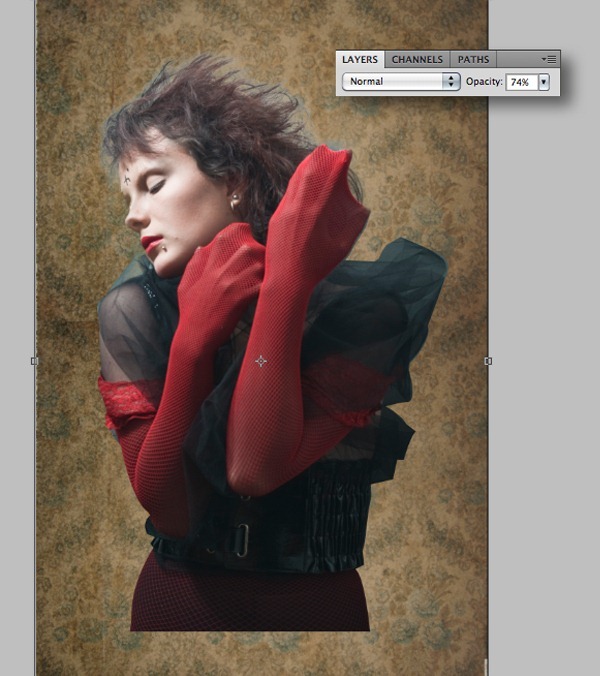
1) Import the image of Wall Texture onto the canvas and place it on the background and add a Gaussian Blur of Radius=1.6px.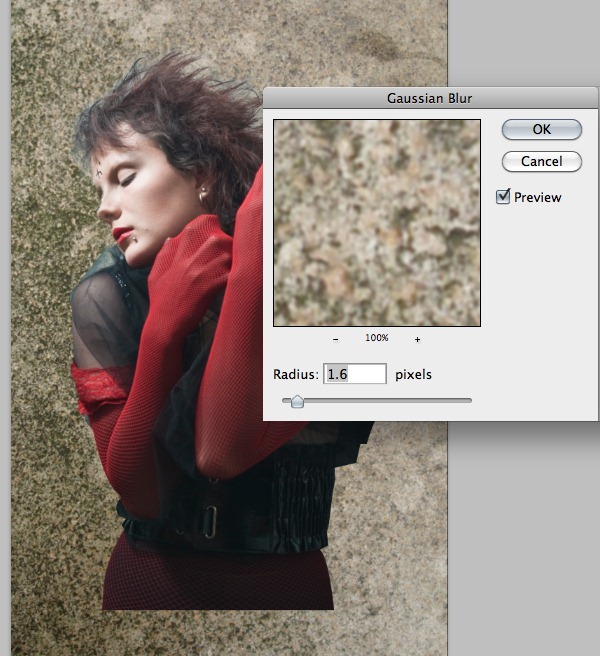
Step 4
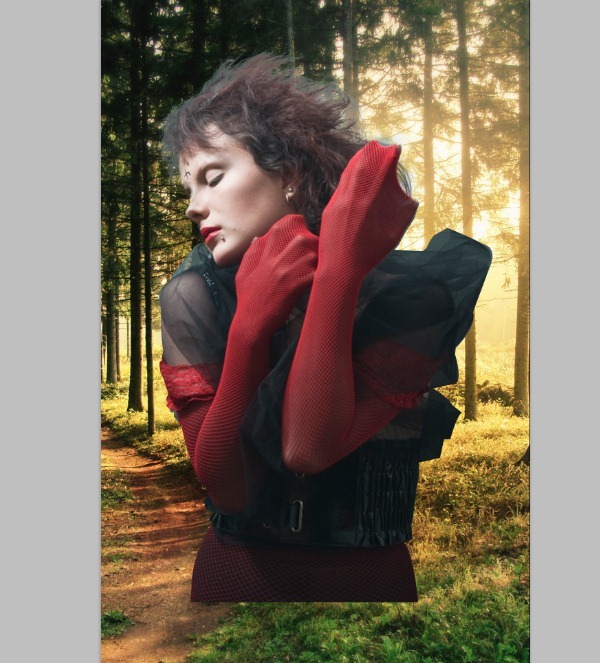
In this step we will be adding a forest backdrop to the background.- Import the image of the Forest onto the background.
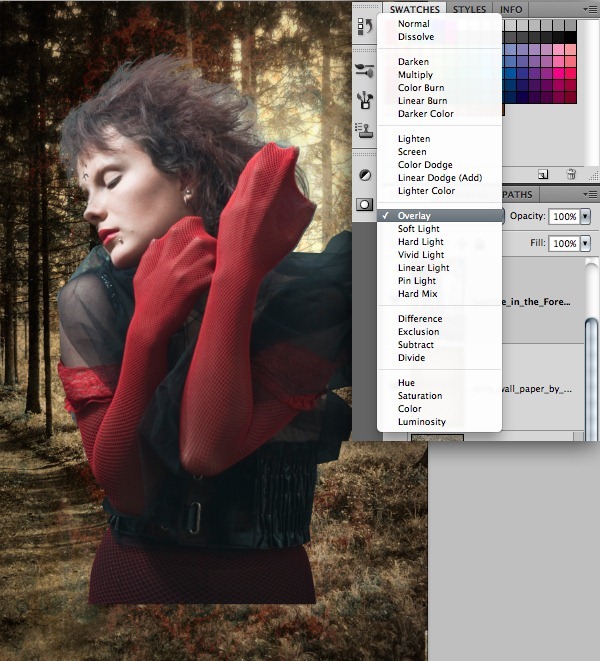
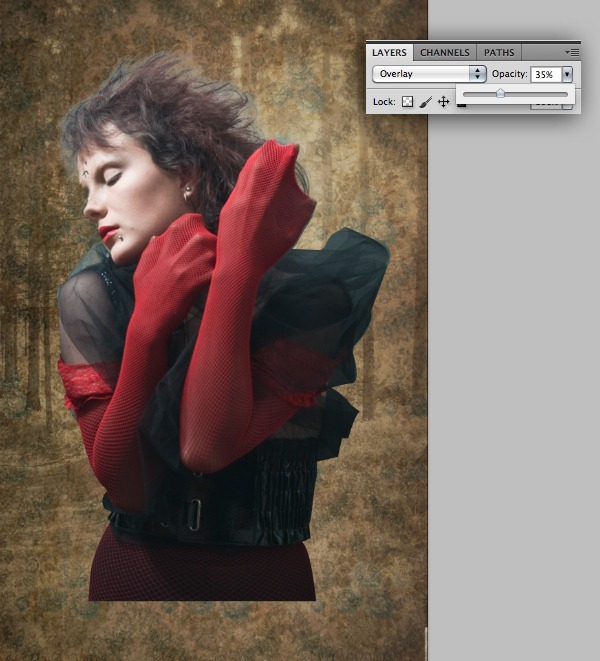
Step 5
In this step we will be creating cracks in the background using textures.- Import the image of the Cracks 1 onto the background and place it as shown.
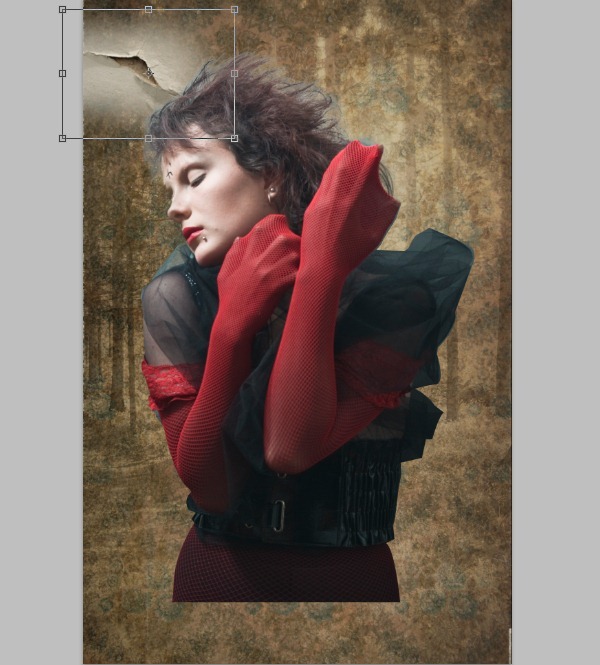
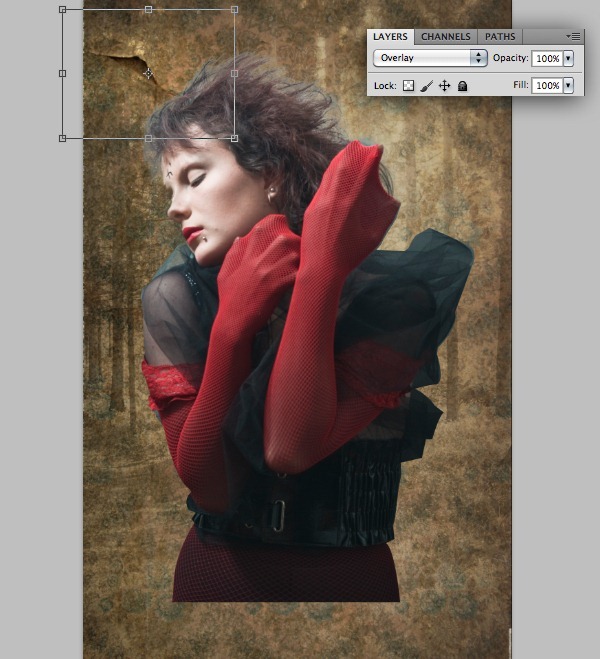
-Then similarly add few more cracks in the background to make the background look old.
Step 6
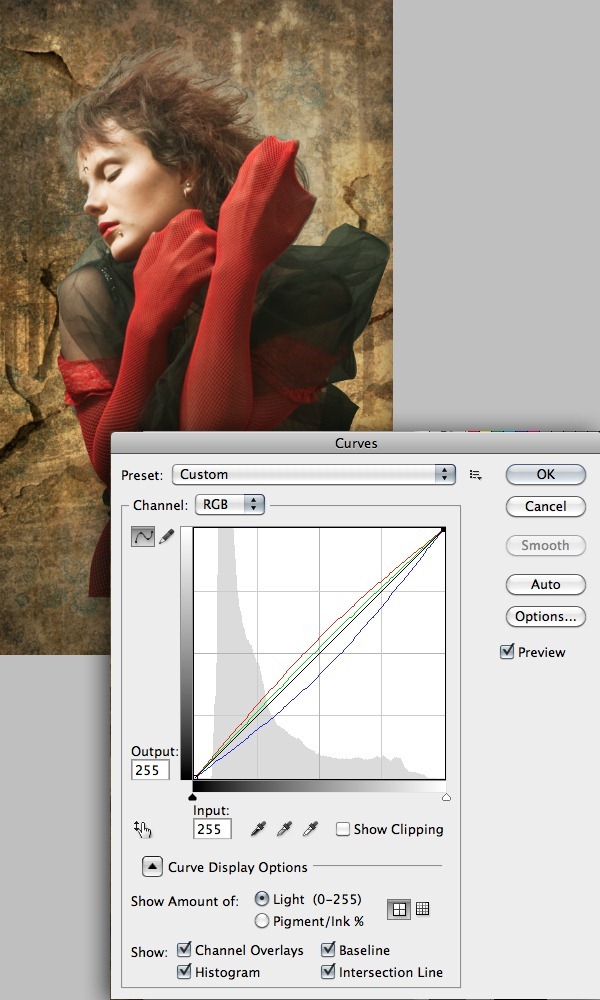
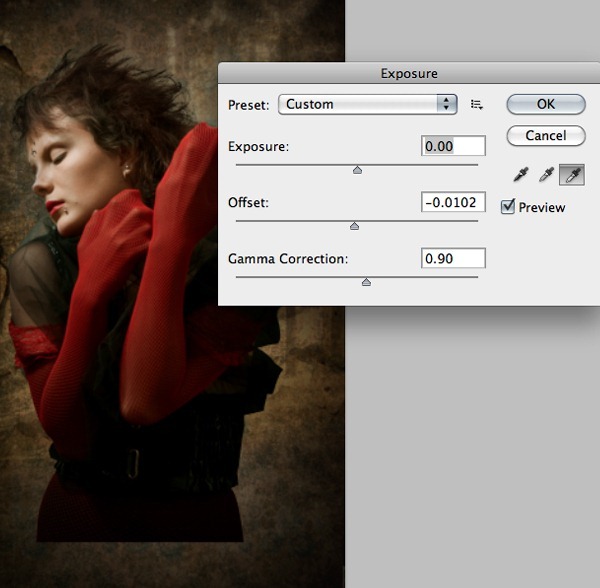
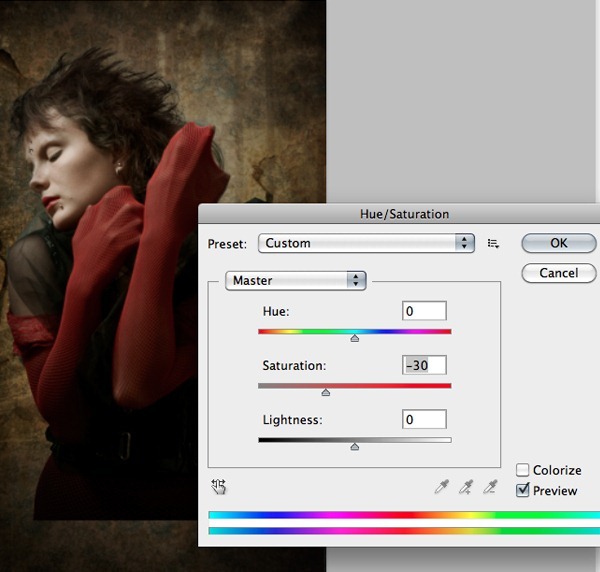
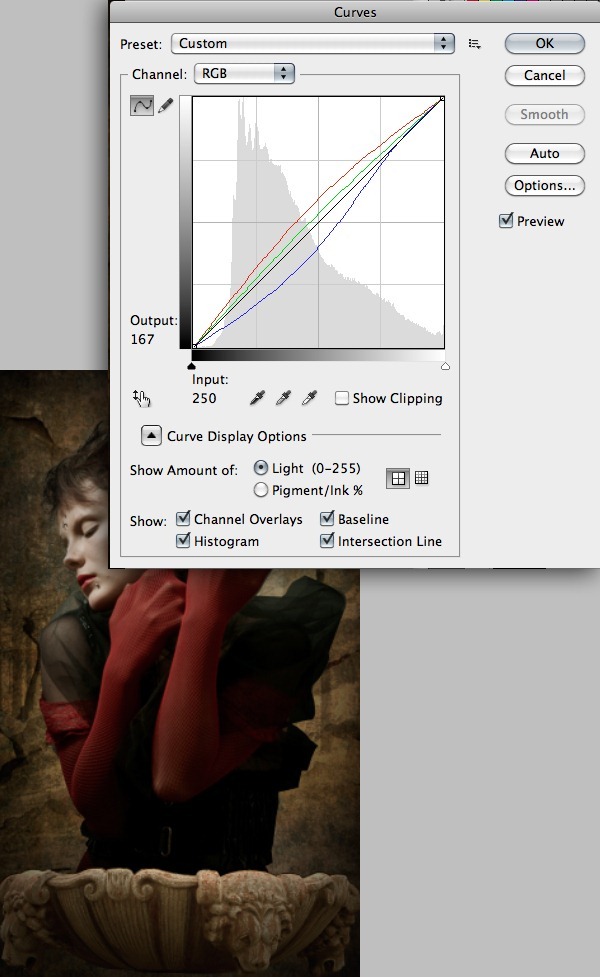
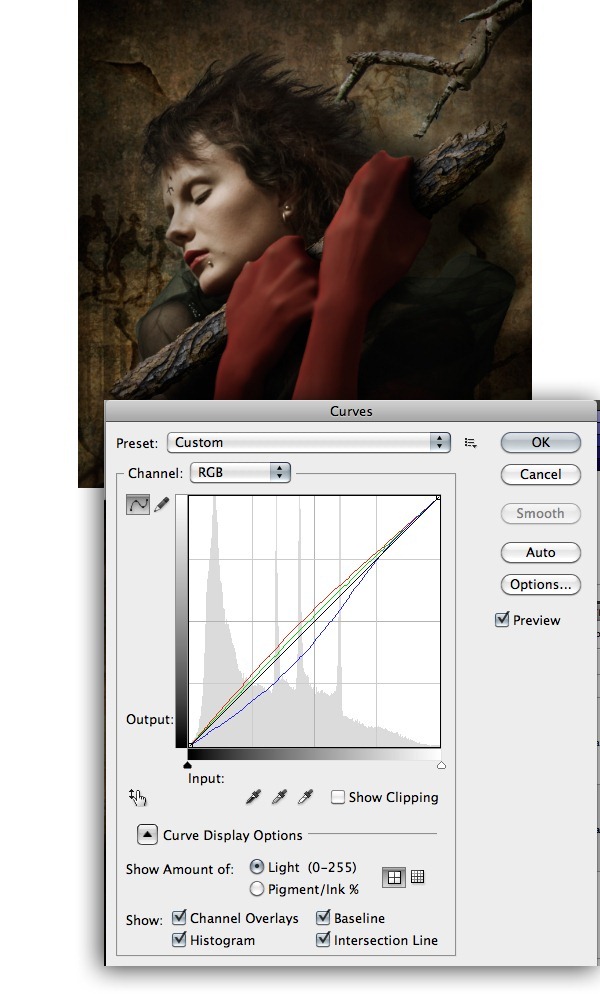
In this step we will be color correcting the model to blend the model in the scene.- With the model layer selected go to Image>Adjustments>Curves and set the curves as shown.
Step 7
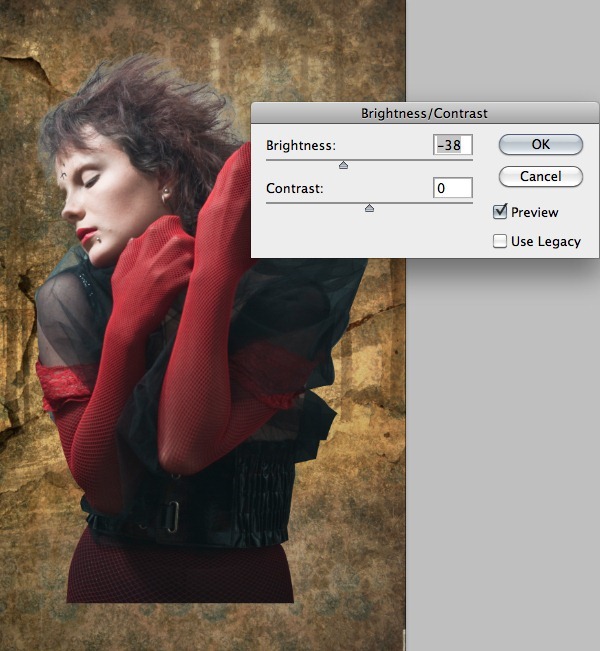
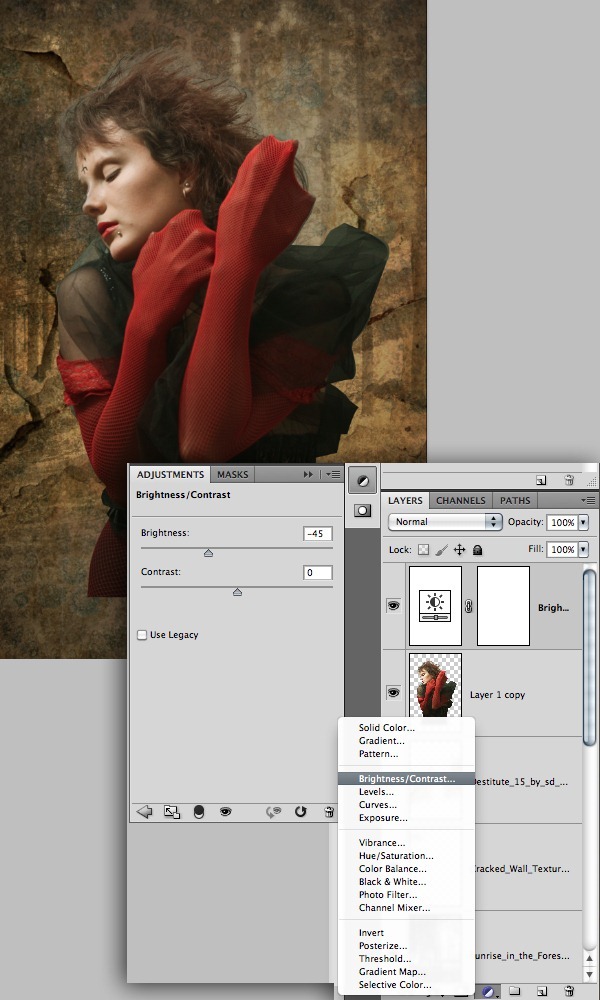
In this step we will be creating an adjustment layer of Brightness/Contrast to blend the scene together with even color correction.-Select Brightness/Contrast from the Adjustment Layers dropdown list at the bottom of the layers pallet, then set the Brightness of the layer to -45.
Step 8
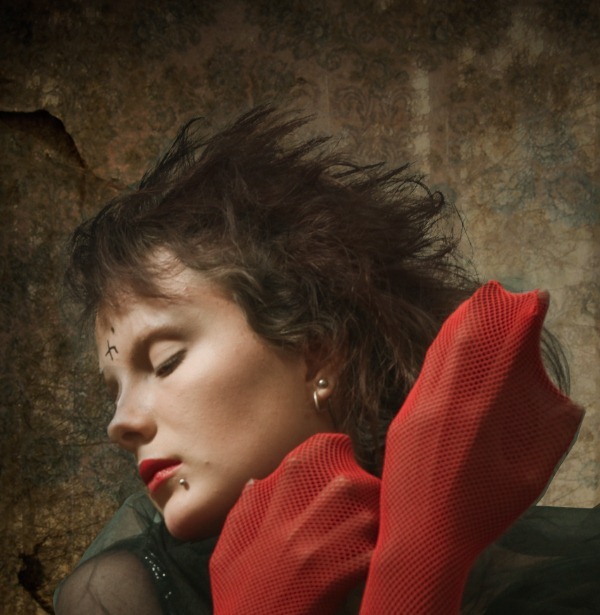
As we can see the edges of the hair is lacking sharp details, hence to achieve the desired effect select the Burn Tool (O) and paint the edges of the hair to get the sharp details of hair.
Step 9
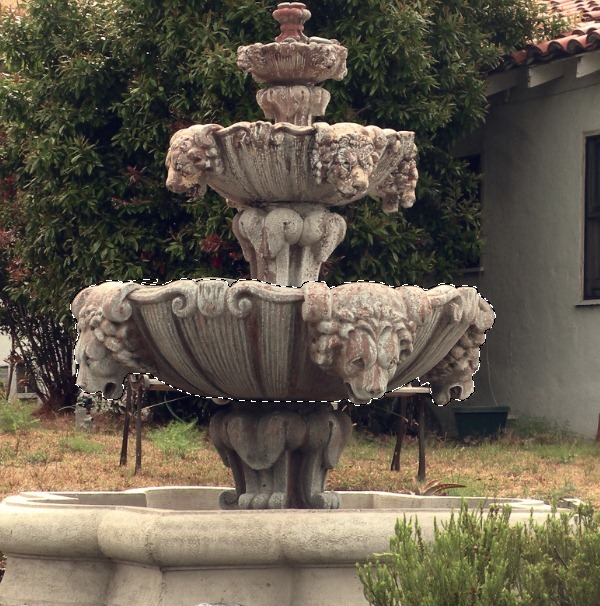
: In this step we are going to create a fountain tub under the women.- Mask out the Fountain into a new layer using the Pen Tool(P).
Step 10
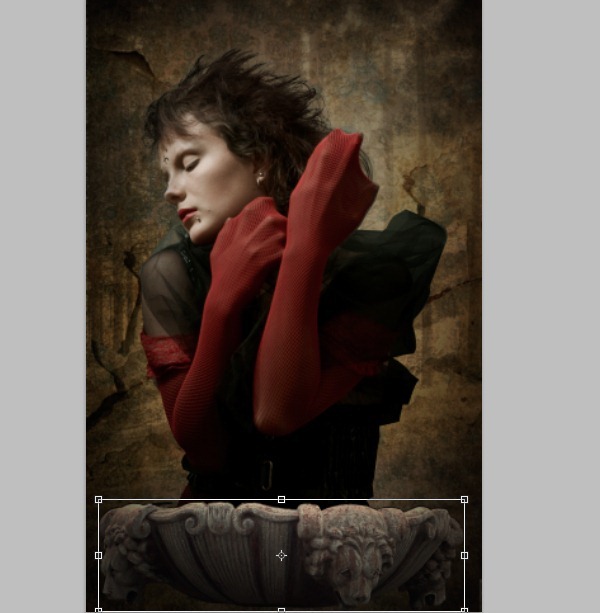
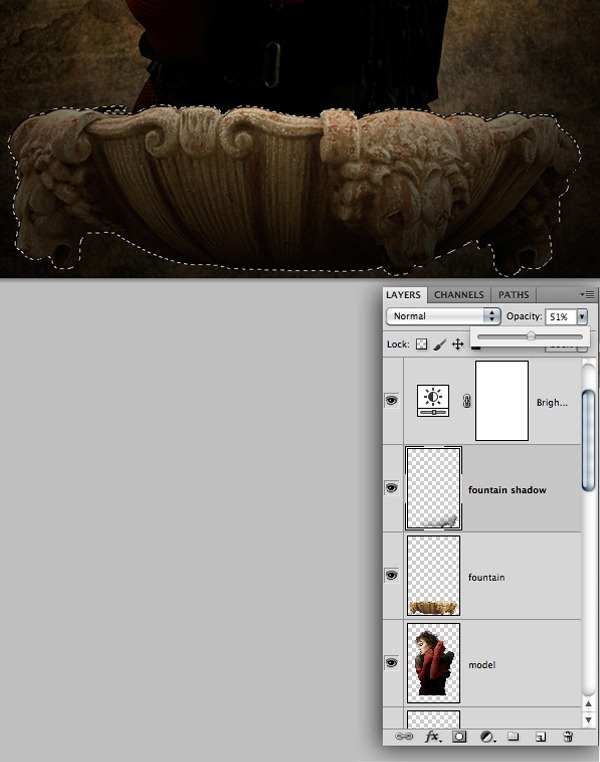
As we can observe that the light is being focused from the top left, we need to create shadow to the fountain tub to match it with the scene's lighting.-Now select the mask in shape of the fountain tub and create a new layer above the fountain layer and paint some shadow as shown using the Brush Tool (B).
Step 11
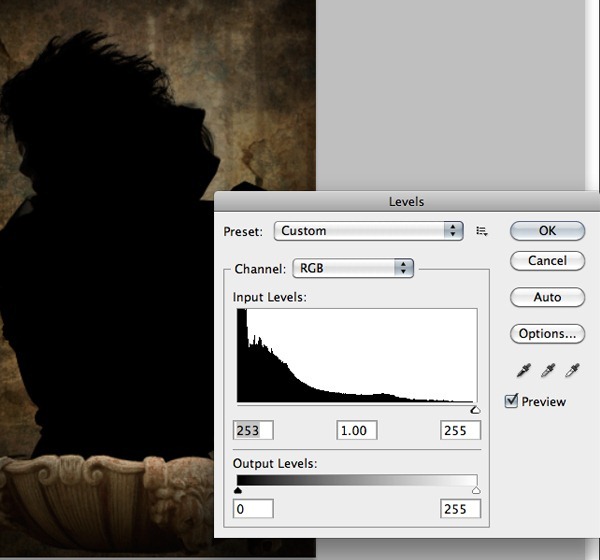
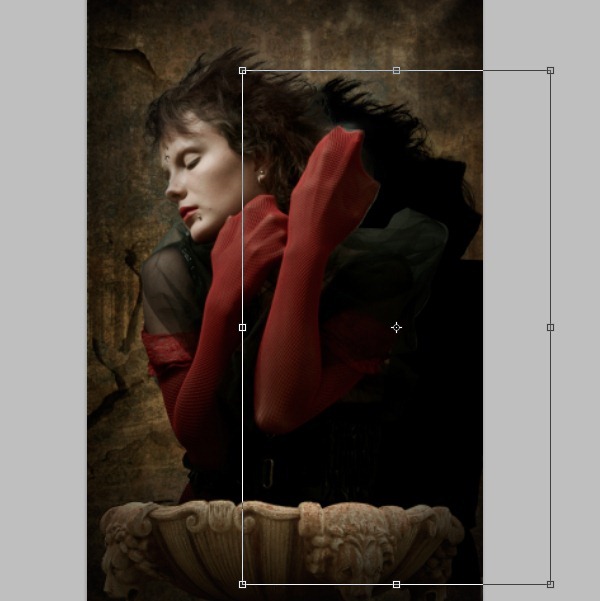
In order to illustrate the gap between the background the model we need to create the shadow of the model casting on the background.- Duplicate the model image and convert it into a silhouette using the Levels.
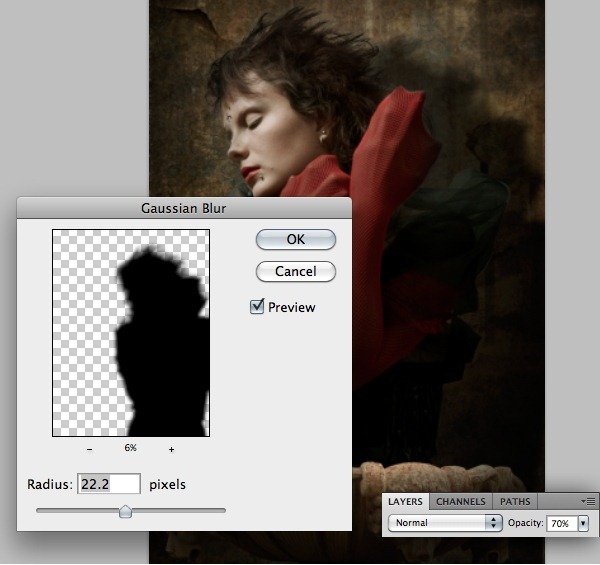
Step 12
In this step we are going to clean the texture of the glove's cloth material and make it smooth.- Select a mask in the shape of the gloves as shown using the Pen Tool (P) and separate the selection into a new layer.
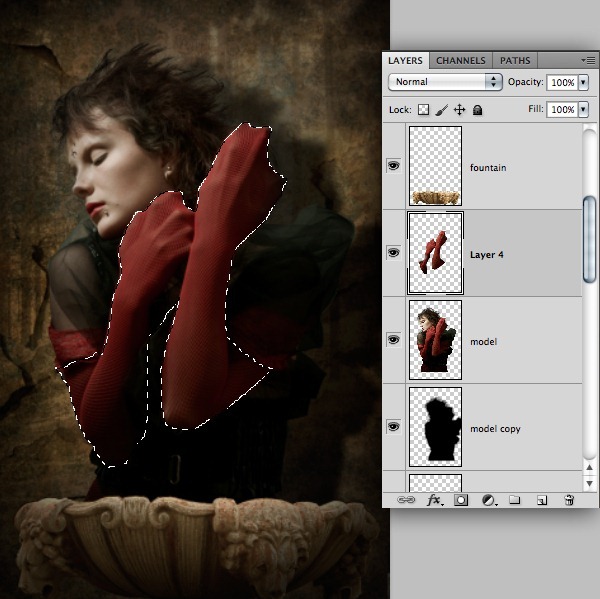
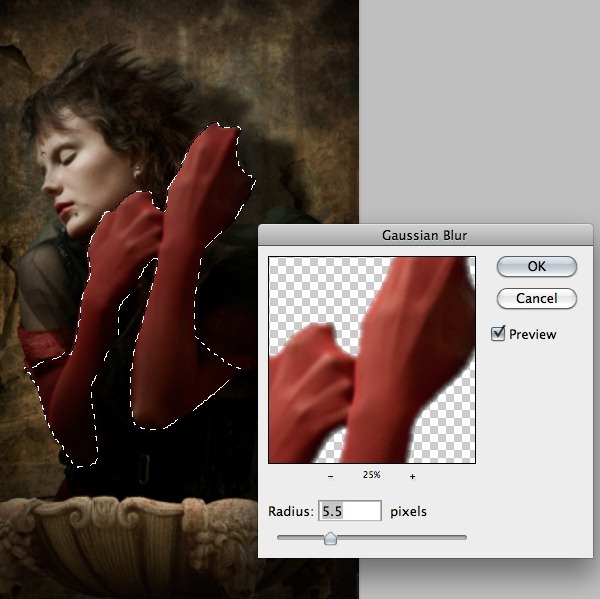
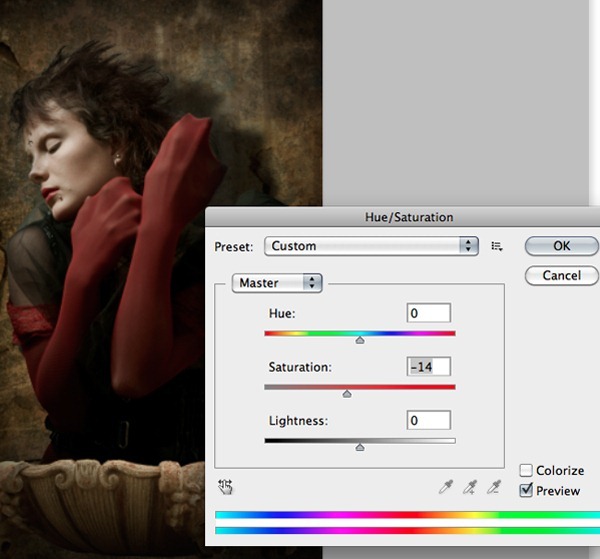
Step 13
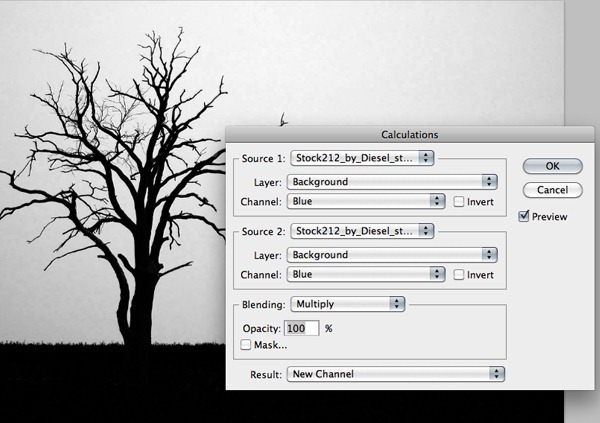
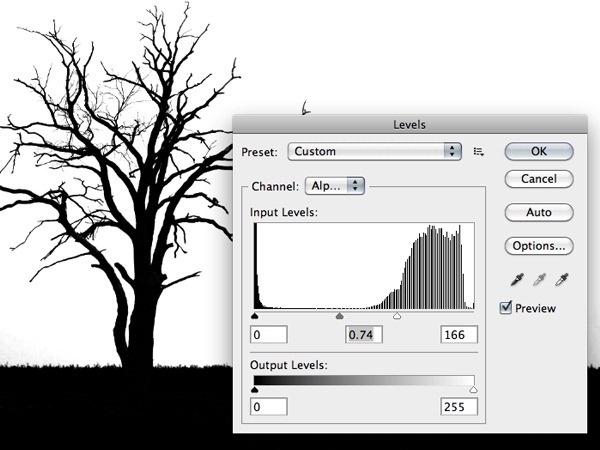
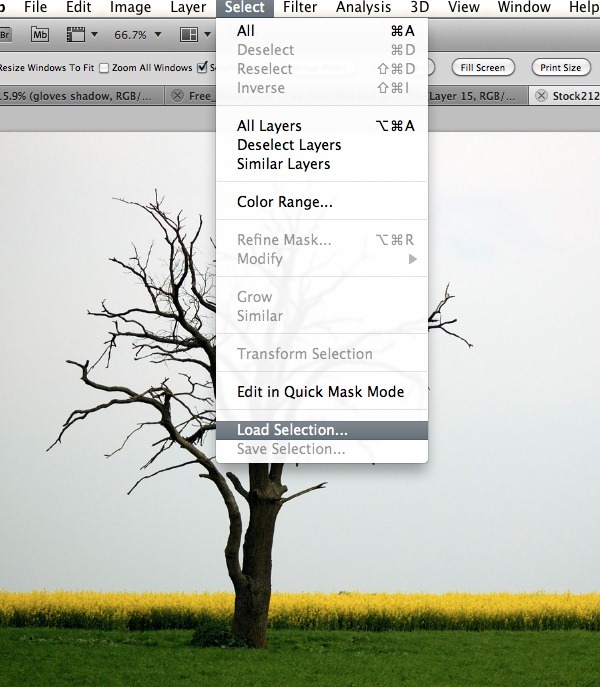
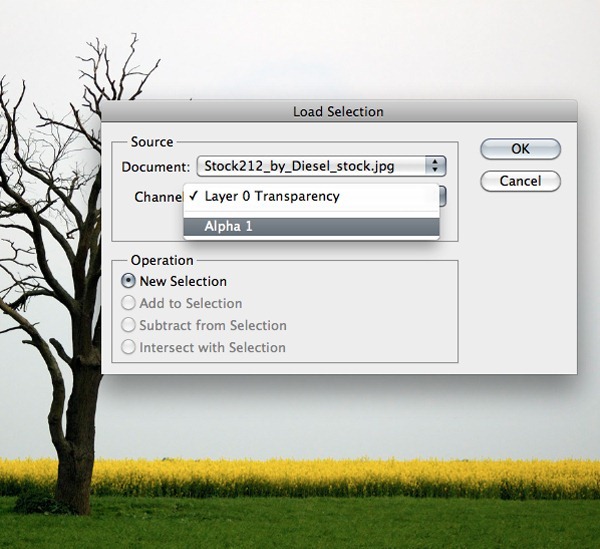
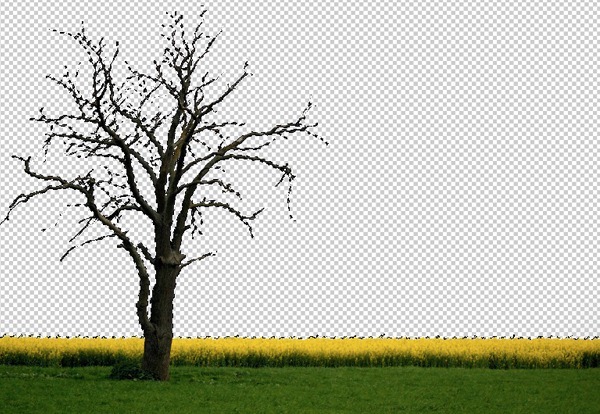
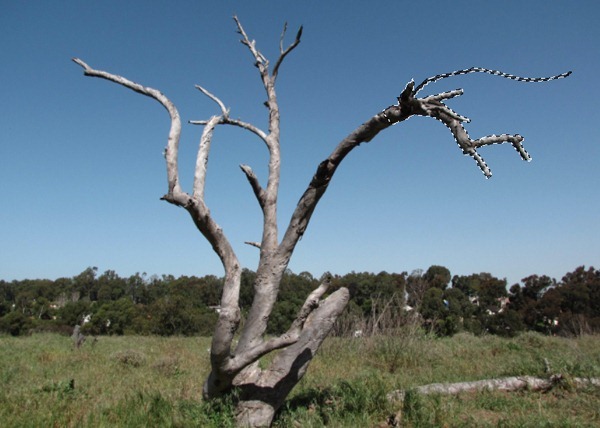
In this step we are going to use another advanced cutting technique to separate the tree from its background without loosing any details.- Select the Blue Channel from the Channels pallet and go to Image>Calculations and select Blue in the Channels drop-down list. After pressing OK there will be an Alpha layer created in the Channels pallet.
Step 14
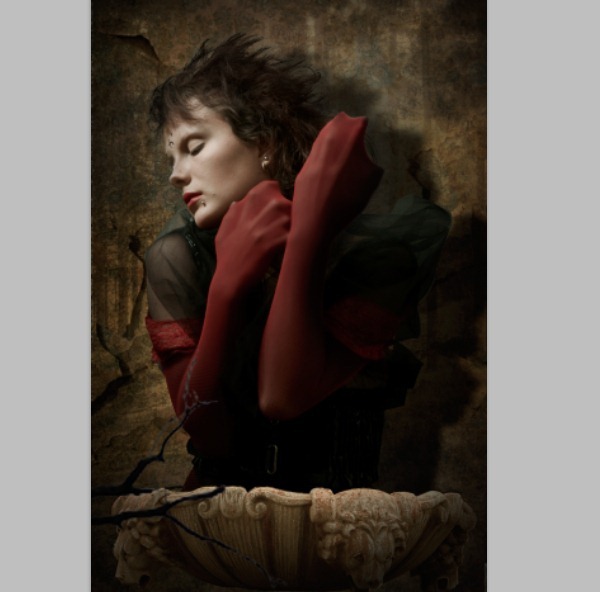
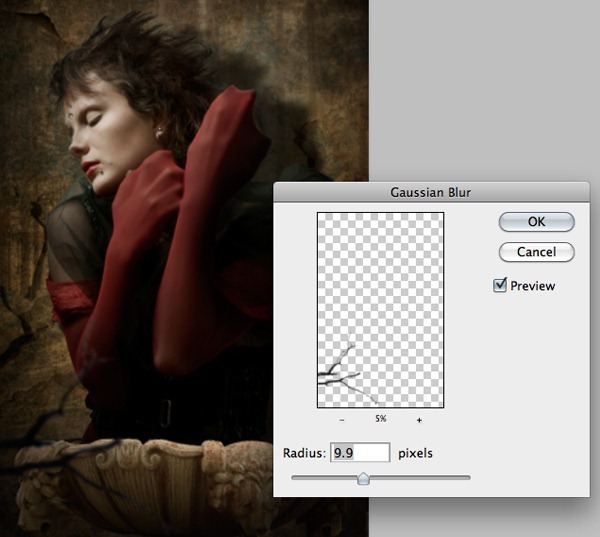
1) Now cut a part of the tree into a new layer using the Lasso Tool (L).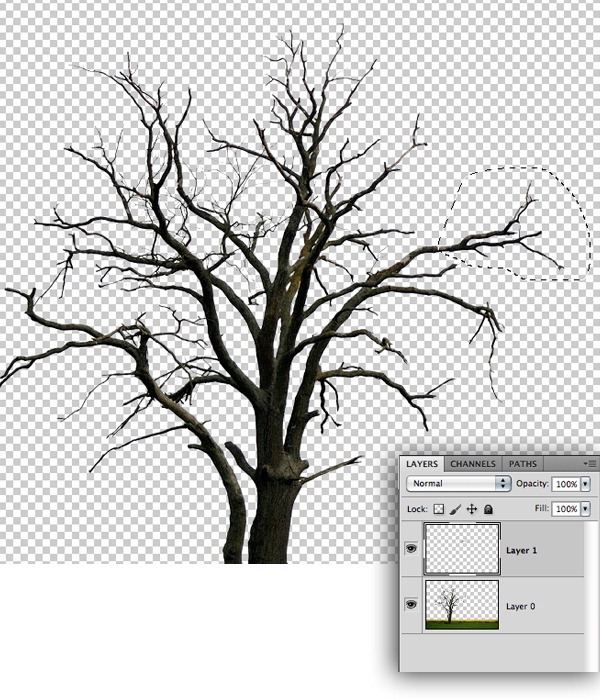
Step 15
Now by using the Stonage Art Brush brushes paint the cave painting on the background wall as shown to make the BG look like its since the stonage.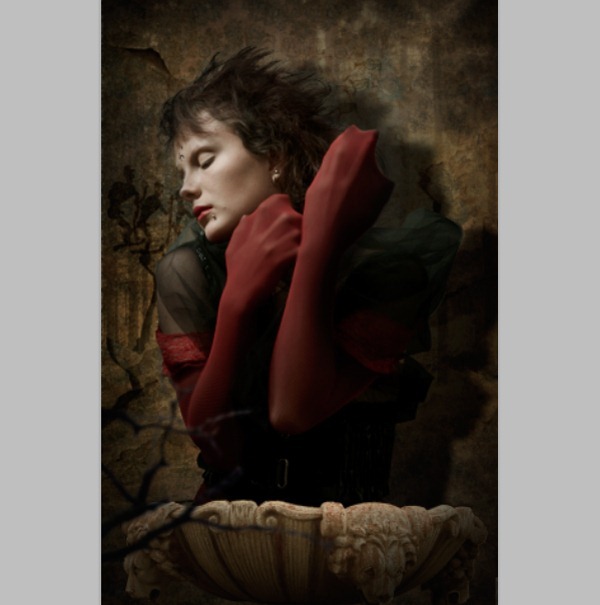
Step 16
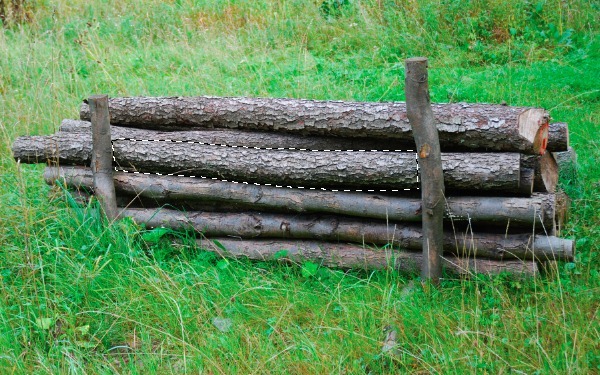
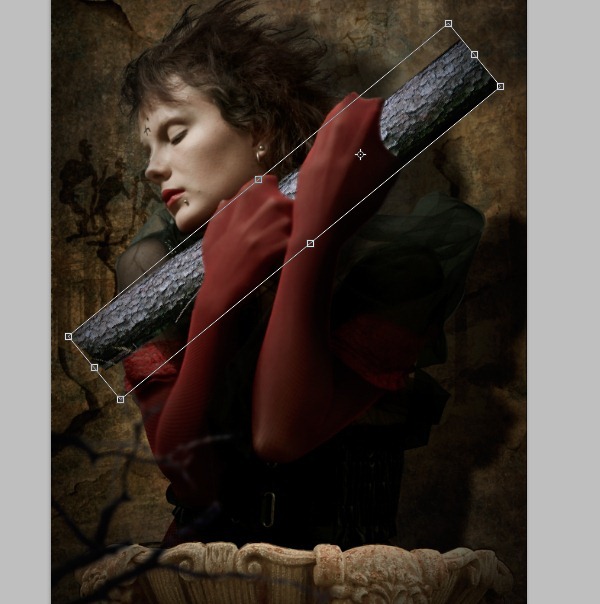
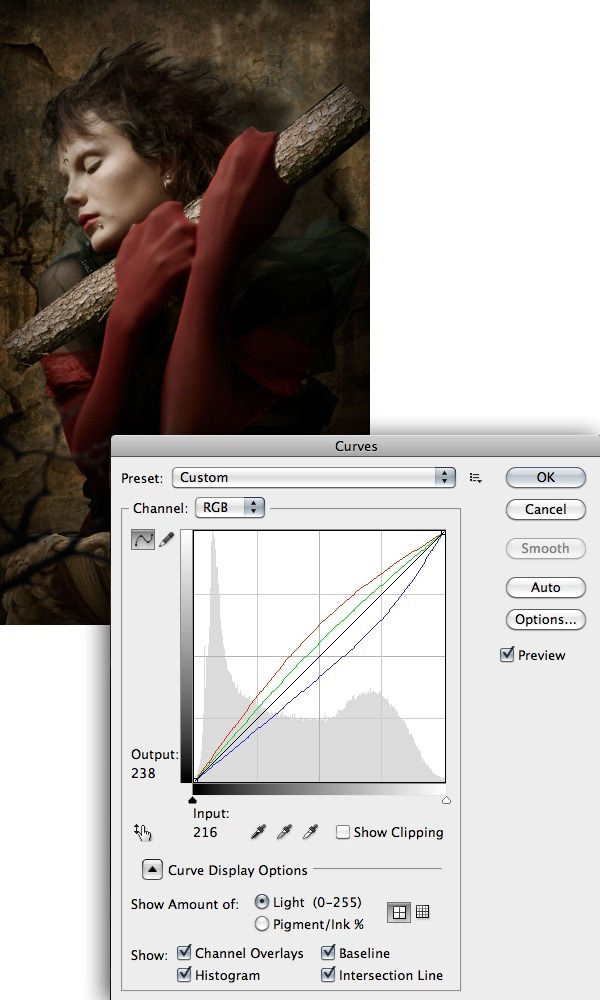
In this step we are going to create the sacred log in the hands of the model.- Import the image of the Logs and mask out the middle log in the pile into a new layer using the Pen Tool.
Step 17
In this step we are going to create some natural looking broken edges to the log.- Mask out the image of the broken log into a new layer and place it on the top end of the sacred log as shown.
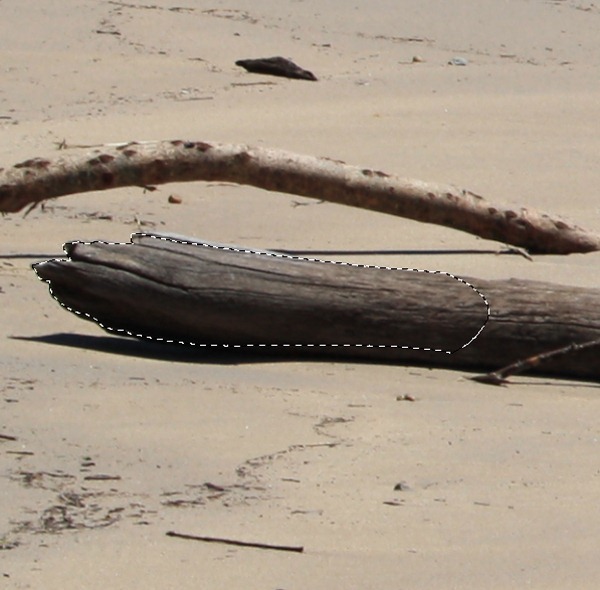
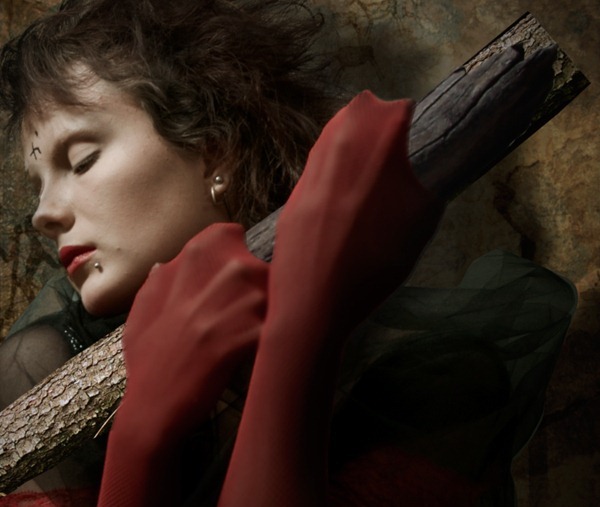
-Similarly follow the same procedure to cut the other end of the log.
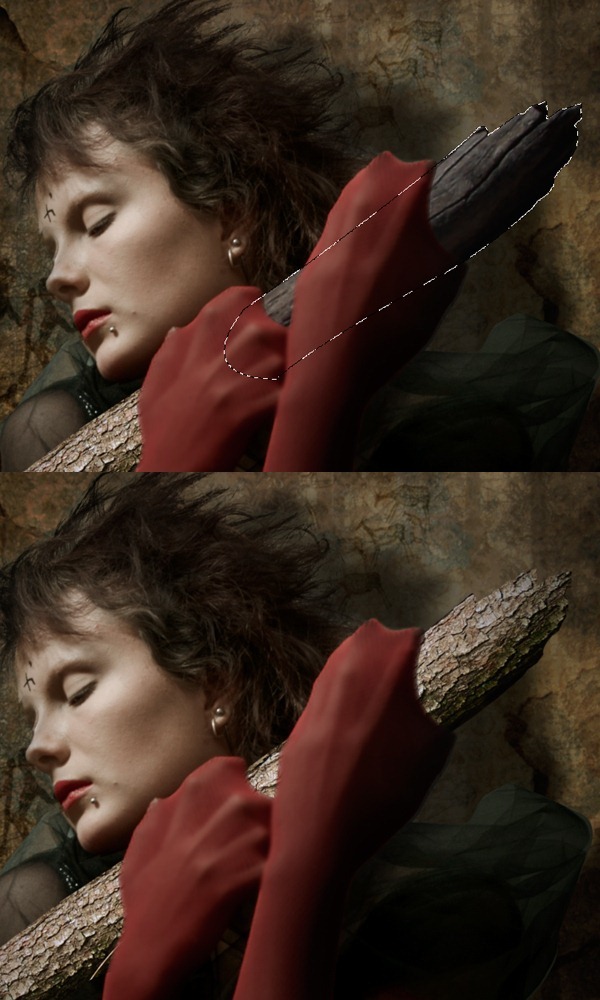
Step 18
Now by using the Burn Tool (O) burn the edges of the log to elevate the depth of the broken edges.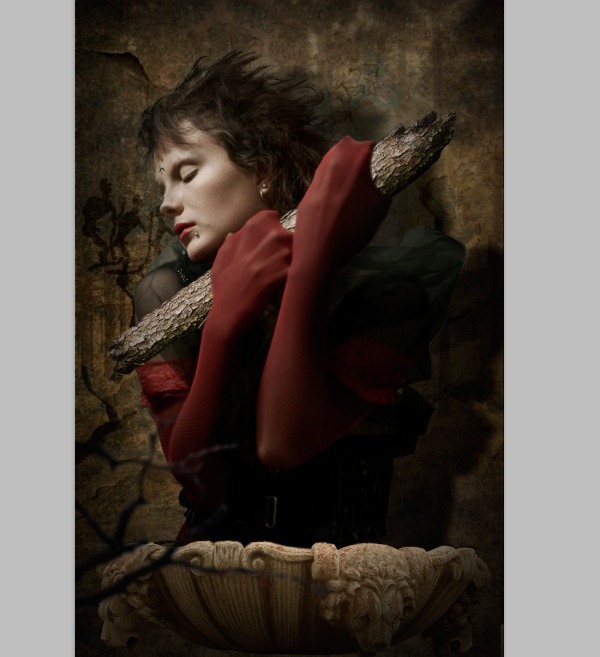
Step 19
Sacred objects are never complete without inscriptions on them, but here we are going to create a design on the log, which is considered as an inscription in this scene.- Using the Brush Tool draw the design fitting in the log.
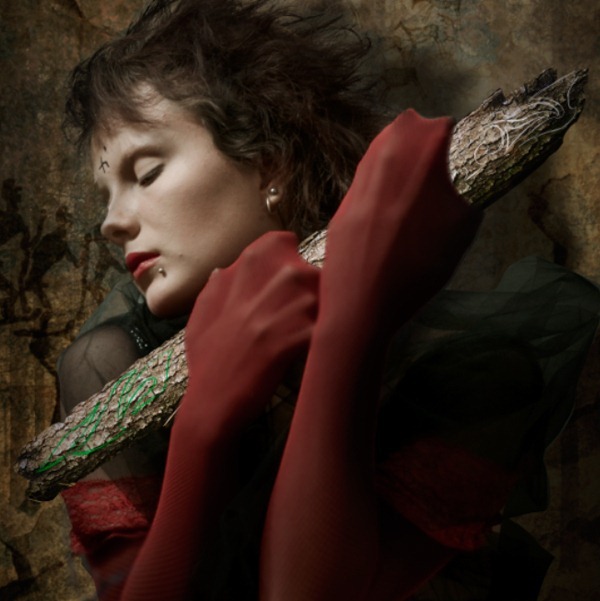
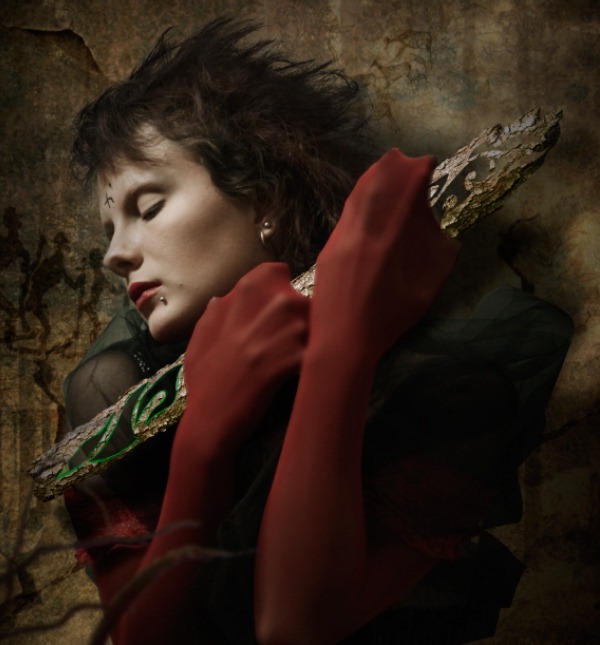
Step 20
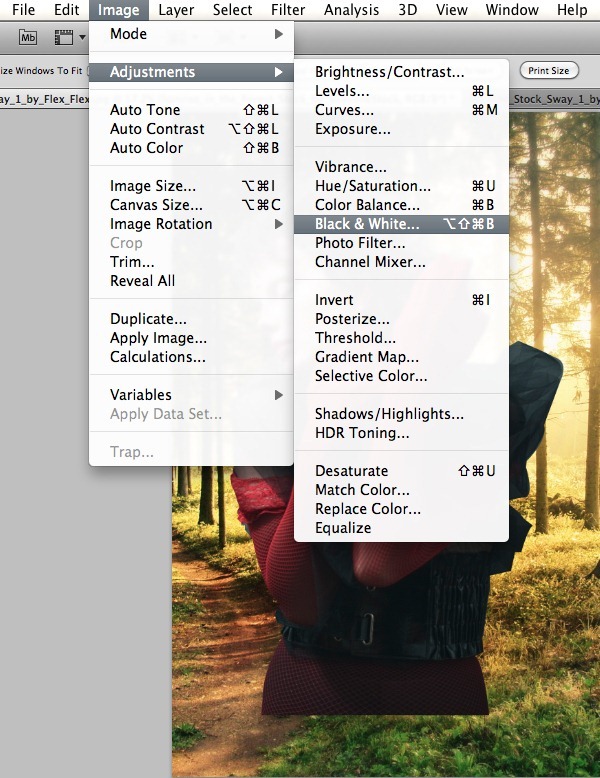
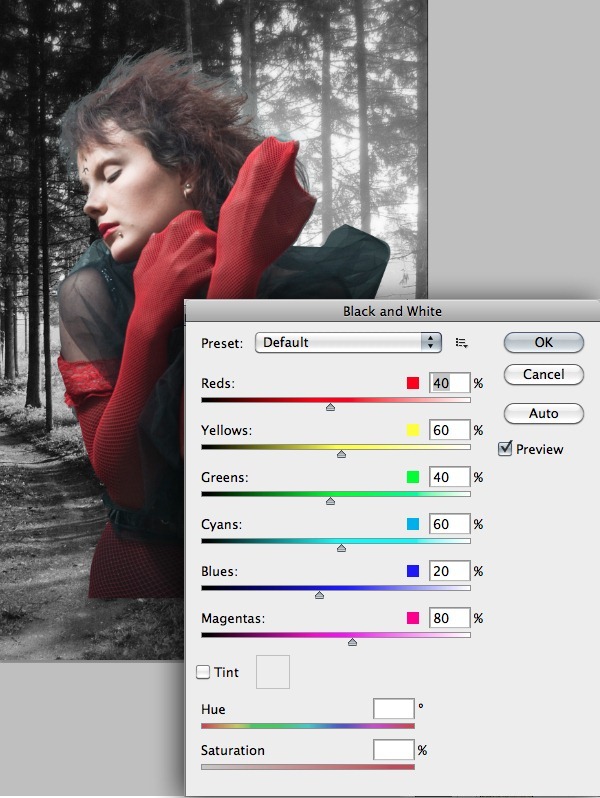
1) Now select the previously created layer of the separated wooden part of the design and convert it into Black/White (Image>Adjustments>Black & White).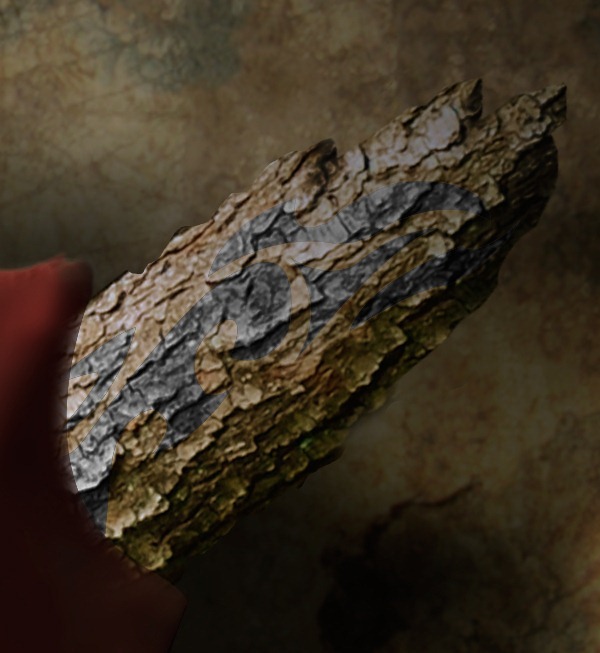
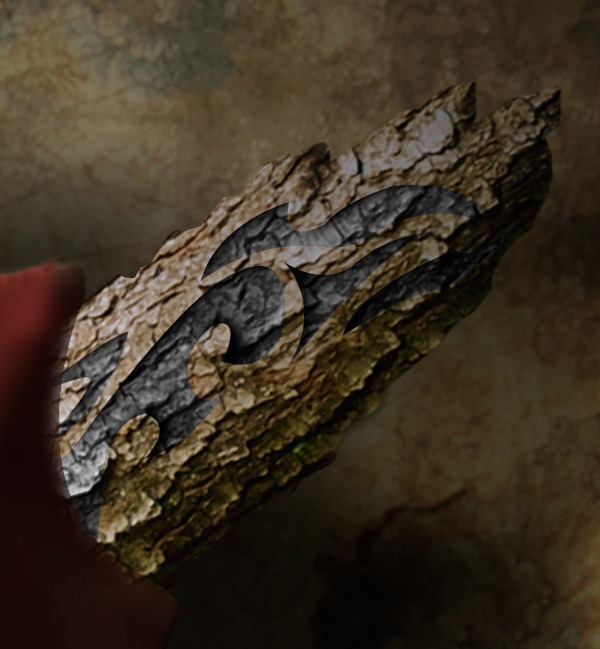
-Now paint some shadows to the design as shown using the Soft Brush.
Step 21
Since the sacred objects are considered to be old their edges will get worn-out and gets a dark burnt color, hence to get the same effect here burn the edges of the design using the Burn Tool.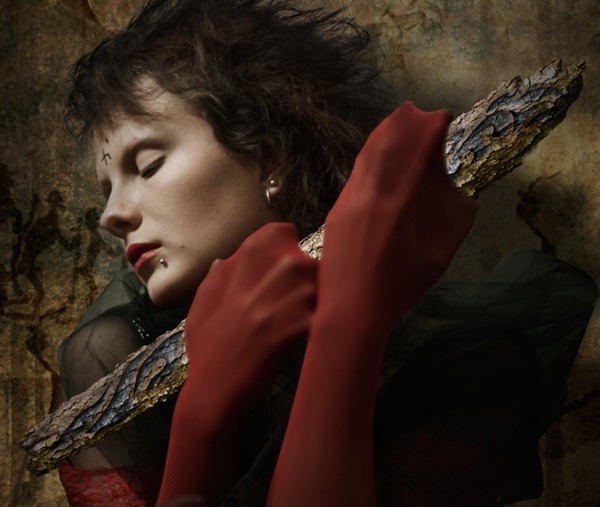
Step 22
Now create a shadow on the log as shown in a new layer to match the lighting of the scene.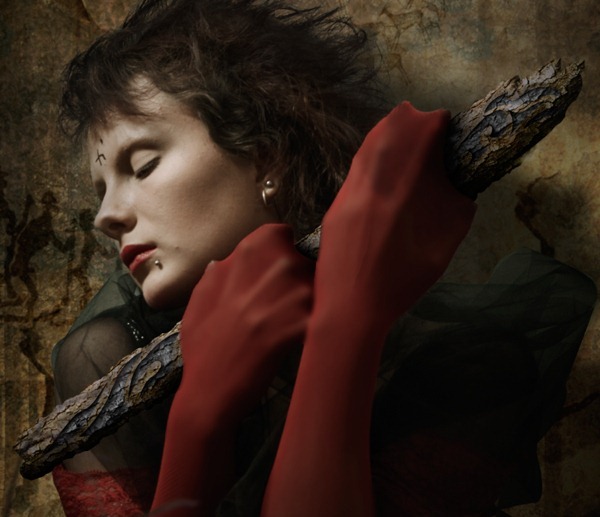
Step 23
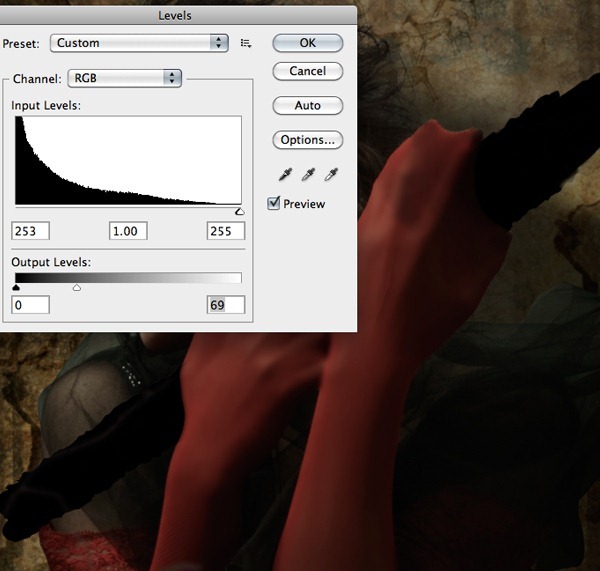
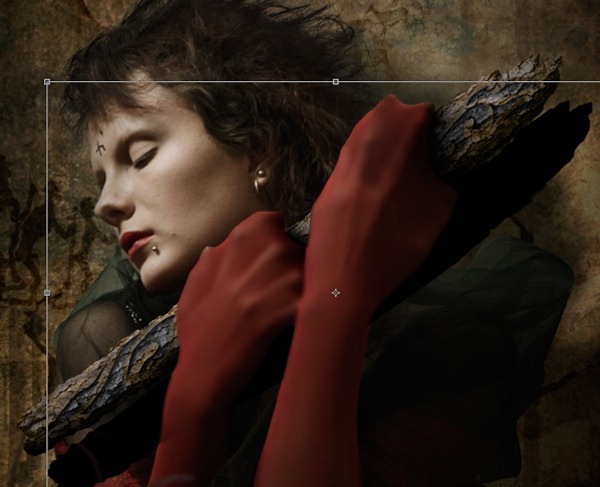
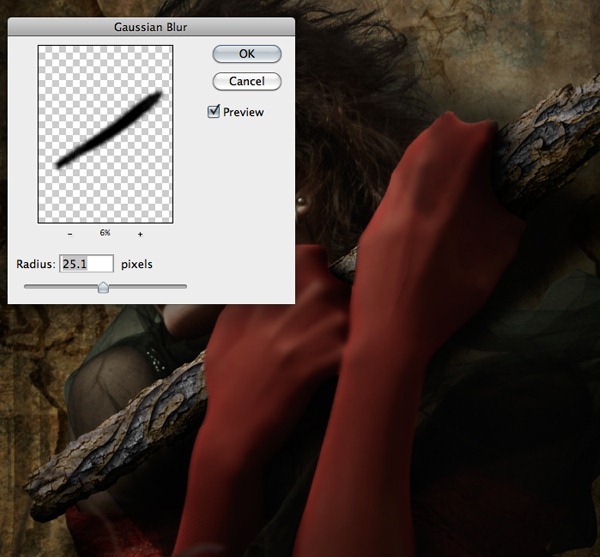
In this step we will be creating shadow of the log casting on the model and the wall.1) Duplicate the image of the sacred log and convert it into a silhouette using the Levels.
Step 24
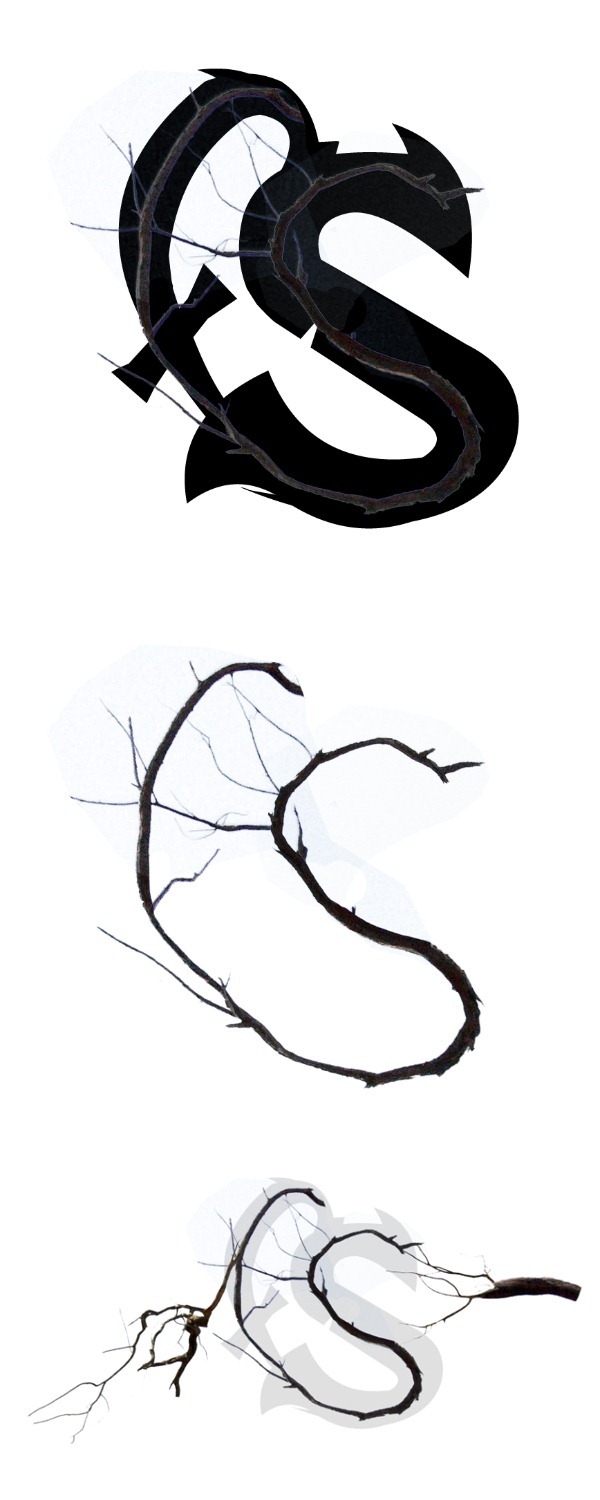
In this step we will be creating logo for our scene.- Using the font "Dark Crystal" type in 'S' and 'C' in two different layers.
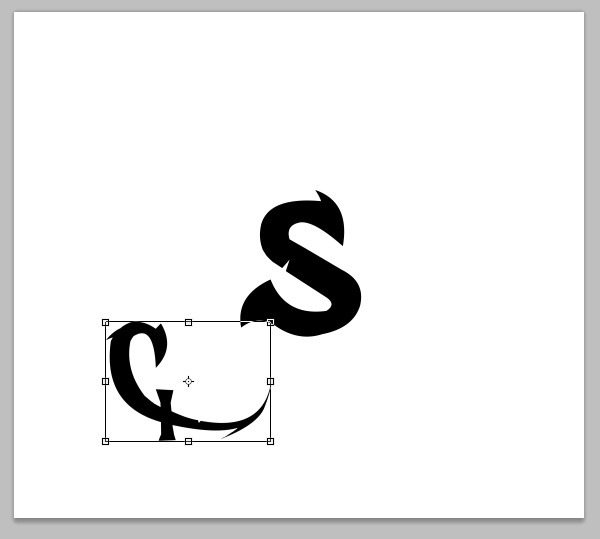
-It might be difficult to find the letters at a glance, so take your time in identifying the letters.

Step 25
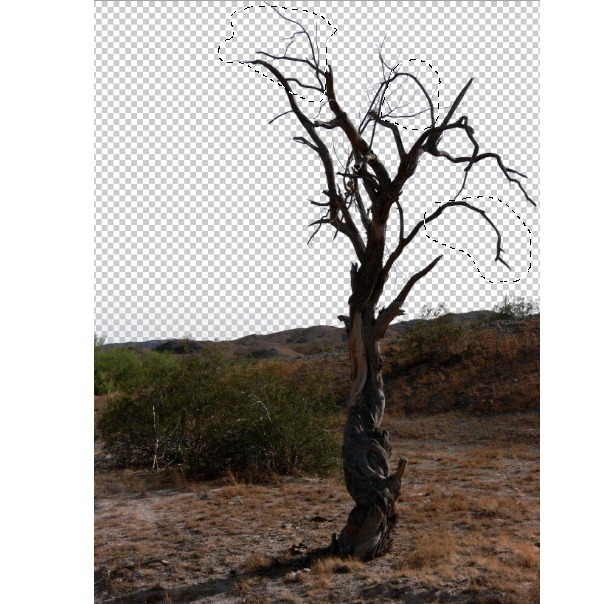
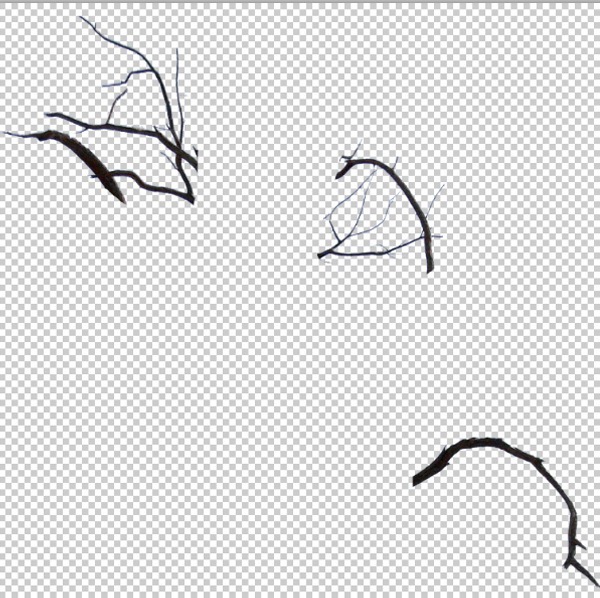
In this step we are going to create typography of our logo using the branches of a dead tree.- Follow the Step13 in cutting the background of the tree. Then by using the Lasso Tool cut few branches of the dead tress into a new layer.


Step 26
Now import the image of the logo we created in the previous step on to the working canvas and place it as shown.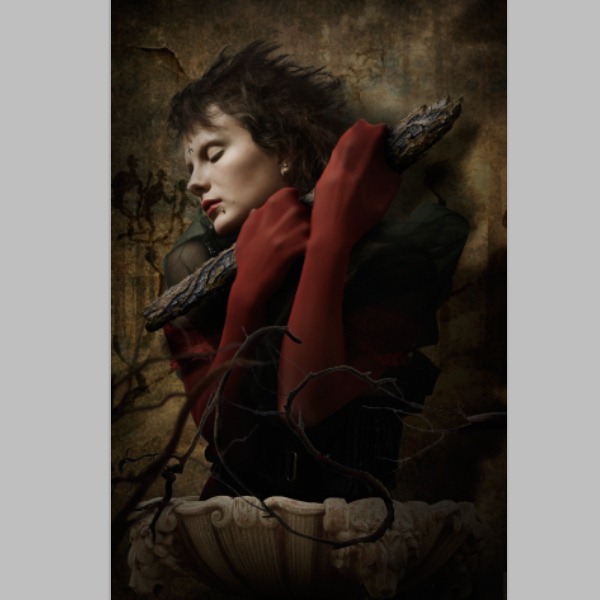
Step 27
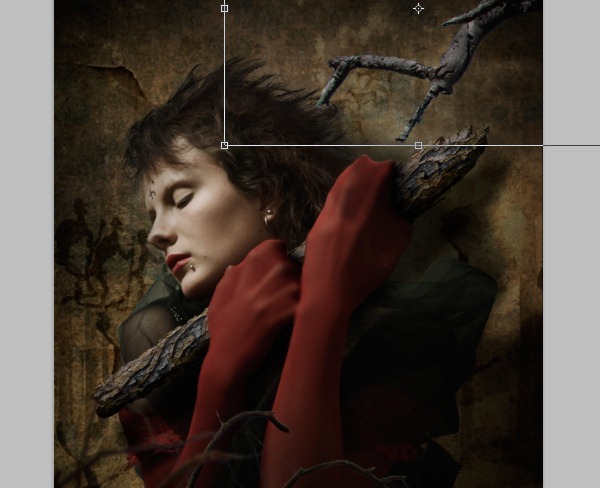
In this step we are going to add a dead tree branch in the scene on the top right corner, which will act as support to the snake that we are going to create in the next step.- Using the Magic Wand Tool (W) select a mask around the dead branch and separated into a new layer.
Step 28
1) Now import the image of the snake on to the working canvas and place it as shown.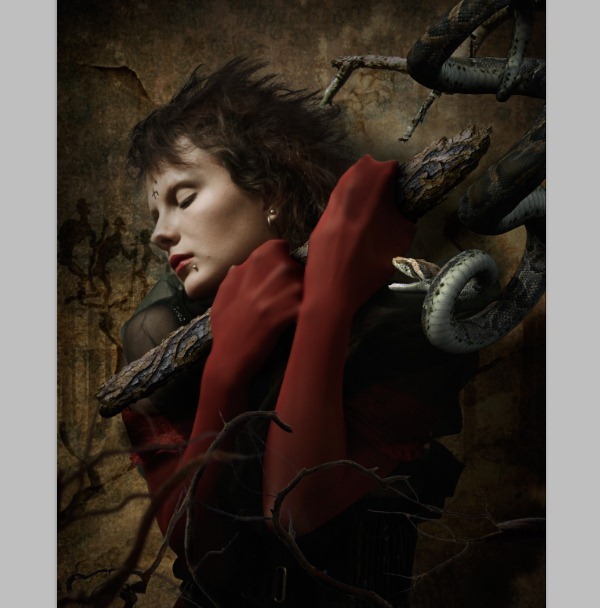
Step 29
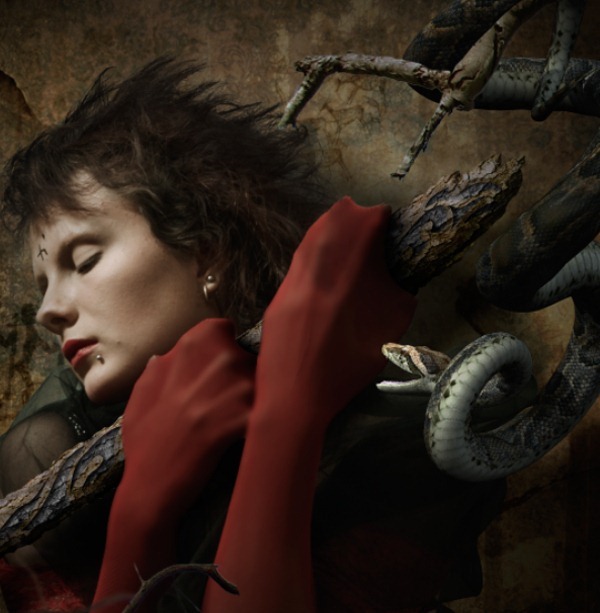
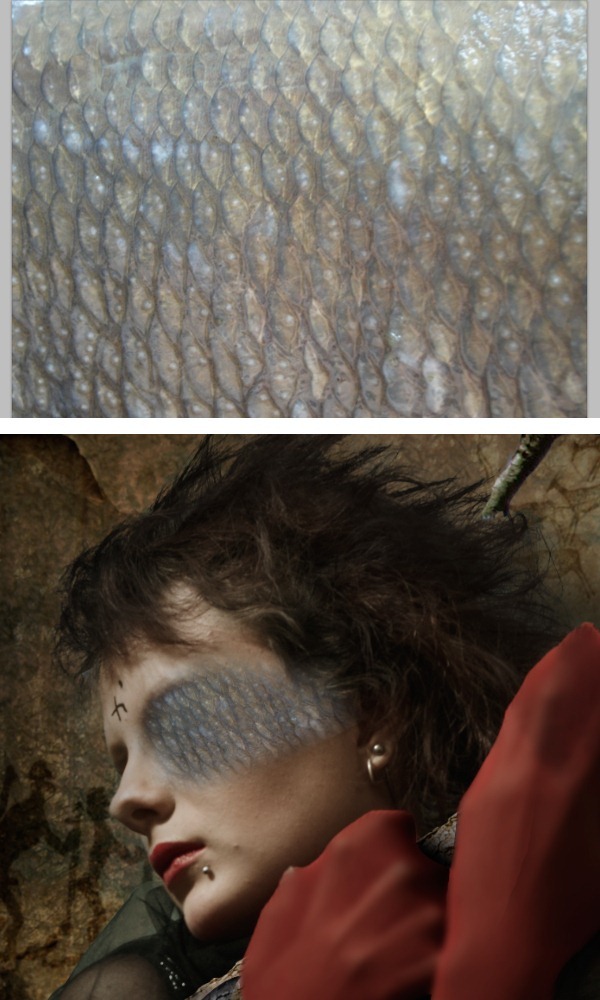
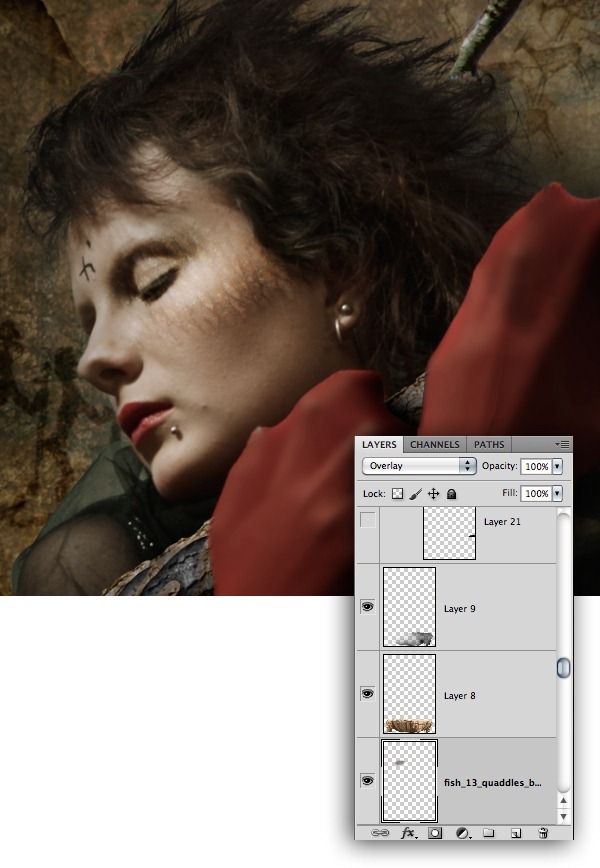
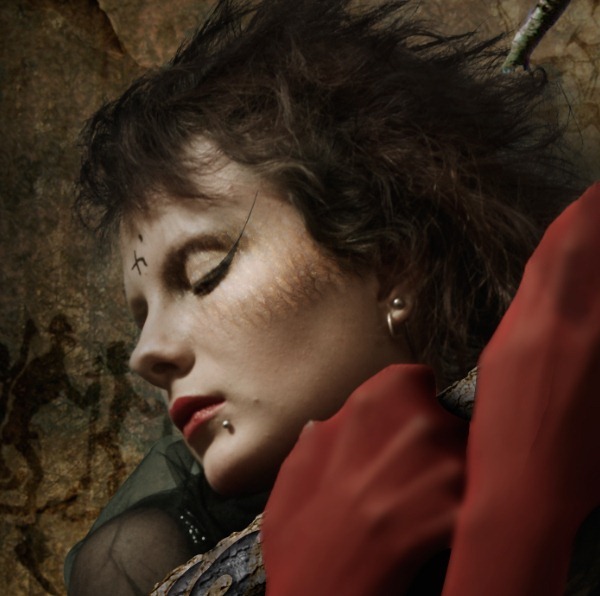
In this step we are going to add texture to the facial skin.- Import the image of the fish scales texture and place it on the face of the model as shown.
Final Results
![final-results[1] final-results[1]](http://photoshoptutorials.ws/images/stories/db782b433a22_144DD/final-results1.png)
Keine Kommentare:
Kommentar veröffentlichen