
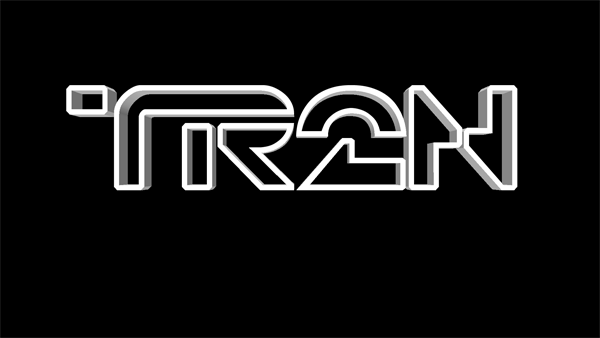
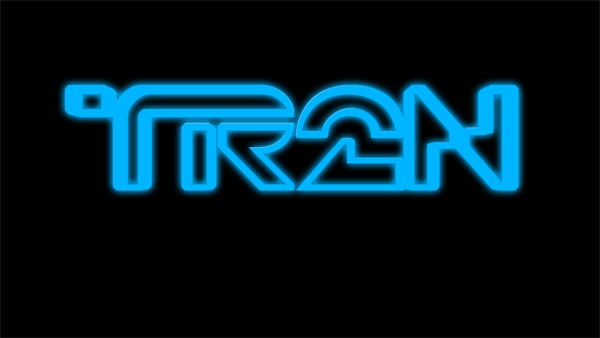
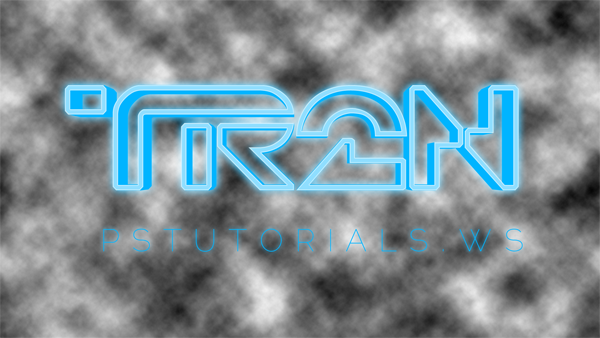
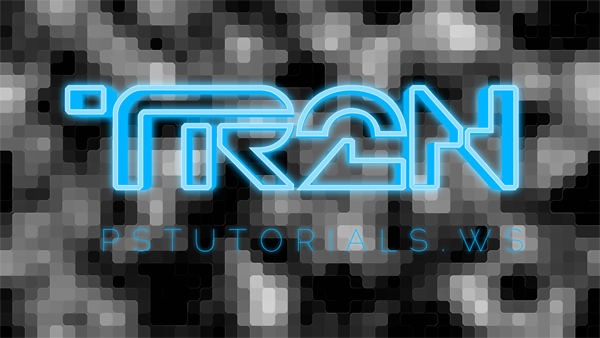
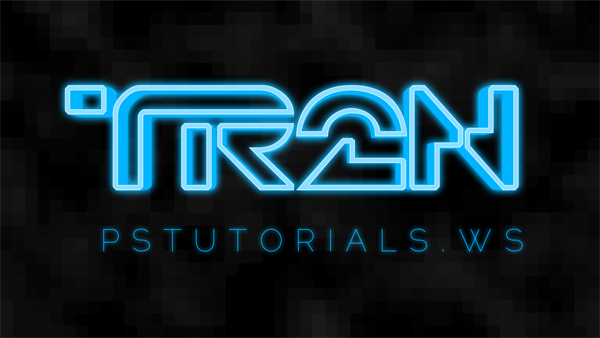
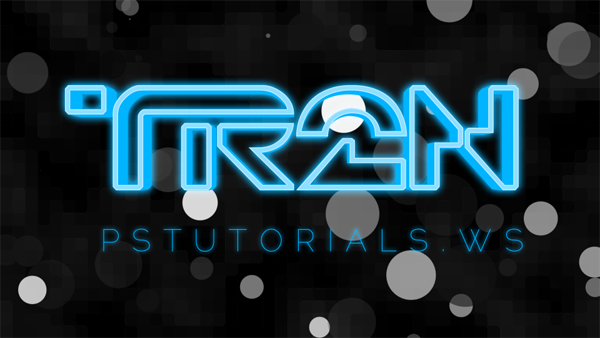
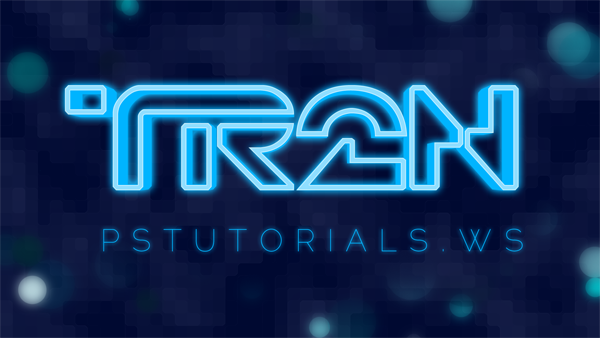
Create glowing 3D text and beautiful effects using only non-destructive Photoshop techniques. This tutorial will show you how to create 3D text, give it a futuristic blue glow, and finish it off with a modern bokeh and grid background. There are also a few really cool Photoshop tricks scattered in this tutorial. To follow this tutorial, you’ll need Photoshop CS5 Extended (Not the regular version).
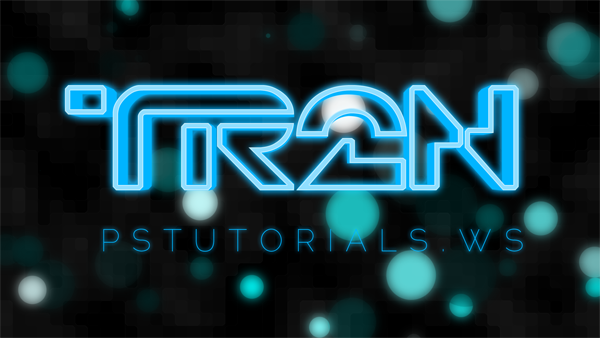
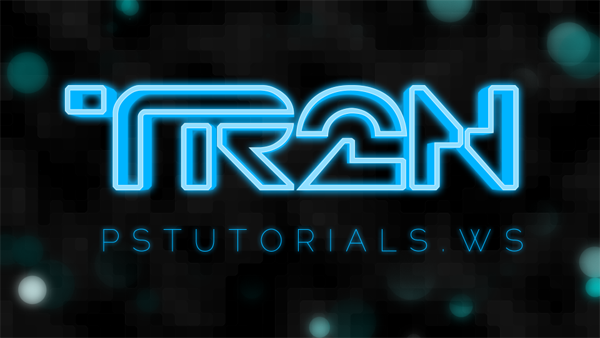
What You’ll be Making


Download the PSD
TRON-Inspired Text.zip | 5.98 MB
Download from Website
Download from Website
TRON-Inspired Text Photoshop Tutorial
Tutorial Resources
Before you begin this Photoshop tutorial, make sure you have these fonts installed. You’ll need to have them installed before running Photoshop or else you won’t be able to use it. You also need the extended version of Photoshop CS5 (not the regular version).You can substitute the Raleway Thin font with Neue Helvetica 35 Thin if you have it.
Step 1
Start by creating a new 1920x1080 pixels document. To create a new document, go to File > New.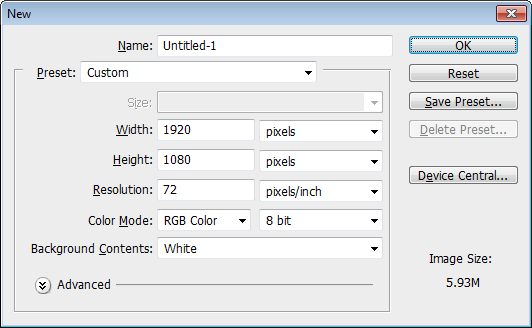
Step 2
Make the background black. You can do this quickly by pressing Ctrl/Cmd+I or going to Image > Adjustments > Invert to invert the color.
Step 3
Type in the text you like to use with the TR2N font with a font size of 480pt. It’s best to use something around 4 characters. I’ll be writing TR2N instead of TRON to give credit to the author Jeff Bell for this beautiful font.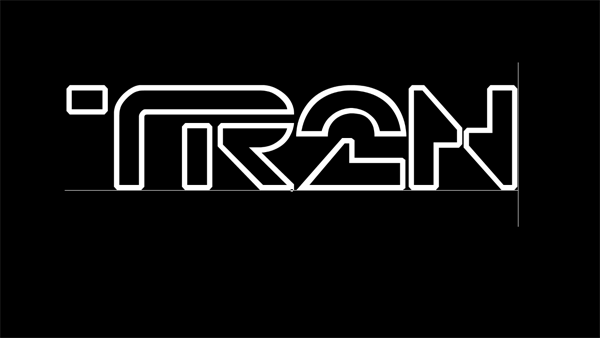
Step 4
Duplicate the text layer then rename it to TR2N 3D. Make sure this layer is positioned as the top layer.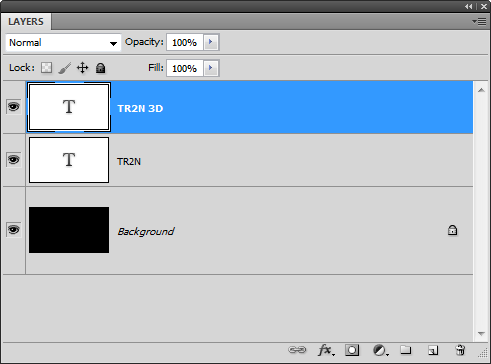
Step 5
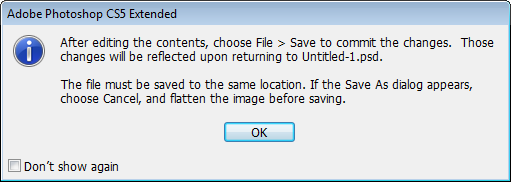
Make sure you have the TR2N 3D text layer selected then go to 3D > Repoussé > Text Layer. You’ll get a popup that asks if you want to rasterize the text – just click yes. If you don’t see the 3D menu, you might not be using Photoshop CS5 extended. There are two versions of Photoshop and the 3D tools are only available in Photoshop CS5 Extended.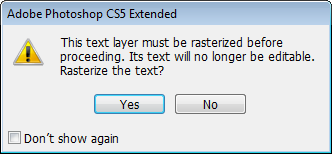
Step 6
In the Materials area, click on the drop down menu then choose the sphere with no texture. This will remove all the textures from your text. Don’t click OK yet.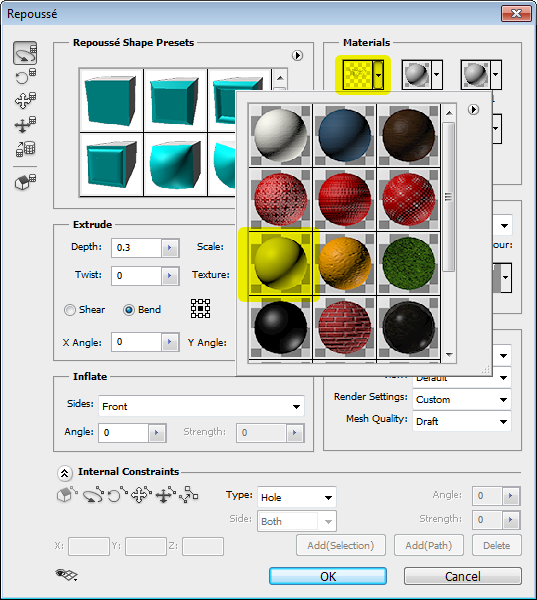
Step 7
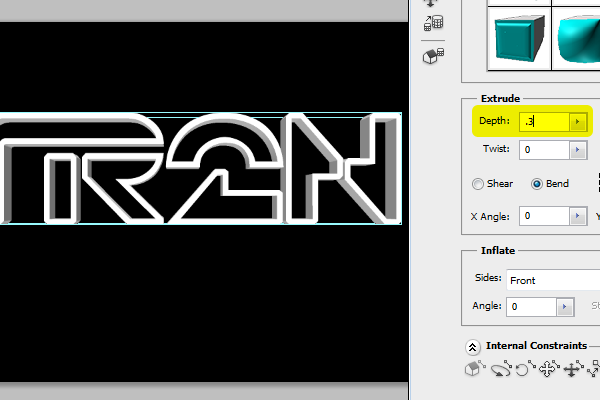
In the Bevel settings, select Front then set the height to 5, width to 0.5, and contour to the deep cove contour. Click OK to apply the changes.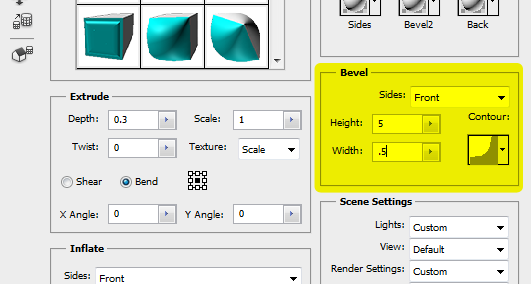
Step 8
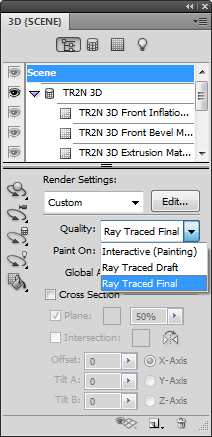
We’re done creating the 3D text! Now that we’re done, we can allow Photoshop to improve the quality of the 3D text.One of the most common problems people experience when trying out the 3D tools is that they get jagged low quality edges. Photoshop does this to improve the performance while you’re editing. Once you’re done, you can change the quality and have Photoshop render a higher quality image.
This quality setting is hidden in the 3D panel. Go to Window > 3D to bring up the 3D panel. In the Quality drop down menu, select Ray Traced Final.
Step 9
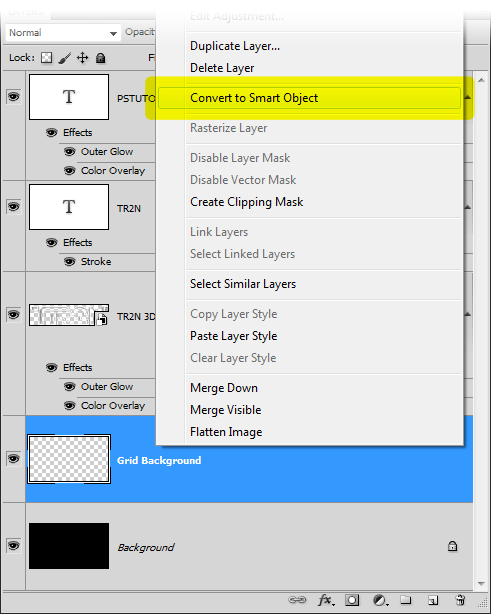
Now we’re going to apply some layer styles to give it a glow. Before we begin, I'm going to convert it to a Smart Object. This step is optional - you don't have to do it. I just like doing it because it protects me from accidentally changing the settings (ex. clicking on the visibility icon of the 3D settings). Every time this happens, Photoshop will have to restart the rendering. If you want to convert the layer into a Smart Object, right-click on the layer then choose Convert to Smart Object.
Step 10
We’re now going to use layer styles to give the 3D text a blue glow. Right-click on the TR2N 3D layer then choose Blending Options.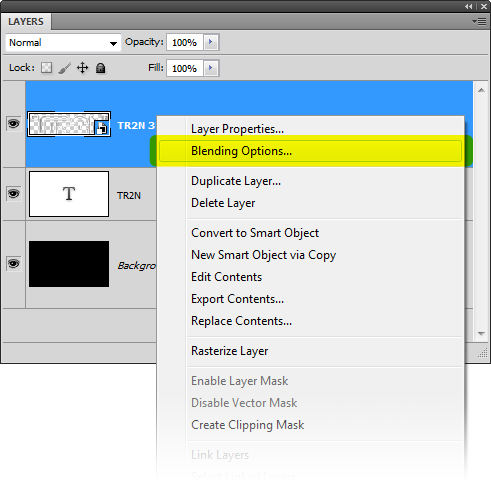
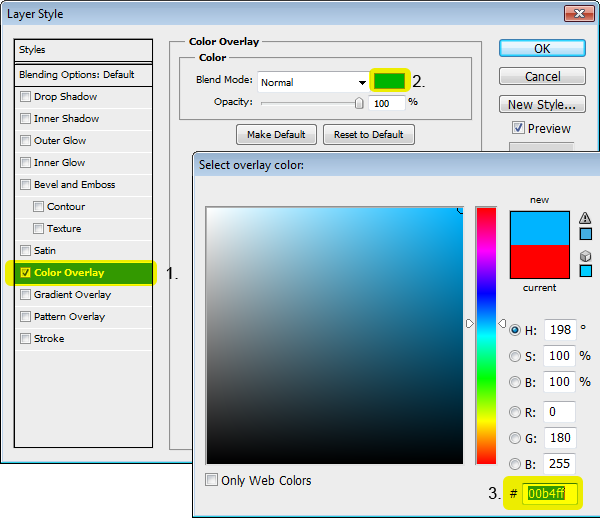
Step 11
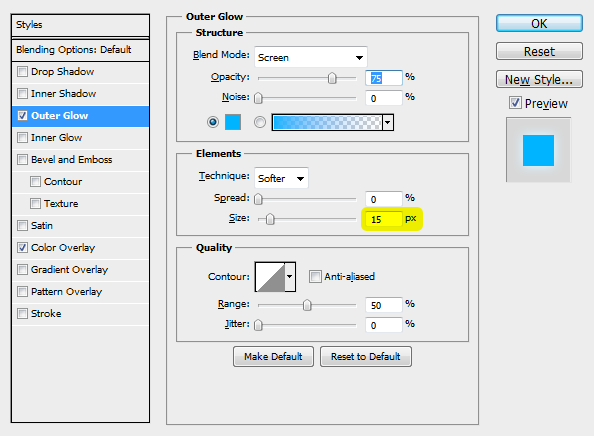
Select the Outer Glow layer style then set the color to the same color we used earlier (#00b4ff). Set the size to around 30px. Note that the size you use will vary if you used a different font size than the one we used. Click OK to apply the changes.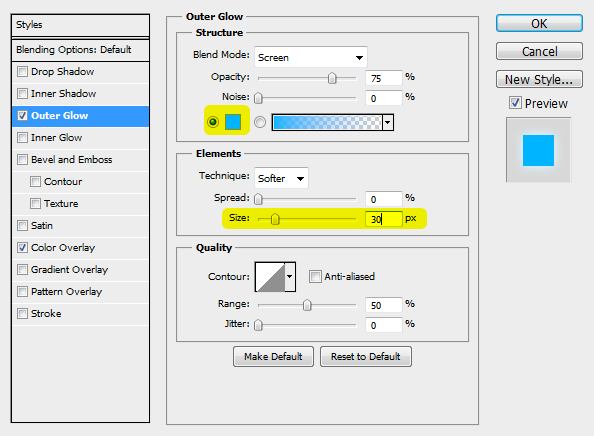
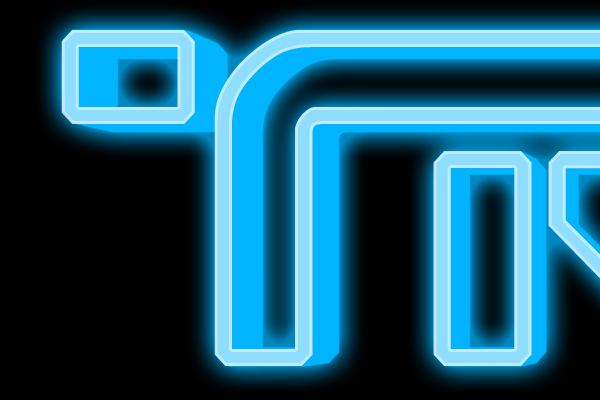
Step 12
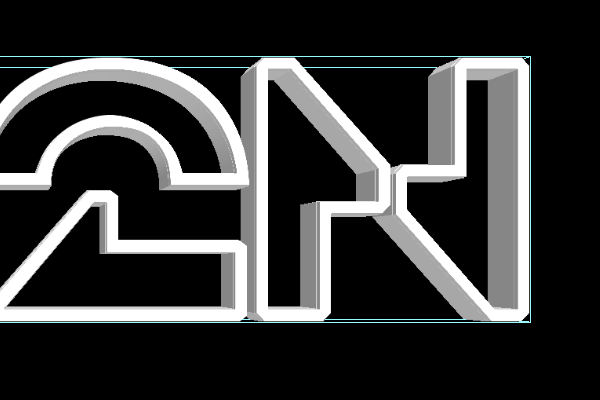
Now we’re going to work on the front face of the 3D text to give it a glowing effect. In the Layers palette, move the TR2N layer above the TR2N 3D layer. You can move the layer by dragging it above the TR2N 3D layer.
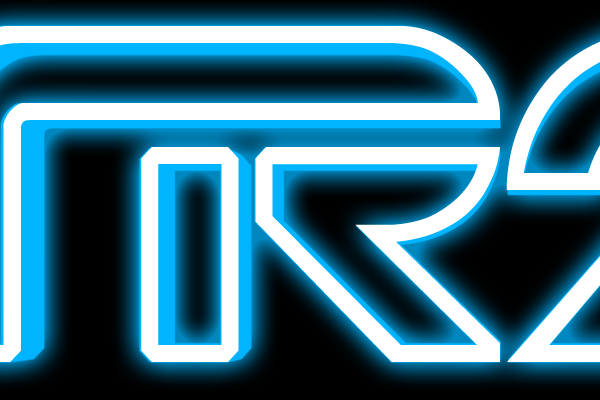
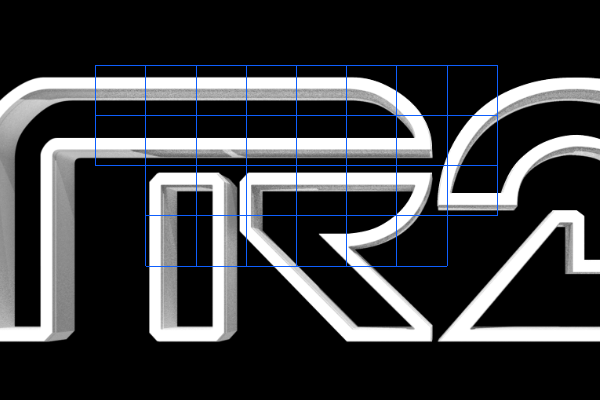
Step 13
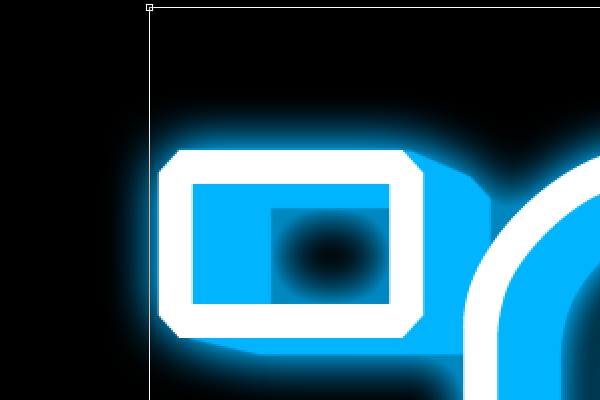
If you zoom in and look closely, chances are that your white outline is not aligning perfectly with the 3D text.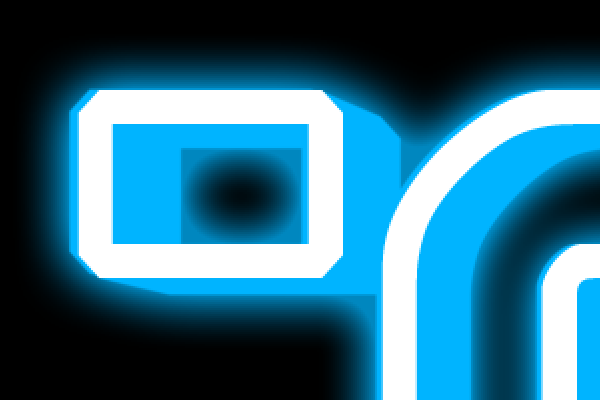
Step 14
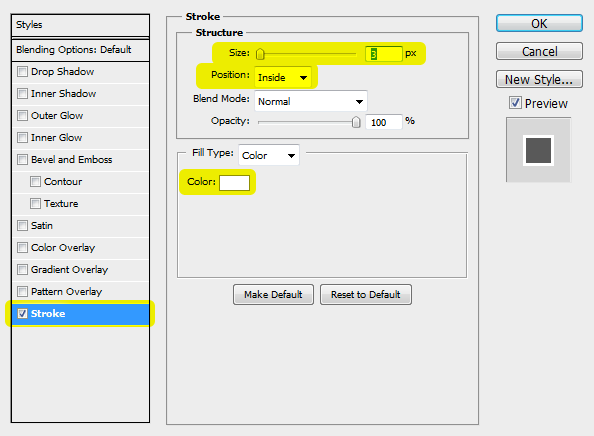
We’re now going to add a very thin outline that will improve the look of your text. Right-click on the layer then choose Blending Options.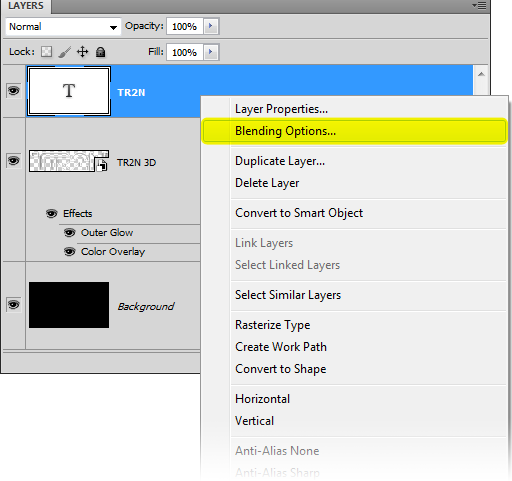
Step 15
It’ll look like you did nothing because the text is white and the outline is white. To fix this, set the Opacity and Fill of the TR2N layer to 75%.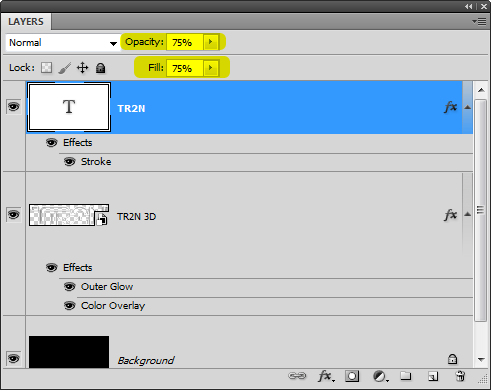
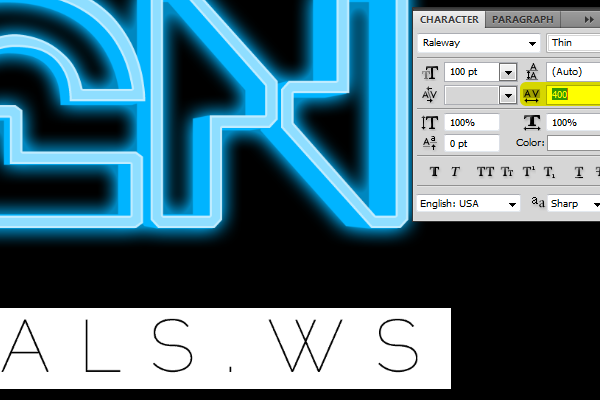
Step 16
Select the Text tool and type some below the TR2N text. I used the font Raleway. If you have the Neue Helvetica 35 Thin font, you can use that instead – it’s the same font that was in the movie but it’s not free ($35 USD).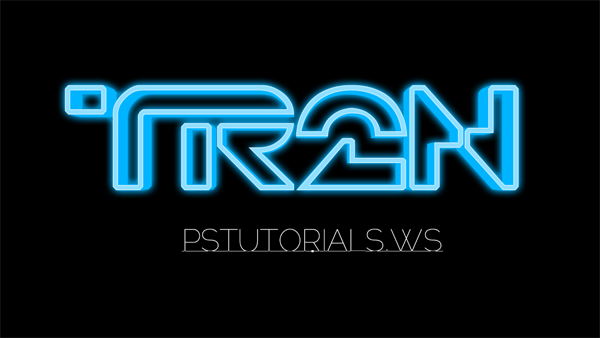
Step 17
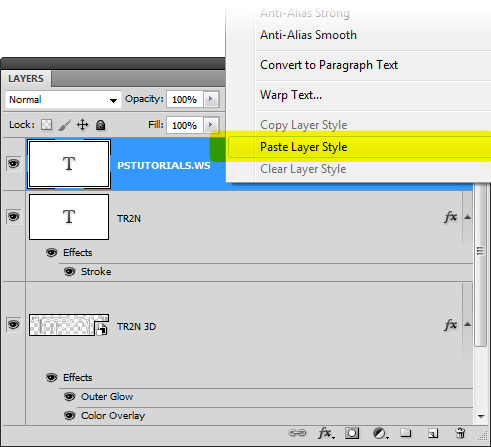
We’re going to apply a blue glow to the subtitle. Because we did this earlier, we can copy the layer style settings from the logo and paste it into the subtitle. To do this, right-click on the TR2N 3D layer and click Copy Layer Style then right-click on the subtitle layer and click Paste Layer Style.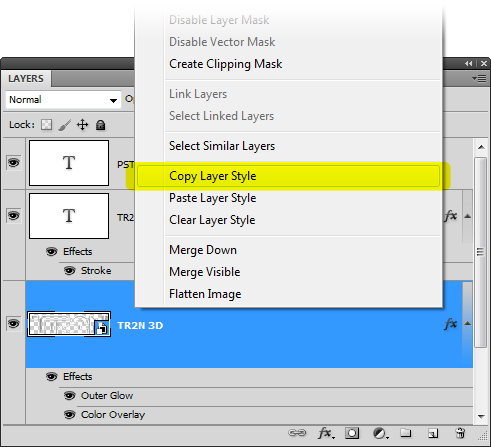
Step 18
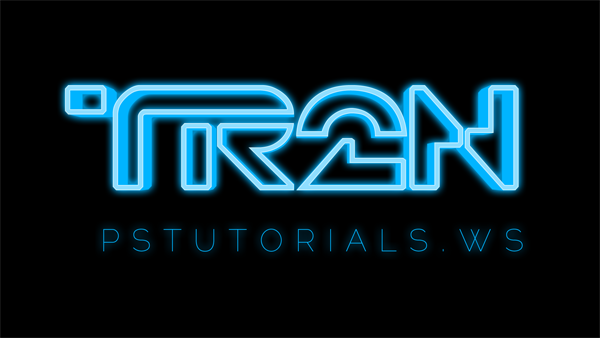
Before we continue, we’re going to reduce the outer glow a little on the subtitle. Double-click on the Outer Glow layer style.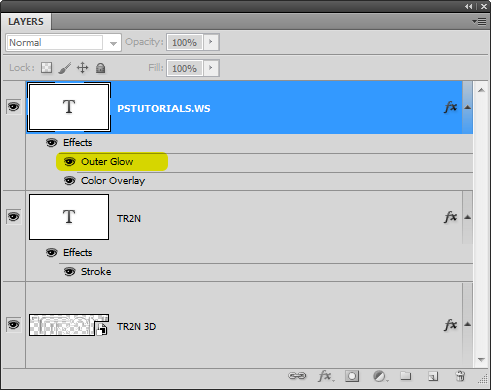

Step 19
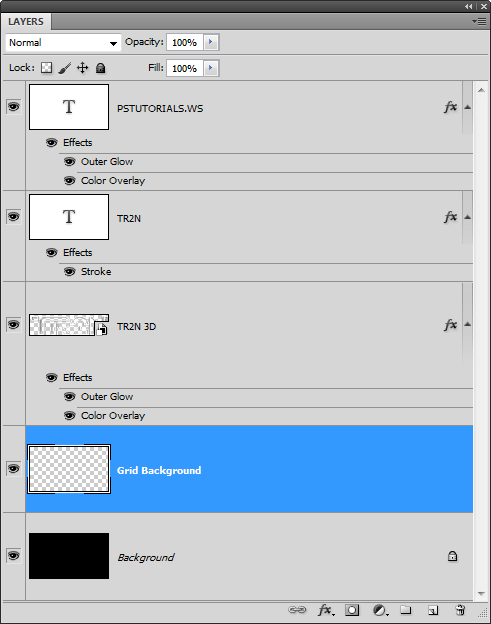
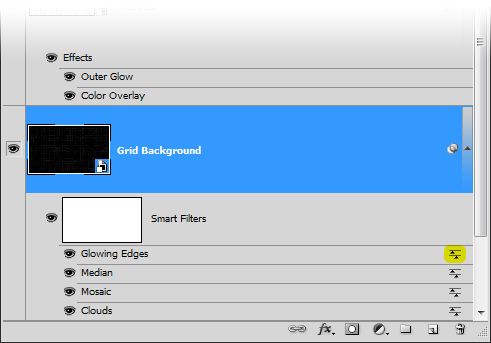
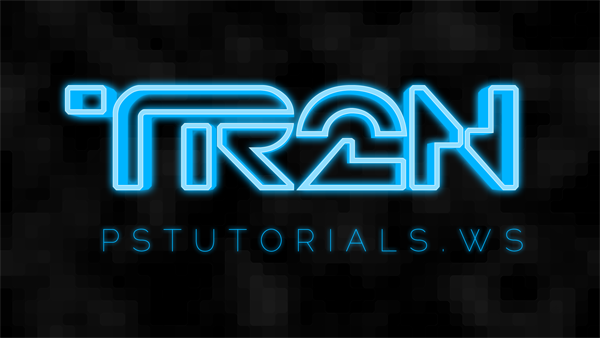
Just having 3D text on a black background is boring so we’re going to create a cool grid background and top it off with some bokeh. We’re going to start off with the grid background.This grid background is pretty cool because it uses only Smart Filters and you can create unlimited variations with two clicks. I’ll show you more about this later. First, let’s create a grid background. Create a new layer and position it above the Background layer. Rename this layer to “Grid Background”.
Step 20
Now we’re going to apply a secret combination of filters to create a grid background - no drawing necessary! First, make sure your foreground and background colors are set to the default colors. You can reset the foreground and background colors by pressing D on your keyboard.
Step 21
We’re going to turn the clouds into a mosaic pattern with round edges. Go to Filter > Pixelate > Mosaic. Set the Cell Size to 40 square then click OK.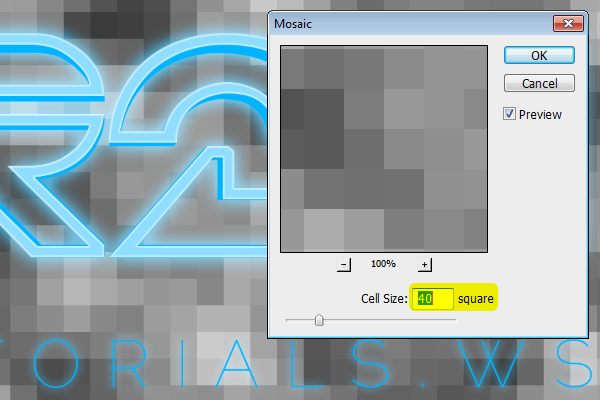
Step 22
Now we’re going to give the mosaic pattern some glowing edges. Go to Filter > Stylize > Glowing Edges. Set the Edge Width to 1, Edge Brightness to 10, and Smoothness to 1 then click OK.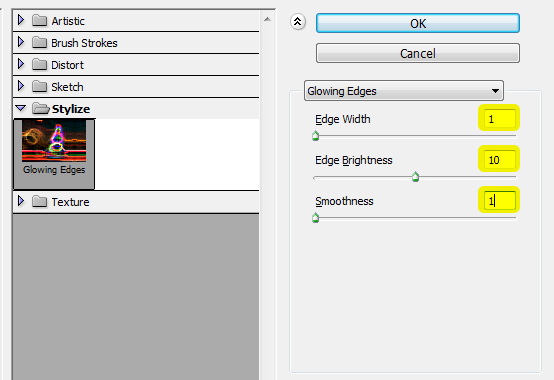
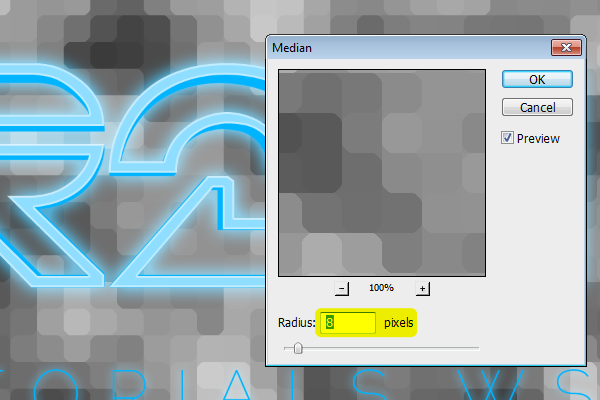
Step 23
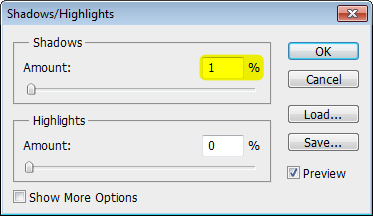
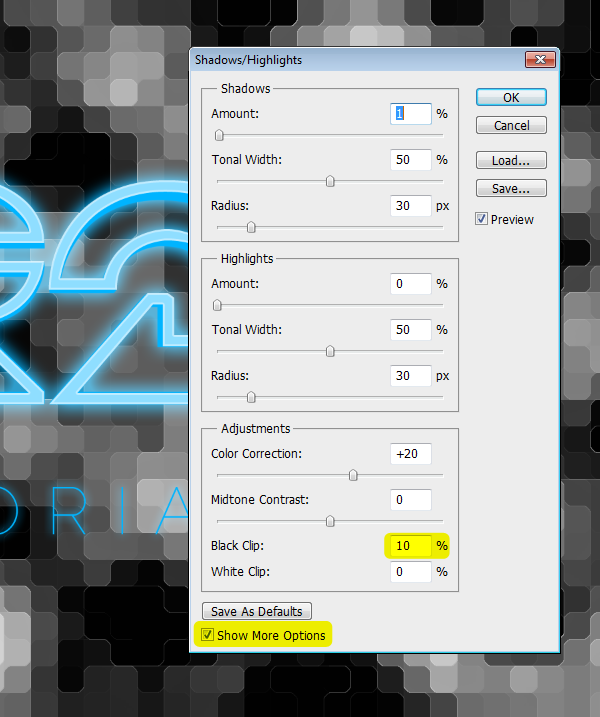
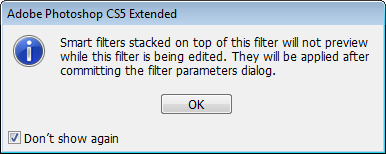
Now we’re going to add some contrast to it by adjusting the black clip. We’re going to use a trick to do this because we can’t use the Levels or Curves tool on a Smart Object layer. Instead of using those tools, we’re going to use the Shadows/Highlights tool which is compatible with Smart Objects.Go to Image > Adjustments > Shadows/Highlights. There is a black clip setting we can use but it’s grayed out unless you make changes to the shadows or highlights settings. To get around this, just set the shadows to 1%.
Step 24
Reduce the opacity of the Grid Background layer to your likings. I set mine to 12%.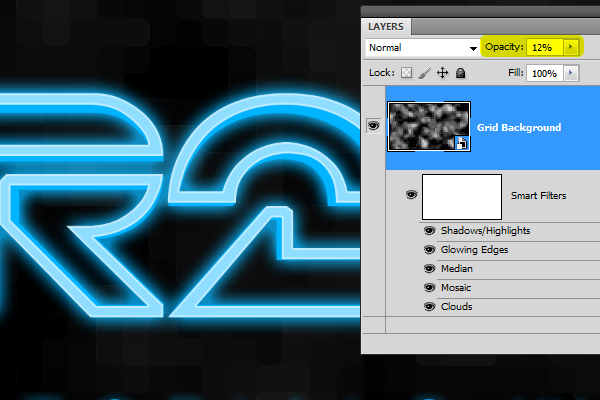
Step 25
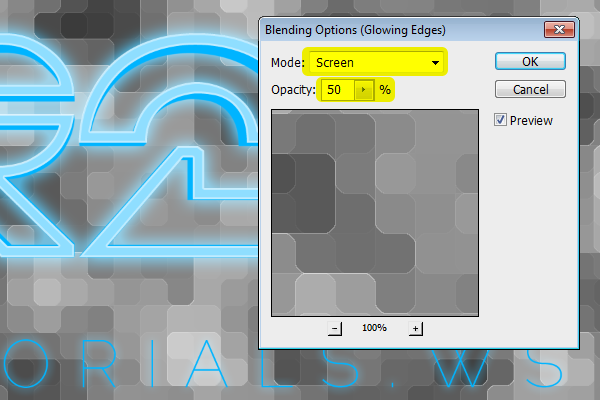
Here’s the coolest part of about the grid background we just created. You can randomize the grid simply by double-clicking on the Clouds Smart Filter. Photoshop will randomize the effect every time you do it.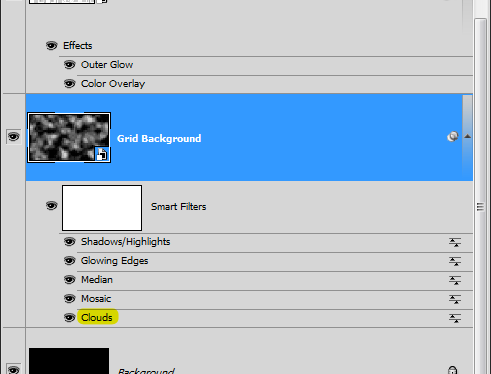
Step 26
Create a new layer and position it above the Grid Background layer. Name this layer Bokeh.
Step 27
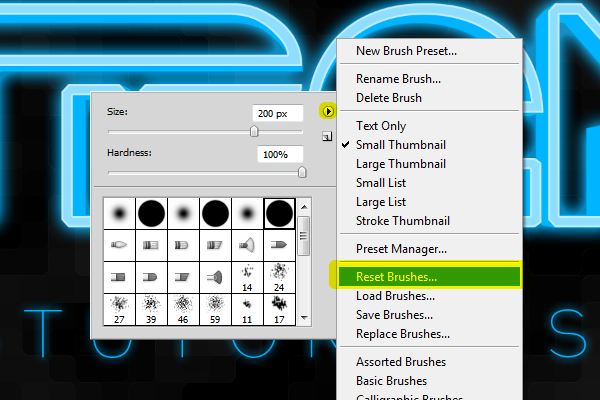
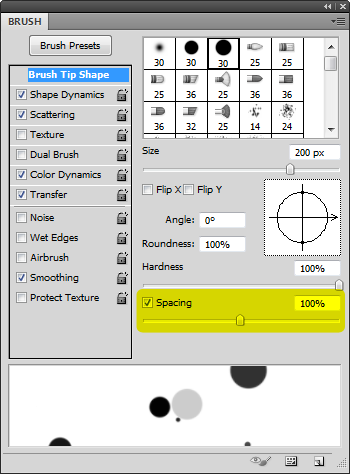
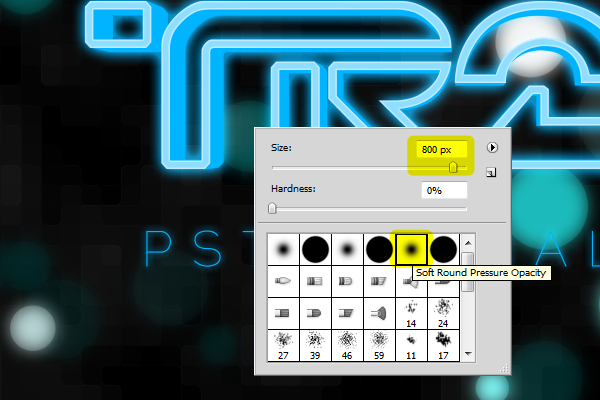
Select the Brush tool then right-click anywhere on the document to bring up the brush settings. Pick this brush here. It should be a round brush with a 100% hardness. Set the Size to 200 px.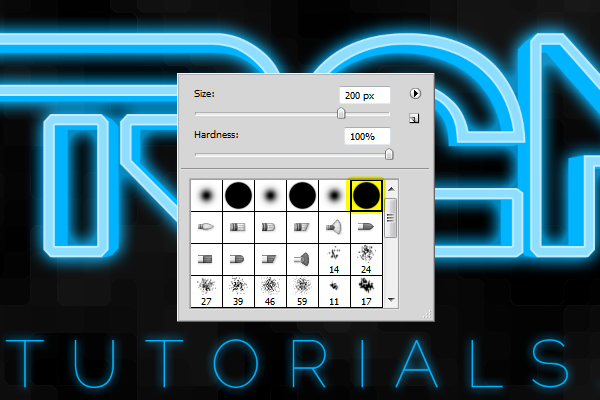
Step 28
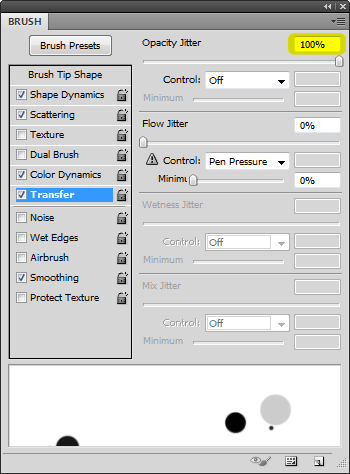
Go to Window > Brushes. Enable the Shape Dynamics option the set the Size Jitter to 100%. Make sure your Control option is set to Off.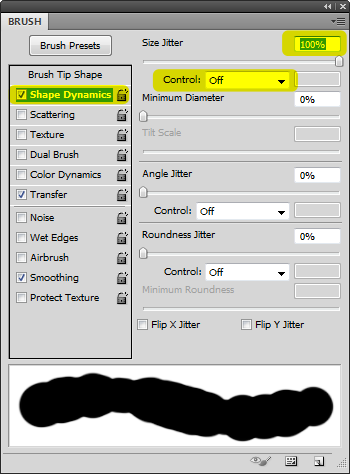
Step 29
We’re done setting up the brush! Now we can start painting. First, set your foreground color to white. You can do this quickly by pressing D on your keyboard then X.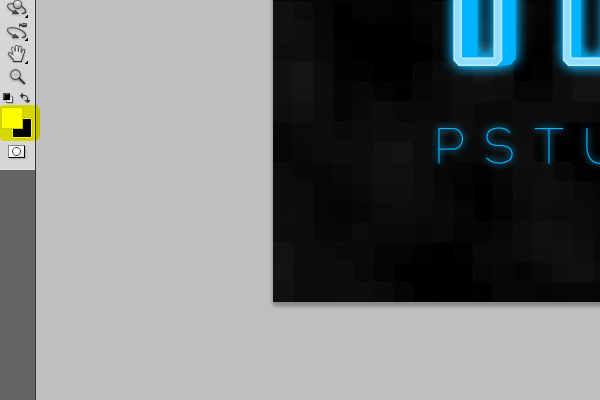
Step 30
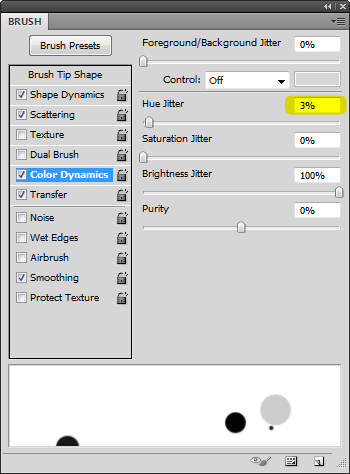
Go to Image > Adjustments > Hue/Saturation. Checkmark the colorize option then adjust the settings to get the color you like. Here are the settings we used: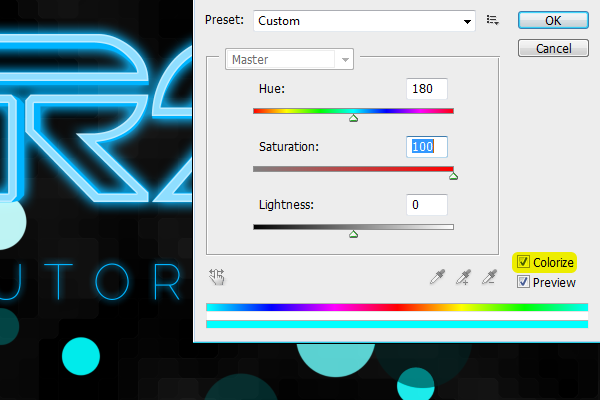
Step 31
Right-click on the Bokeh layer then choose Convert to Smart Object.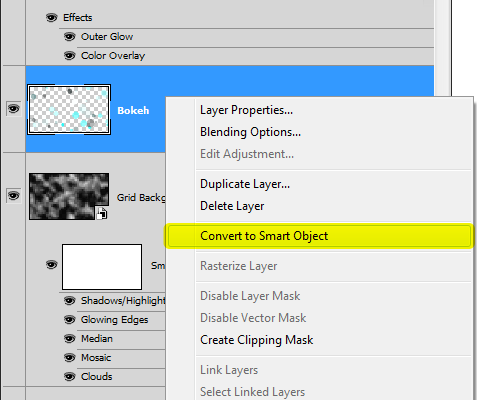
Step 32
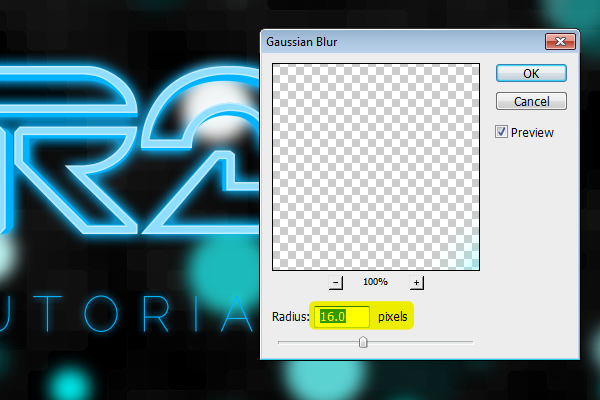
Double-click on the Gaussian Blur Smart Filter blending options button.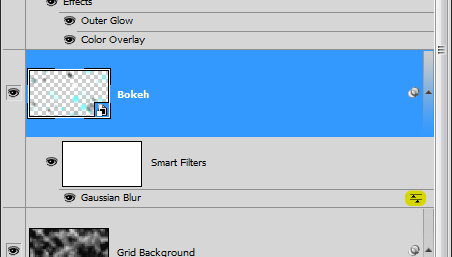
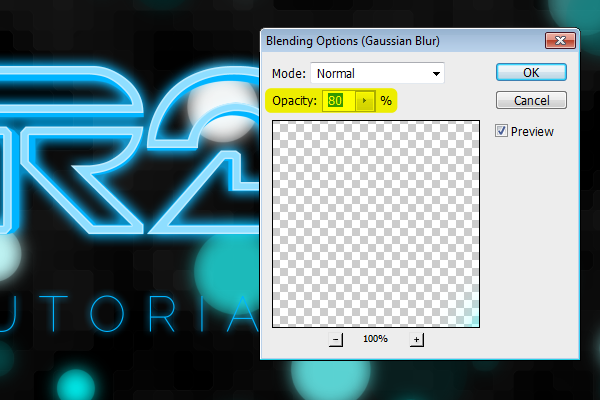
Step 32
Finally, we’re going to erase some bokeh around the logo so that it’s not too distracting. In the Layers palette, click on the New Layer Mask button.
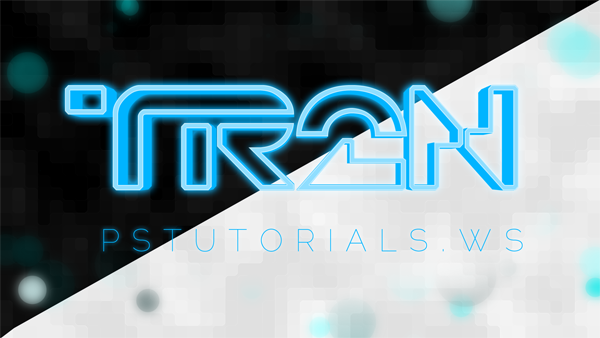
Final Results


Keine Kommentare:
Kommentar veröffentlichen