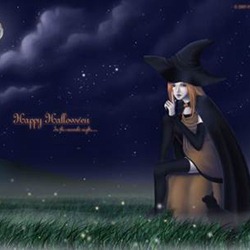
 This Photoshop tutorial will teach you how to transform a pencil sketch into a full-color piece of artwork entirely through the use of Photoshop.
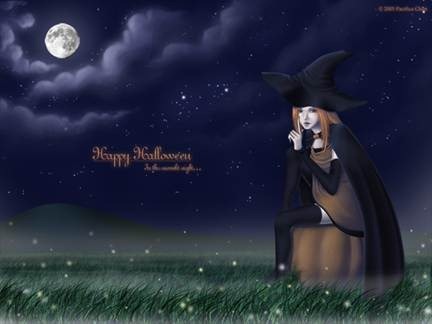
Preview of Final Results
Halloween Artwork Photoshop Tutorial
For this project, you’ll need:
- A pencil sketch
- A scanner
- Some artistic understanding
- And a lot of patience
Part 1 – Prep
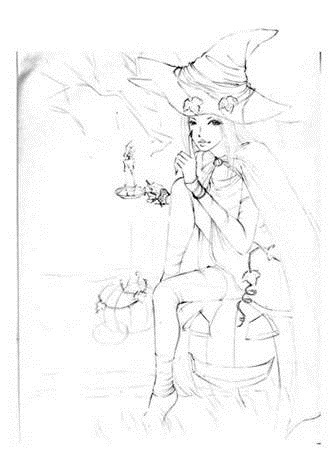
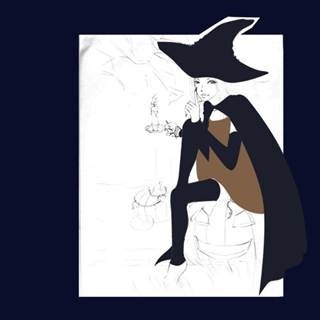
Firstly, let’s choose a pencil hand sketch that we want to color and open it in Photoshop. No part of this pencil sketch will be in the final image; it is entirely for reference purposes and we will be tracing and coloring over it.
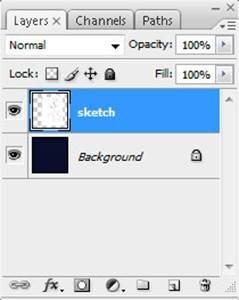
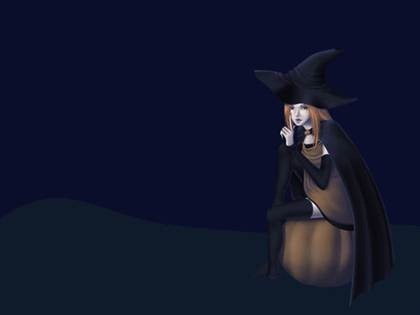
Next let’s duplicate the sketch so it is on a new layer and its layer visibility can be turned off whenever we need to take a clear look at how the color drawing we will be doing on top of it is progressing. It helps to fill the background layer with a solid color because it will give a good juxtaposition makes the image on top of it more visible. Here I filled the background in with a dark blue color (#0A0E2B) because the setting of the final image will be nighttime therefore the background primarily dark blue.
If you notice, I also made the image a little wider so its borders won’t interfere with my drawing. I plan for the final image to be horizontal.
Part 2 - Subject
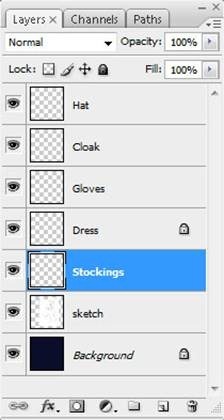
Now it’s time to start putting the subject—the witch—together. Let’s start with the clothes as they will be on the topmost layers and cover everything else such as her hair and her skin. The layers in this image will be a little tricky to order so let’s take it one step at a time. Let’s make a separate layer for the “Hat,” “Cloak,” “Gloves,” “Dress,” and “Stockings.”
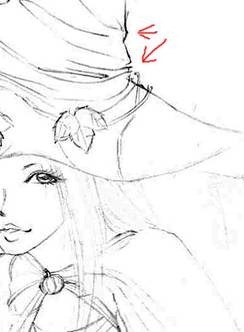
Now we’ll fill in each these layers with a solid color according to the shape of each part of her outfit. First, we’ll take the pen tool (P) and draw a path along the outline of our subject’s clothing, making sure to keep each separate piece of clothing on a separate layer. Zoom in (Z) and be sure to pay attention to details like the folds of her clothing as well as which part of her clothing is hidden behind which other parts of her clothing.
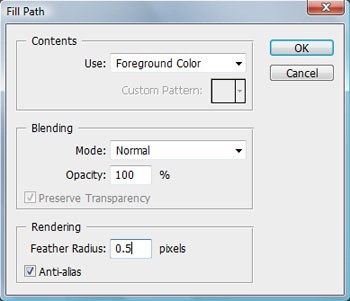
Once we’re done the outline, right click and select “Fill Path…” and set the Feather Radius to 0.5 to fill in her hat, cloak, gloves, and stockings with a dark gray-blue color.
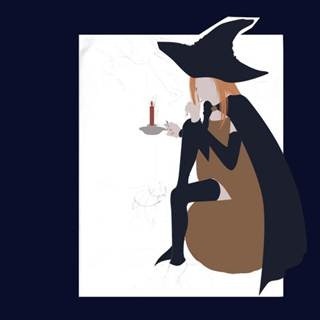
Fill in her dress with a dark orange color and we should be looking at something like this.
Let’s color in the rest of the image while we’re at it. Make separate layers for the “Pumpkin” that she is sitting on, “Skin,” “Hair,” “Candle,” “Candle Holder,” “Bangs,” and “Accessories.” You should now have a bunch of layers that look like this.
Be sure everything is in the correct order, such as her dress being over her body and her hat on top of everything else. Note that, since the setting is nighttime, our subject’s skin will be darker than usual and slightly bluish to reflect the night. Continue using the pen tool and we should be here.
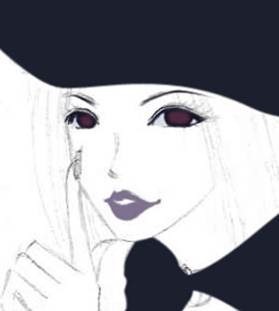
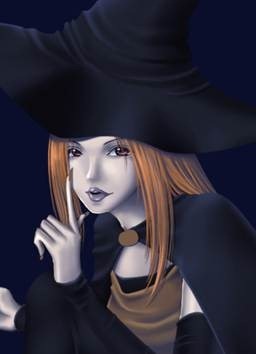
Before we go further with coloring the rest of our subject, let’s draw in her face so we can begin to see the emotions that the final image will invoke. The face and facial expression of any human subject will make or break the mood of the finished piece so this part is especially important. First, let’s turn off the layers with her “Bangs” and her “Hair,” which somewhat cover her face in the final image, as well as her “Skin” layer so we can see the pencil outline that we scanned.
Zoom in very close and trace the outline of her mouth with the pen tool. Fill. Then trace the outline of her eyes, again with the pen tool. Go to brushes and set the brush color to black and the brush size to something narrow enough to outline her eyes with. Return to the pen tool, right click “Stroke Path…” make sure the tool used is “Brush” and press “OK.”
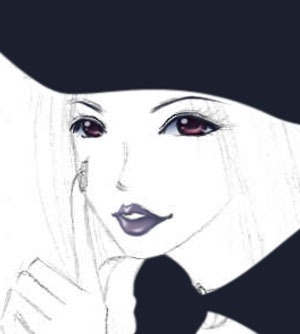
Repeat the “Stroke Path…” technique and trace her eyebrows and double eyelid. Fill in the whites of her eyes with a solid brush. Then trace the pupil of her eyes and fill in with the same black color. Right now, we should be looking at an image like this.
As you can see, right now the face looks flat and lifeless (and kinda creepy), therefore, our next step is to shade in features of her mouth and add light to her eyes. Pick a light source—that is, the direction the light is coming from—so you know where to draw the highlights therefore where to draw the shadows. For this particular image, I have chosen to have the light come from the top left corner, so there will be more light shed on the left side of her body and less on the right.
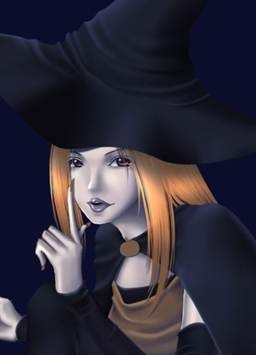
With this fact in mind, let’s begin shading! With a soft brush and manually picked colors, aided by the dodge and burn too (O) to place emphasis on highlights and shadows, we’ll add depth and life into our subject’s face.
Now she finally looks like a live human being! Time to start shading everything else and bringing the rest of the image to life! We can turn the layer with the pencil sketch off now and turn the layers with her hair and her skin back on. Let’s start with our subject’s body and make her look more 3-dimensional. Keep in mind not only the light source but also the depth of our subject’s body. Parts that come more forward will be lighter than parts that are further back. Like before, use the brush tool and manually pick colors to use as highlights and shadows. Then dodge and burn for emphasis. Be sure to use a more solid brush where harsher shadows are cast by her hair or her clothes on her skin. Always keep in mind the direction of the light source.
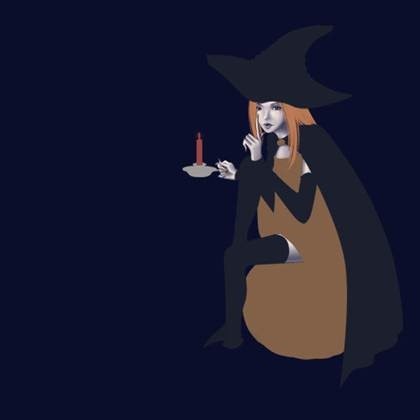
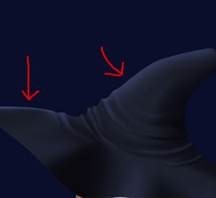
Repeat the steps above for our subject’s clothing. Keep in mind that clothing—fabric—is full of folds and creases, especially when wrapped around such an irregular figure as a human body. Draw in a shadow on the bottom of the fold and highlight the top. This makes fabric like more like fabric. Also, keep in mind that, because we will later have the moon in place of the light source identified earlier, we should put a silvery accent in the parts that will be closer to the light source, especially in the upper-left side of our subject’s hat.
Let’s take a look at where we are.
Now for the hair. First, we’ll draw in highlights and shadows where they should be using a large, soft brush and manually picking colors like before.
Next, choose a very small smudge tool (R). Because we will be using the smudge tool to smudge these highlights and shadows in the direction of hair flow to create texture, we’ll want to set the strength to a high number. I have chosen 85%.
Now we will return to the pen tool. Using the anchor points, draw a line along the hair in the direction of hair flow. Right click “Stroke Path…” and chose to stroke the path with the smudge tool that we just set.
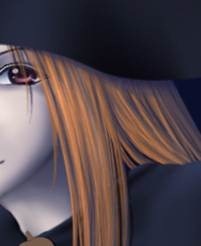
With this albeit time-consuming but nevertheless very effective method, we will drag the highlights and the shadows back and forth in the direction our subject’s hair is flowing. This makes the hair actually look like hair with movement rather than a big formless blob. This is the sort of effect you should be getting.
I won’t lie; this will take a LOT of time but I guarantee the results will be worth it. Take a look.
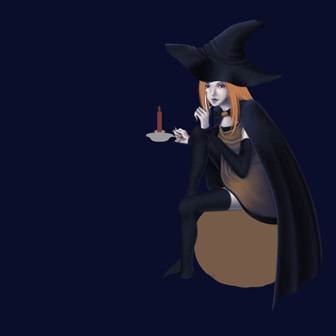
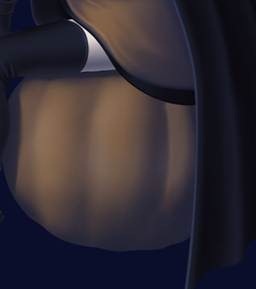
Our subject is almost complete! The last step is to add several minor details, to her brooch, her nails, the candle that she is holding, and the pumpkin that she is sitting on. The same techniques as used before apply for the pumpkin. Make sure to draw in a more solid shadow cast by her legs where they touch the pumpkin.
With her nails and her brooch, we want the material to seem glossy therefore we’ll add more sudden rather than gradual shadows and highlights.
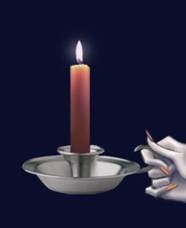
Finally, for the candle and the candleholder our subject is holding, shade them in using the same techniques we have been using the entire time, making sure to give the candleholder a metallic finish, the candle a see-though shimmer where it is closer to the flame, and the flame a warm glow about it.
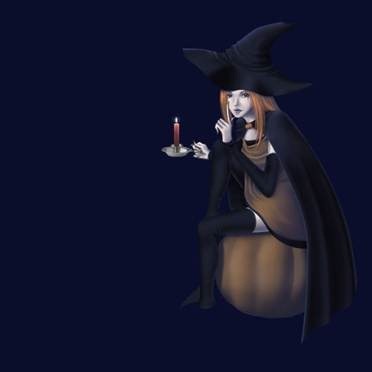
And our subject is complete! (We won’t worry about her left foot as it will be covered by long grass).
Part 3 – Background
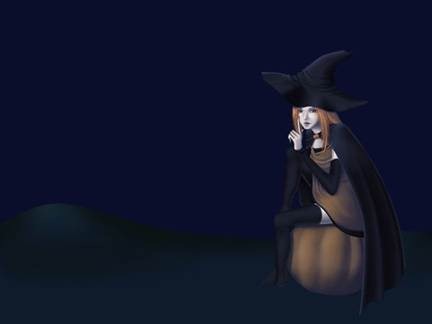
Let’s merge all of the layers used for creating our subject so they don’t get confused with the layers we will use to create our background. We’ll create a new file to finish off our image so we can keep a file with all of the subject’s layers as well. Because the plan for the background is to be a landscape, let’s make the new image horizontal. Paste the subject in, and then create a layer for the sky and a layer for the land.
First, to give the hills in the background some depth, let’s use large, soft dodge and burn brushes to add in some highlights and shadows.
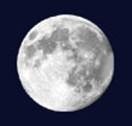
Now let’s work on the sky first. To begin with, let’s go online and chose a large, clear image of the moon to import it into our picture. With the Elliptical Marquee Tool (M), draw a selection around the moon. Go to Select-->Inverse and press the delete button on your keyboard. You should have a moon without any sort of unwanted background that came with the original image you pulled off the internet, only the background of the image we are working on. Make sure the moon is in the top left corner of the image where we had previously decided would be the location of our light source.
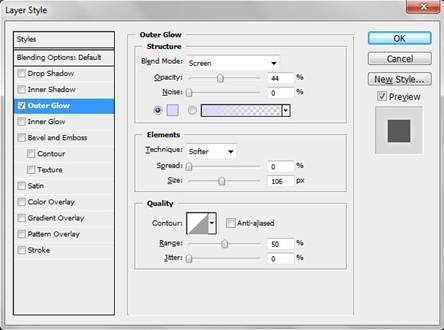
We want to add a glow around the moon so it seems like it is shining in this dark night. Let’s go to Layer-->Layer Style-->Outer Glow… and a window like the one below should open. Adjust your settings as I have here, making sure that you choose a light blue color for the glow, and press “OK.”
Now our moon should have a halo of light around it.
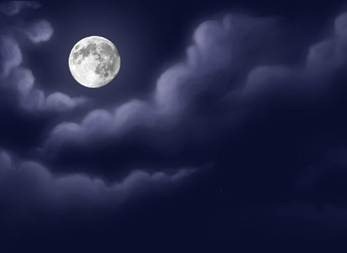
On to the clouds! For the clouds, let’s choose a large brush and set the opacity and flow both to 50%.
Then, take the brush using a pale blue color to draw circles in the shape of clouds. Because the opacity is not 100%, we can layer the color more in places we want the clouds to be thicker, and less where we want the clouds to be translucent and wispy. Make sure the parts of clouds closer to the moon are brighter.
Now let’s add in some stars. Set the color swatch to white, choose several small brushes of slightly varying size, and manually dot stars throughout the sky.
Remember how we set used the “Outer Glow” layer effect to give the moon a glowing halo? Use the same techniques to make the stars glow.
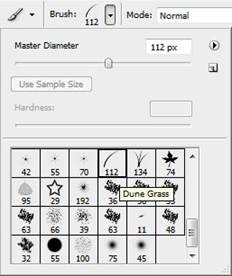
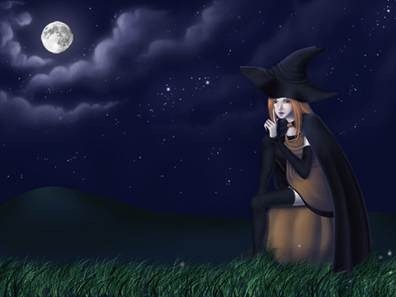
We are almost done! Let’s add in a field of grass that our subject will be sitting in. Go into the choices of brushes and chose the “Dune Grass” brush. This should be a Photoshop CS3 preset.
Go to the two choices of color swatches. Set one to a medium green and one to a very dark green. Now drag the grass brush horizontally across the page several times, starting at the level where the grass just covers our subject’s feet up until the bottom of the image. Make sure that the brush used for the layer in front is somewhat larger than the layer in the back to give a sense of depth, in that things that are further from the foreground will appear smaller than things closer to the foreground.
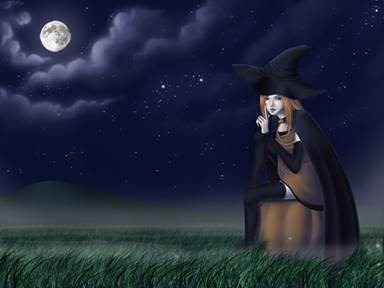
Repeat the same procedure for the grass further behind our subject and her pumpkin. Make sure that the grass closest to the hills in the distance looks very distant, therefore the blades being very small. With a semi-transparent brush, draw in several soft horizontal lines of white for some ominous-looking mist.
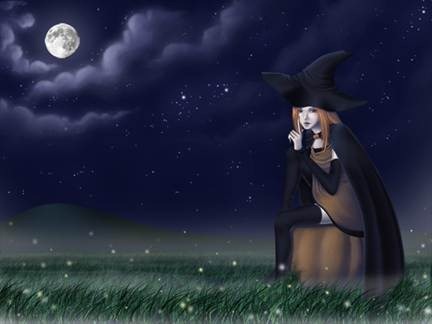
LAST STEP!!! Take some small to medium size brushes and let’s dot in some fireflies hovering above the grass in the same scattered fashion as we dotted the stars. Choose a slightly yellowish color for the fireflies, as they are warmer-colored balls of light compared to the cold stars in the distance.
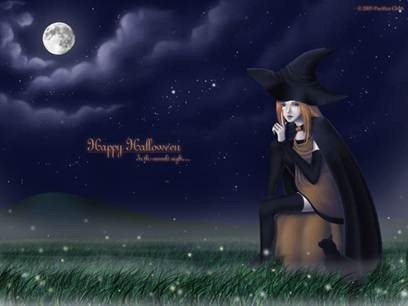
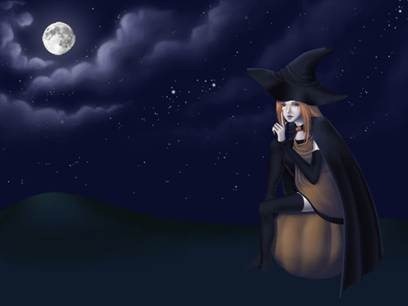
And we are…okay so I lied, we’re one more stop from being done. Let’s throw in a bit of text (also with an “Outer Glow”) wishing everyone a very Happy Halloween, as well as a watermark in the top right corner so no one tries to steal our hard work and…NOW we are done! Congrats!!!










Keine Kommentare:
Kommentar veröffentlichen