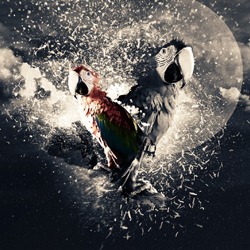
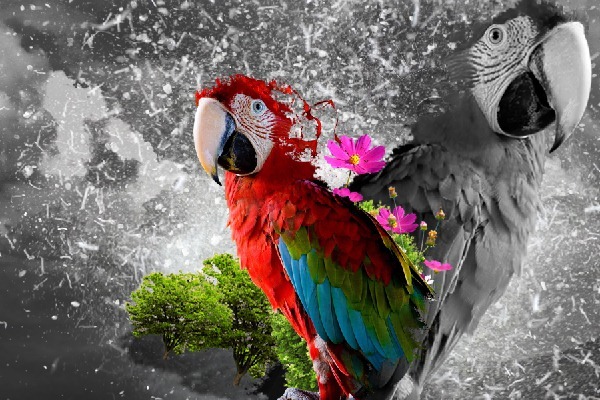
As we know, the parrot lives in the forest, and he loves nature - trees, flowers, etc. What the parrot is trying to tell us is that his life is colorful. Today I am going to show you how to use a picture of an animal to create an awesome abstract. Also, I am going to show you more techniques that can help you to understand how to manipulate layers.
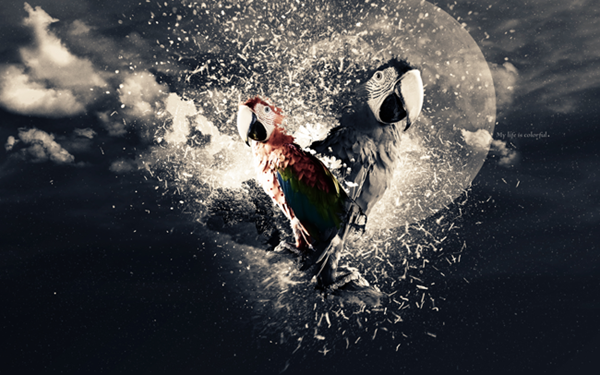
Preview of Final Results
Download the PSD
My Life is Colorful.zip | 25.3 MB
Download from Website
Download from Website
Parrot Photo Manipulation Photoshop Tutorial
Resources
- Explosion Brushes - twenstudio
- Clouds - brusheezy
- Tree&Flowers - deviantart
- Paint Throws - digitaljuice
Step 1
Create a new document with the following dimensions: 1920 X 1200 Pixel. remove the lock option from the background and rename it to: Bg.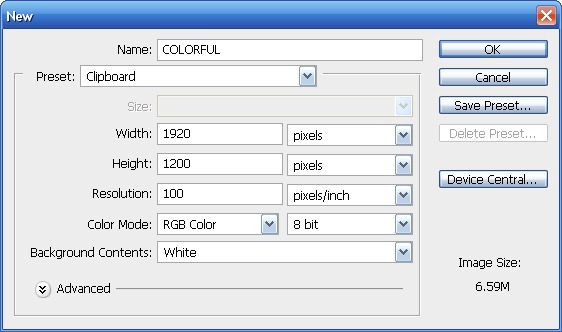

Step 2
Select gradient tool and make sure you choose Gradient Black Transparent as you seen, press and drag from the top to down after this change mode layer to Soft Light and Opacity to 62%.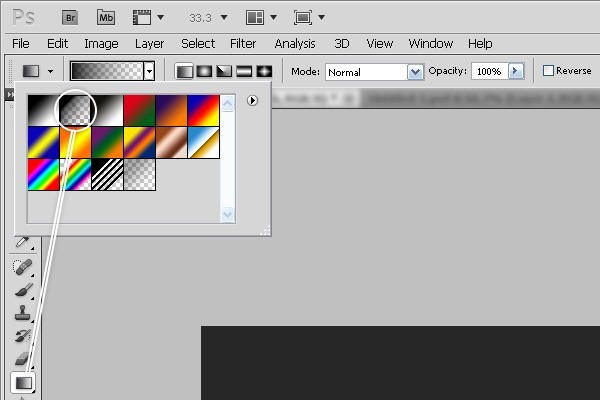


Step 3
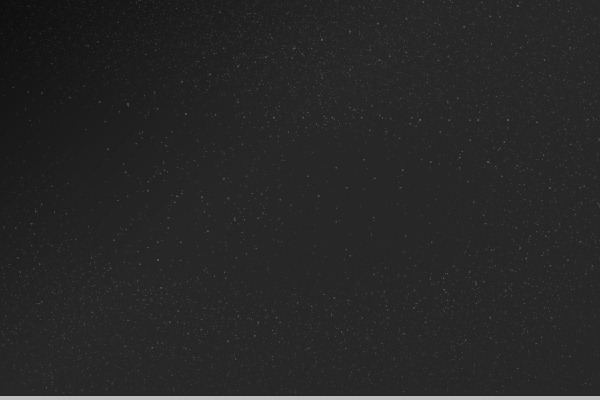
Use Smooth brush to create blur circles and change mode layer to Soft Light and Opacity to 81% as you seen in the image below.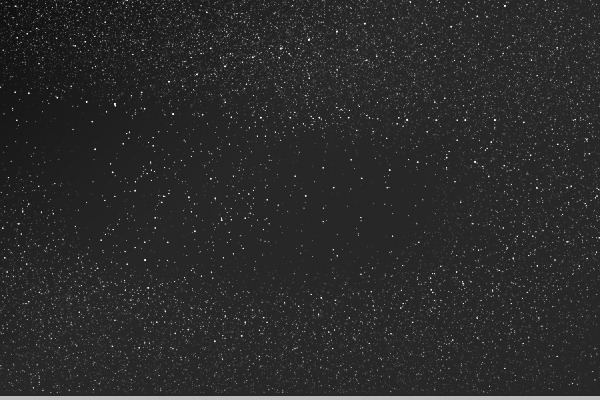
Step 4
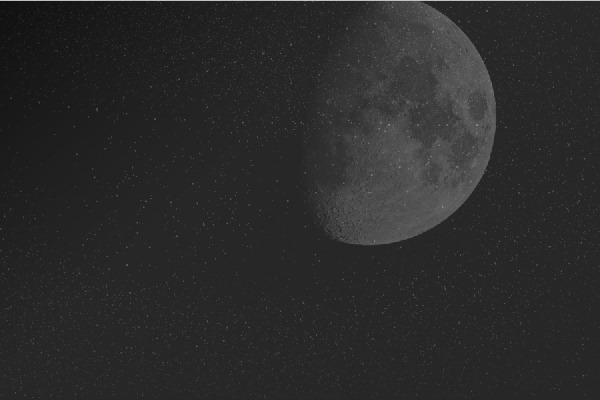
Add Moon Brush to work and change mode layer to Soft Light.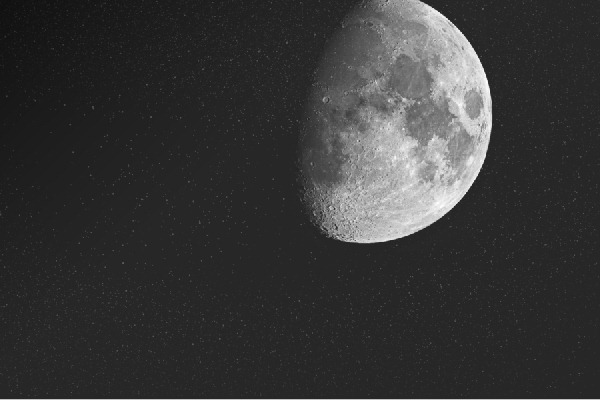
Step 5
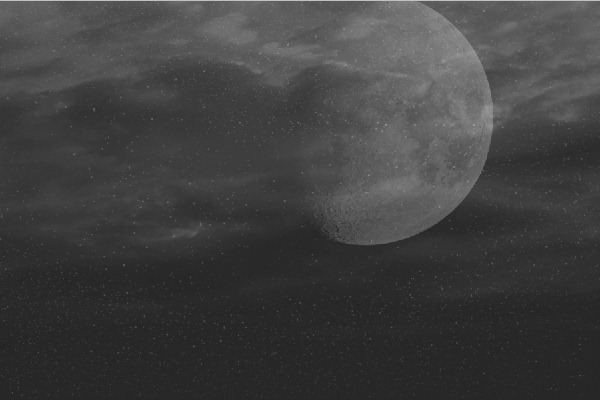
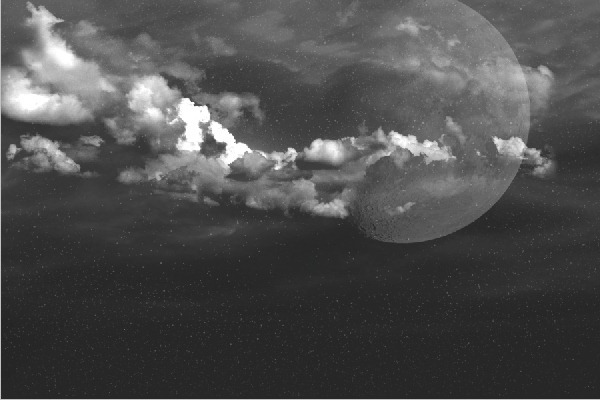
Again Select 2 cloud brushes from the set and add them to work and change opacity layer for the first brush to 34% and the second brush to 56% as you see in the image below.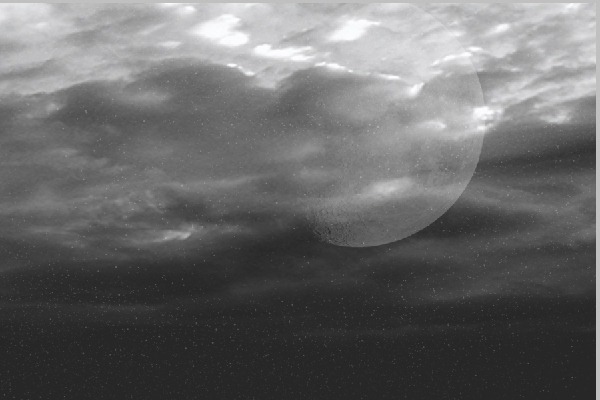
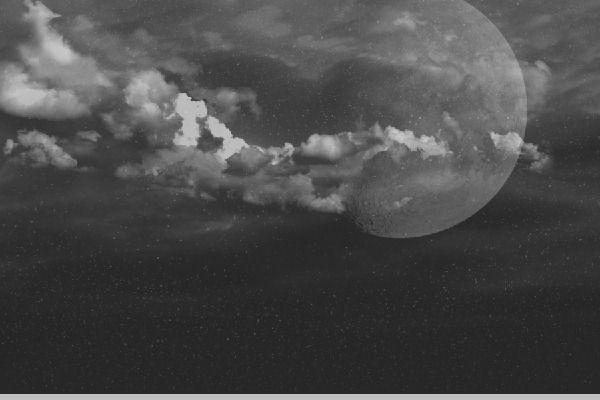
Step 6
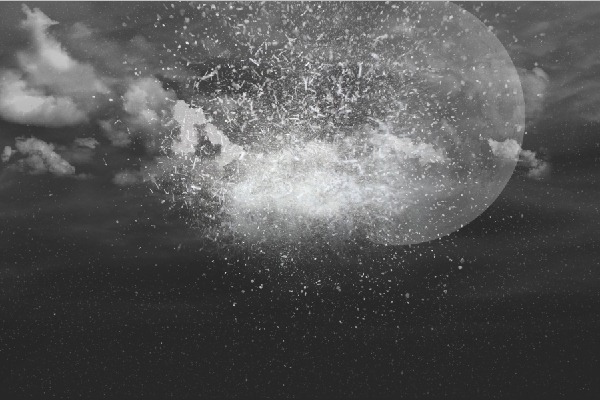
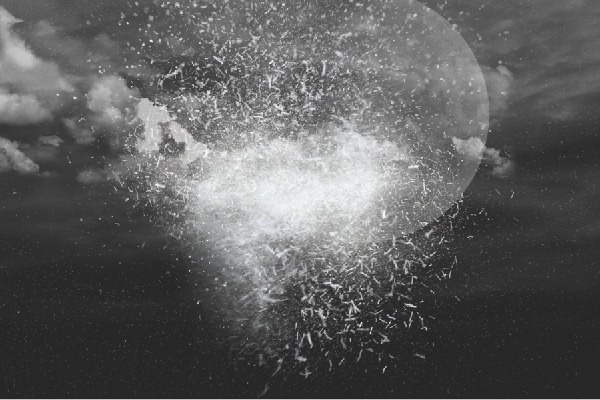
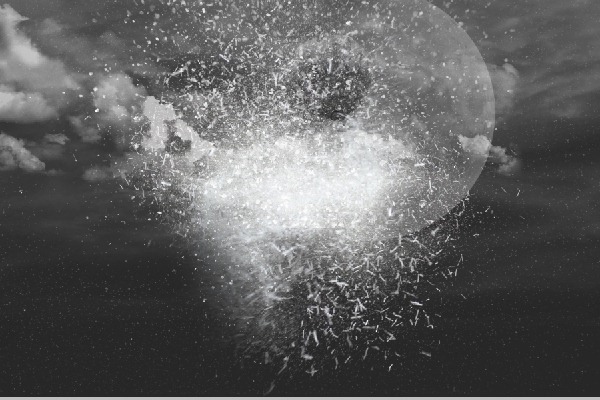
Ok let's move to the next step by select explosion brushes and start adding the first brush from the set, follow my step.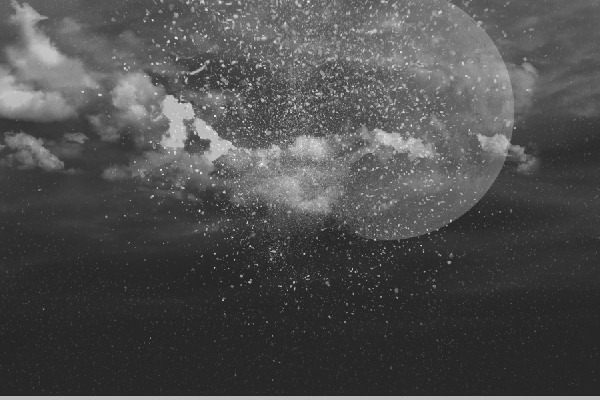
Step 7
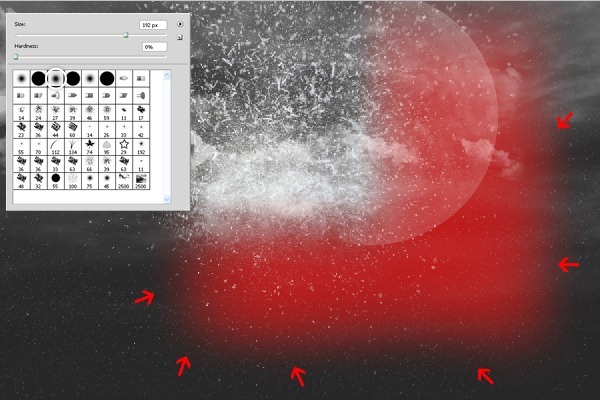
Add another explosion brush and make sure you select Quick Mask Mode by Pressing on "Q" then start removing Edges by following the steps.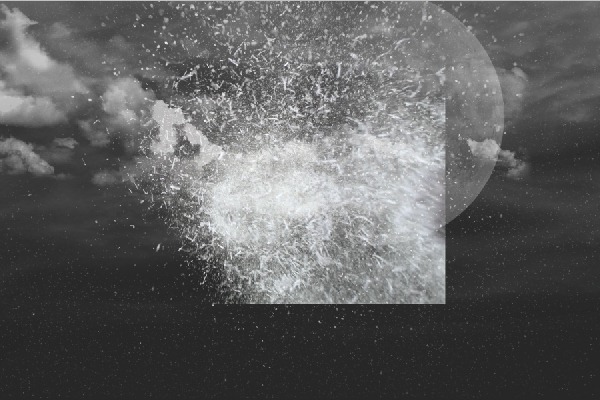
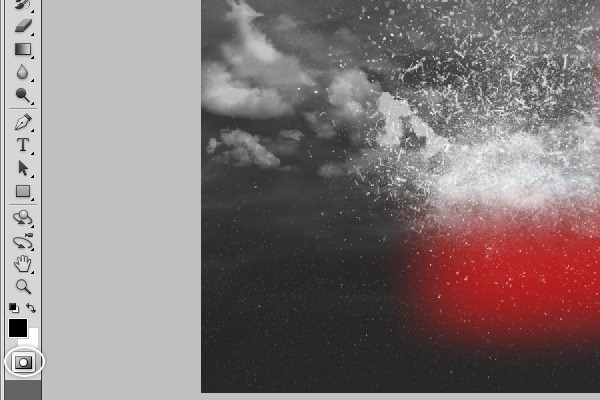
Step 8
Do the same thing as I did before in the first step add another explosion brush and remove the edges.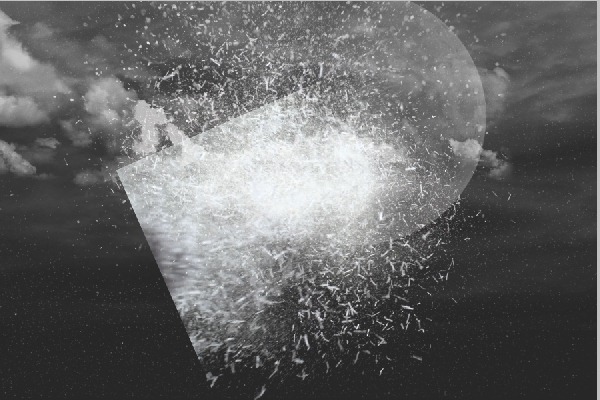
Step 9
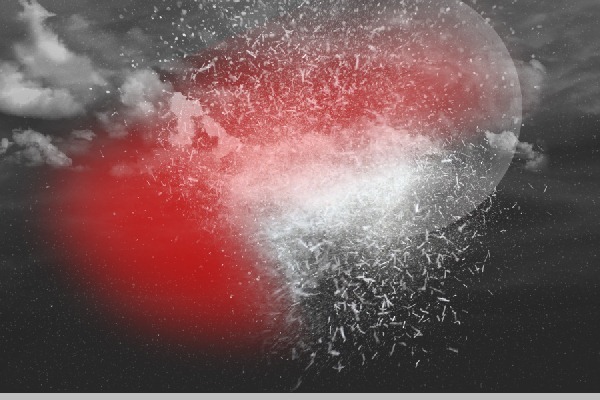
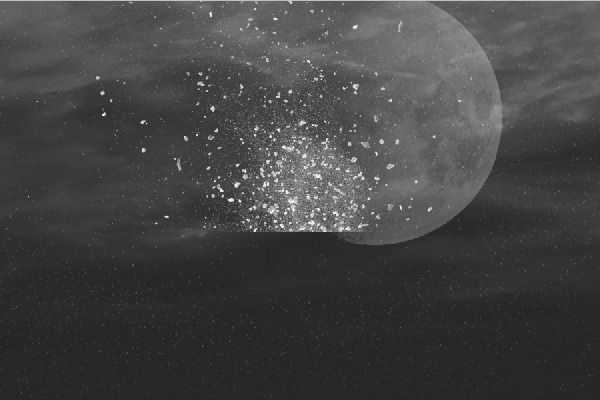
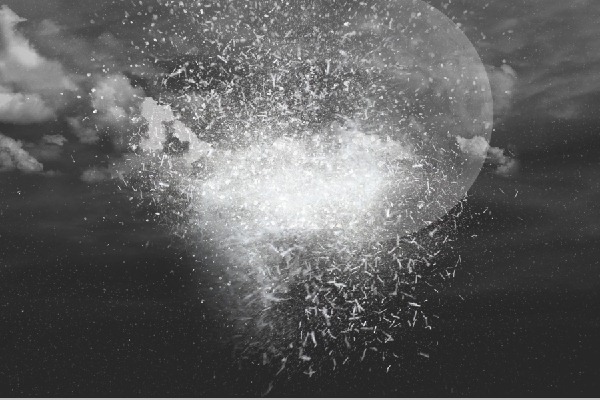
Hide All layers and choose another Explosion Brush from the set add it to work after this show layers again as you seen in the image below.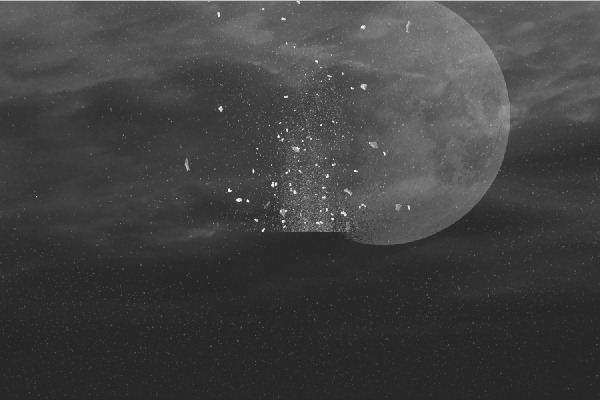
Step 10
Open Air Balloon picture and Select just part of it, Copy and paste into Project.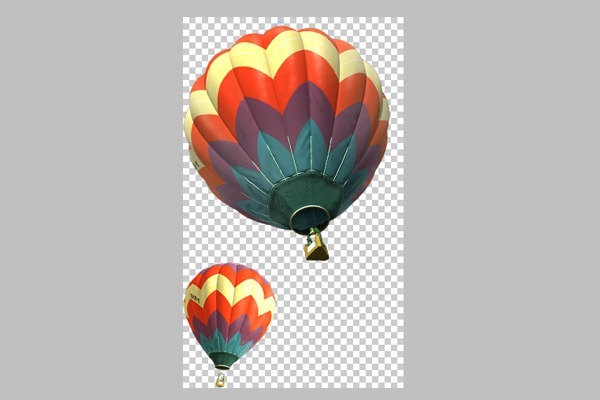
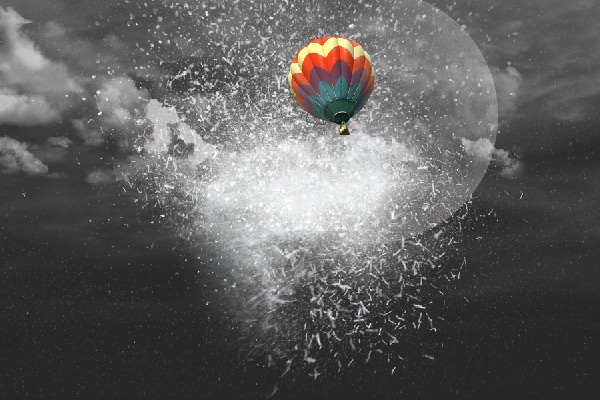
Step 11
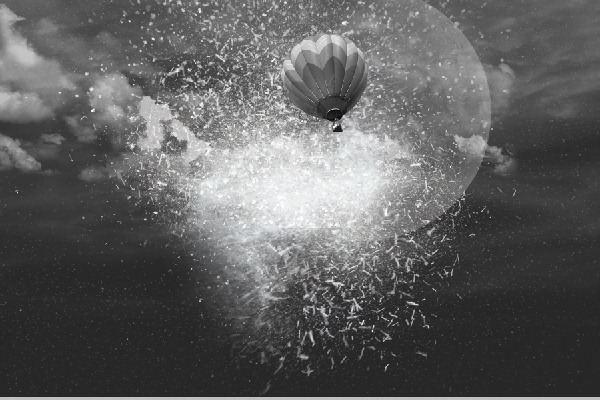
Let's Remove the color from Air Balloon by following the Settings Image > Adjustments > Desaturate or you can just press Shift+Ctrl+U after this change mode layer to Soft Light.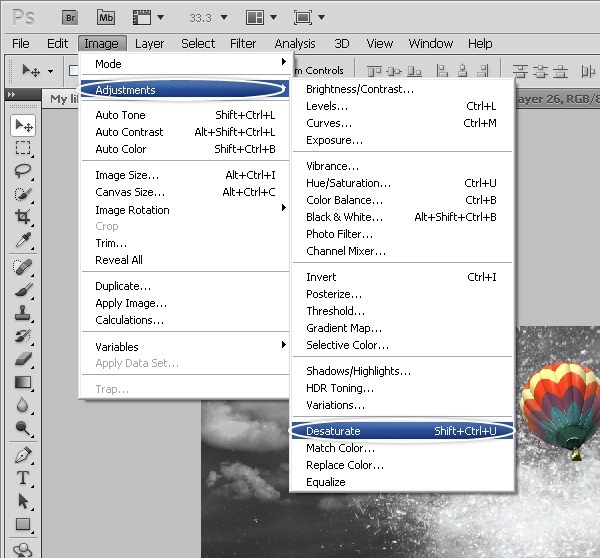
Step 12
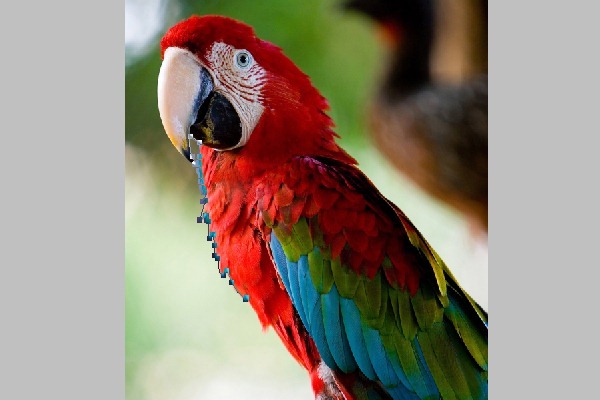
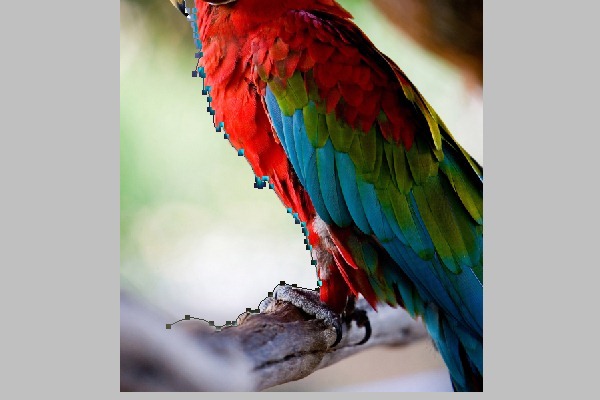
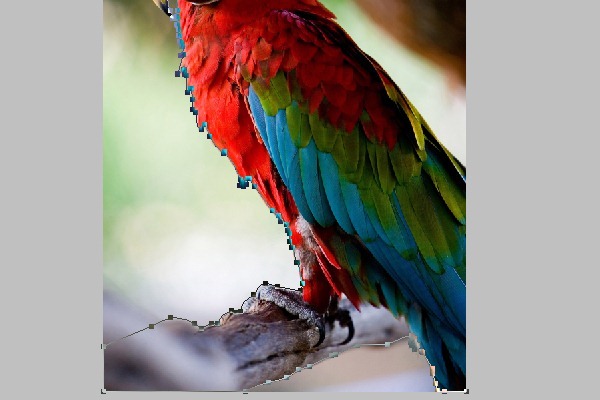
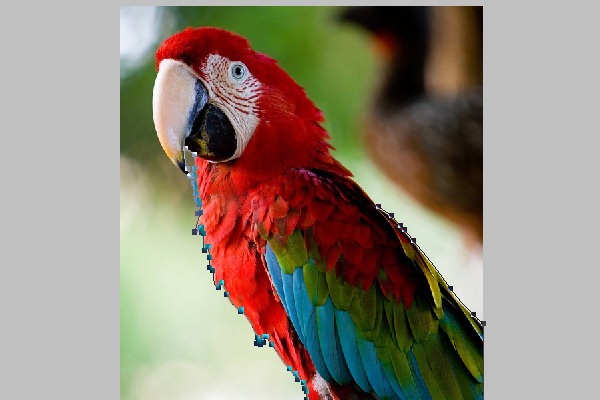
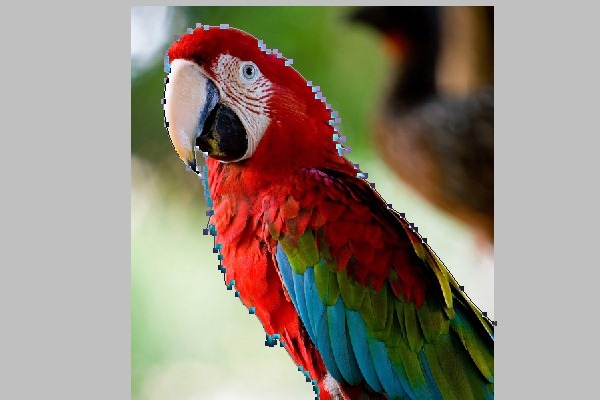
Open parrot picture and set up settings pen tool and Select just the part that we need.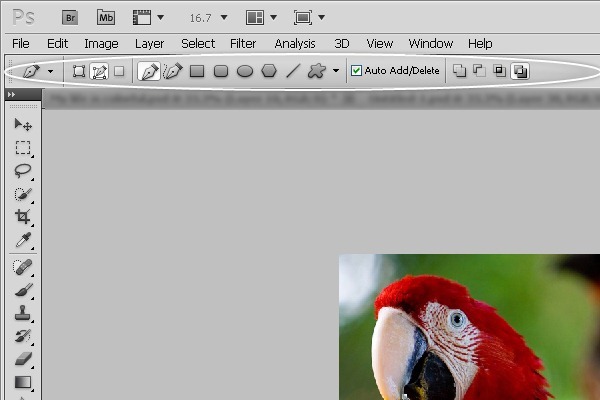
Step 13
Right your Mouse Select "Make Selection" and type in the following value "Feather Radius: 0".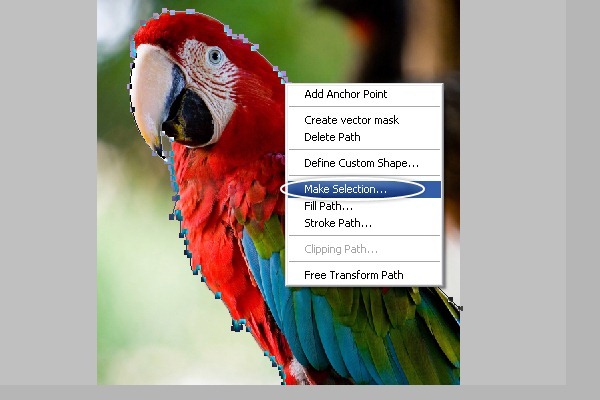
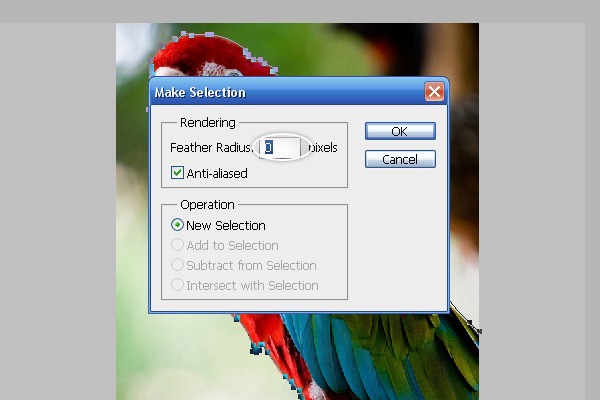
Step 14
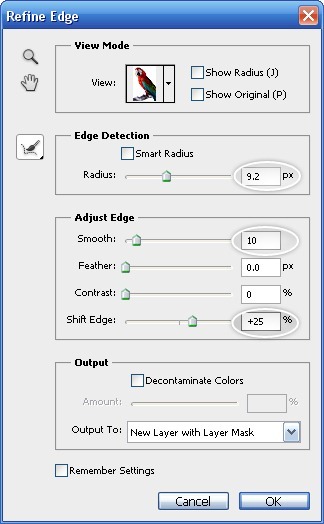
Select Refine Edge by following the Settings Select > Refine Edge and type in the following value Radius: 9.2px | Smooth: 10 | Shift Edge: +25%.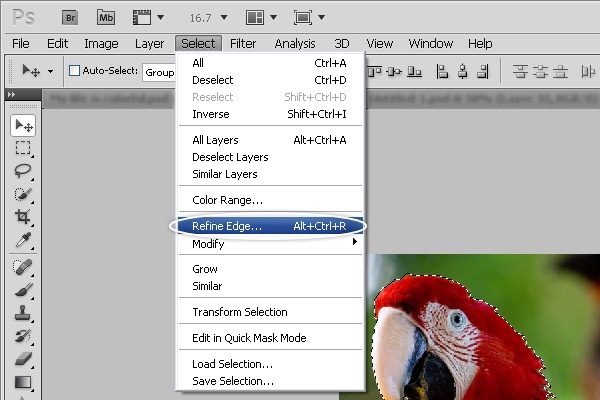
Step 15
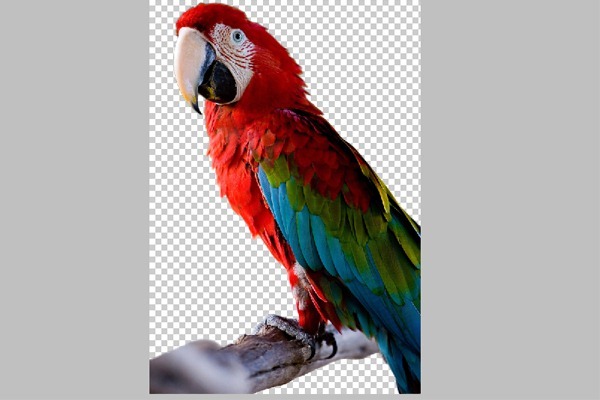
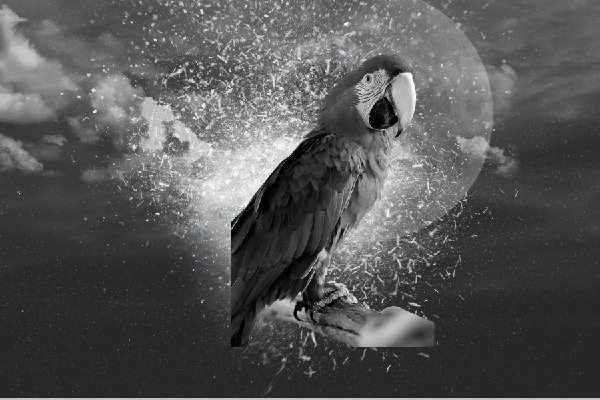
Copy picture and paste it into Project, duplicate 3 copy of the parrot and hide 2 layers, Remove the color from the first layer with CTRL+SHIFT+U or just by following the Settings Image > Adjustments > Desaturate.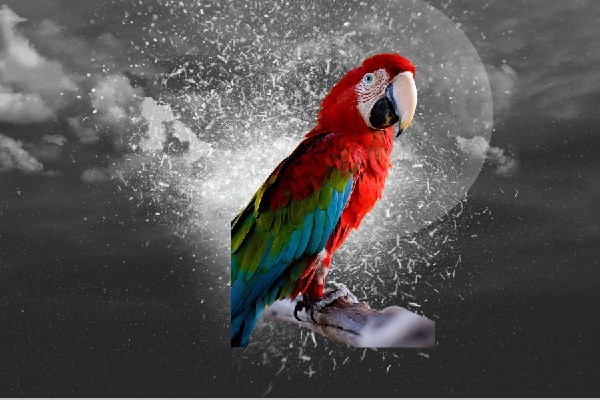
Step 16
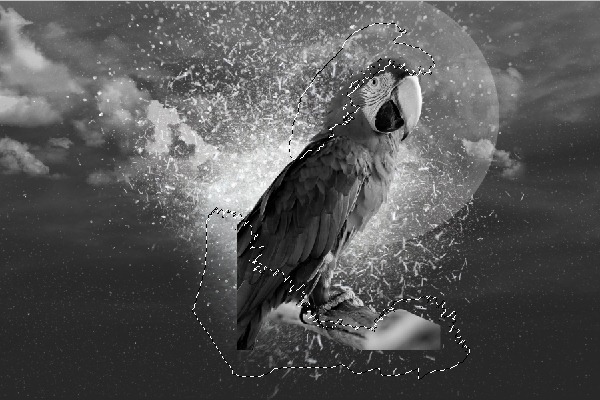
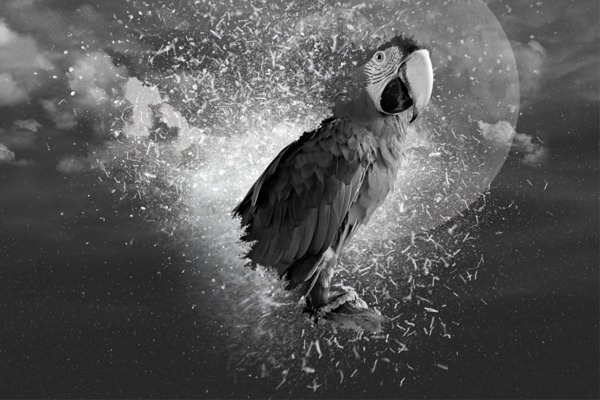
Select Lasso Tool by pressing on "L" and let's remove some parts from layer as you see in the image below.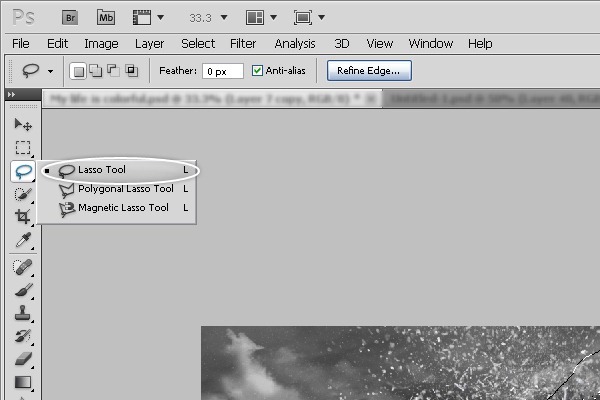
Step 17
Inverse Layer by Following the settings Select > Inverse or Shift+Ctrl+I after this add new mask to layer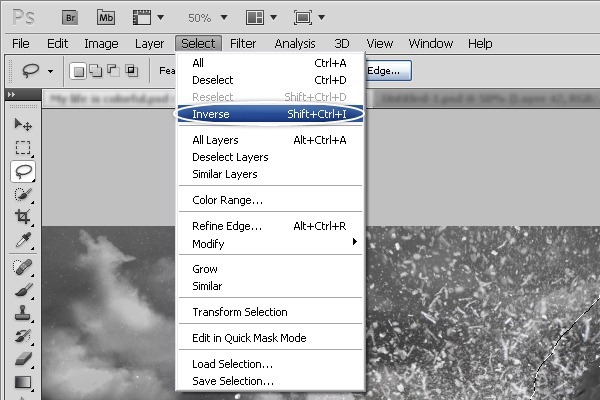
Step 18
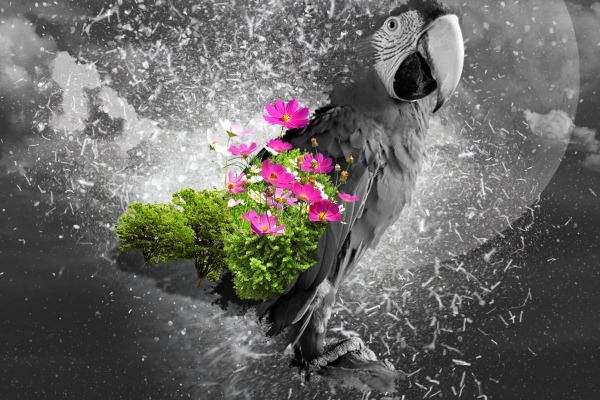
Like I said before the parrot lives in the forest, and he loves nature - trees, flowers,well let's add a tree and flowers to project by following the step.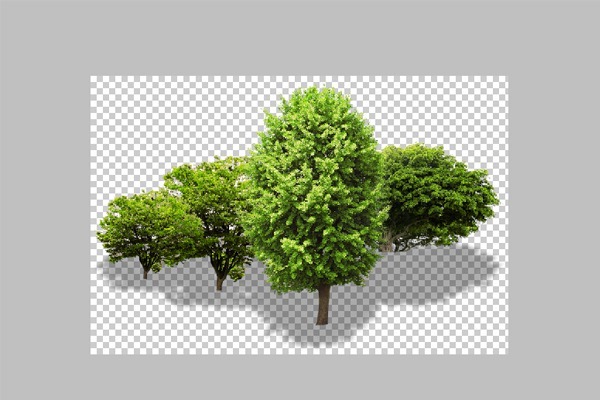
Step 19
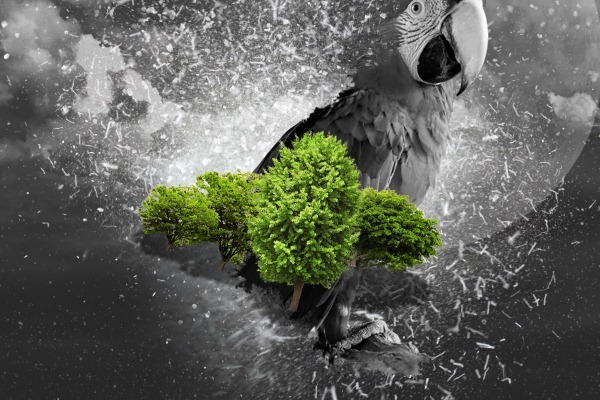
Select Brush tool and remove the right part as you see in the image below.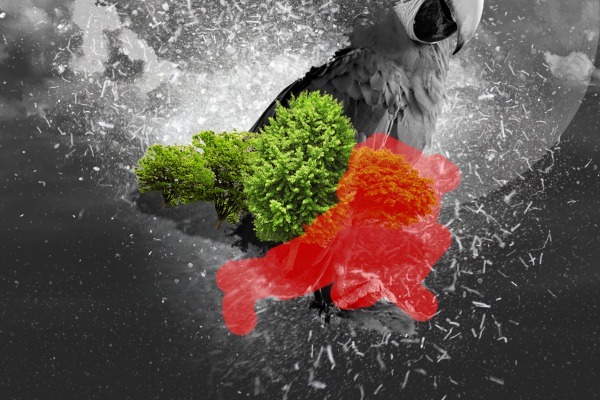
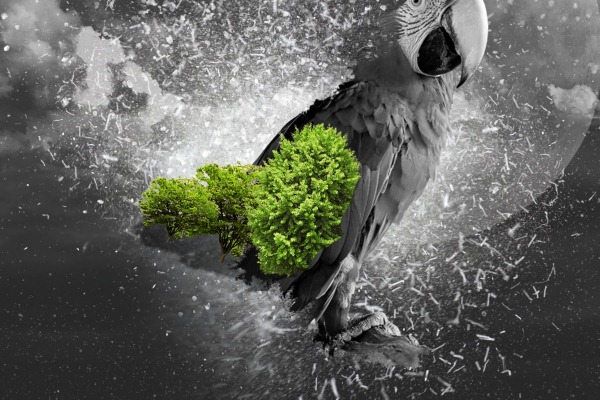
Step 20
Do the same thing as I did before in the first step.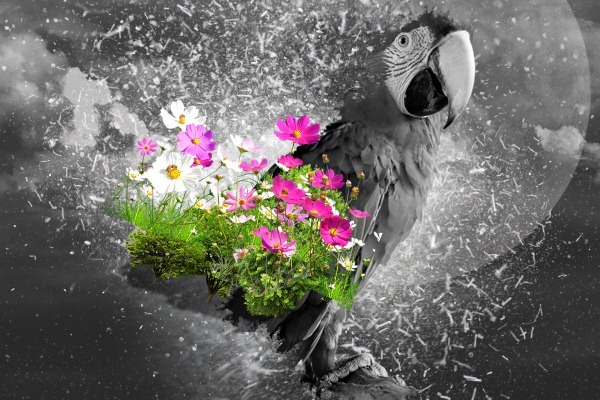
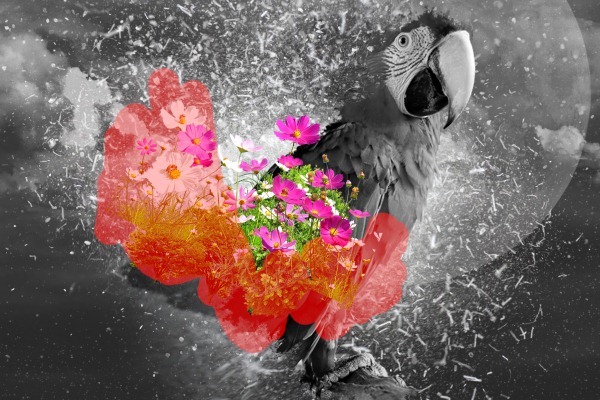
Step 31
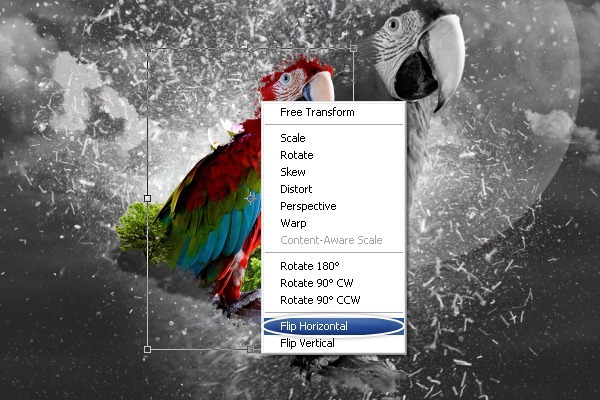
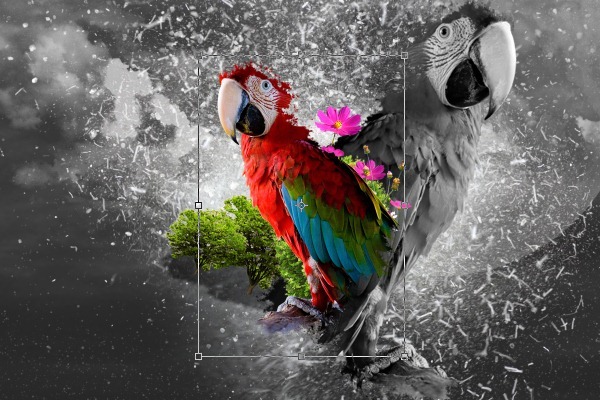
Now show copy of the parrot and flip layer to the left by following the settings Edit > Free Transform or "CTRL+T".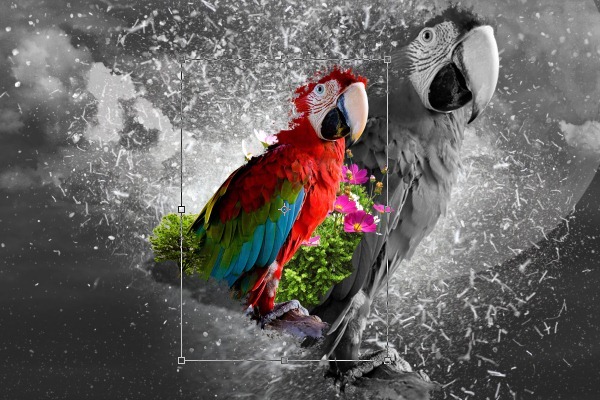
Step 32
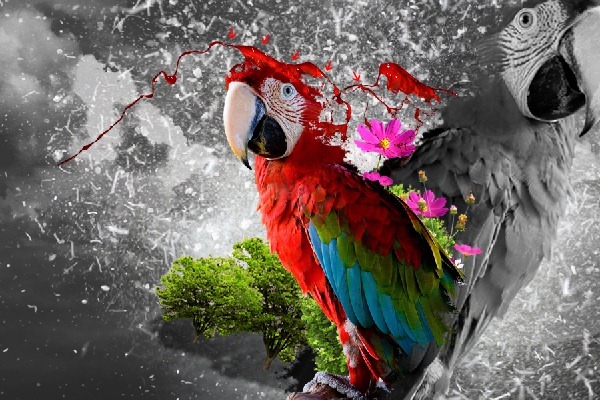
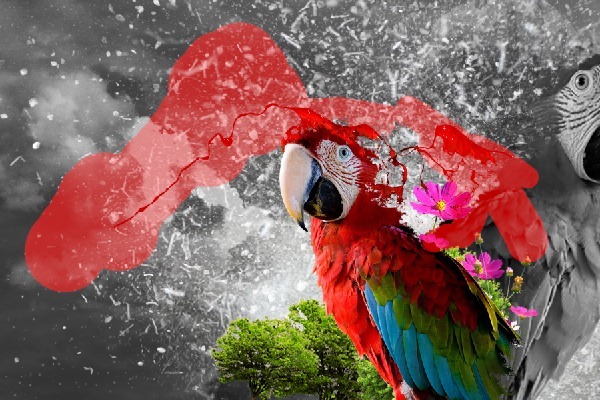
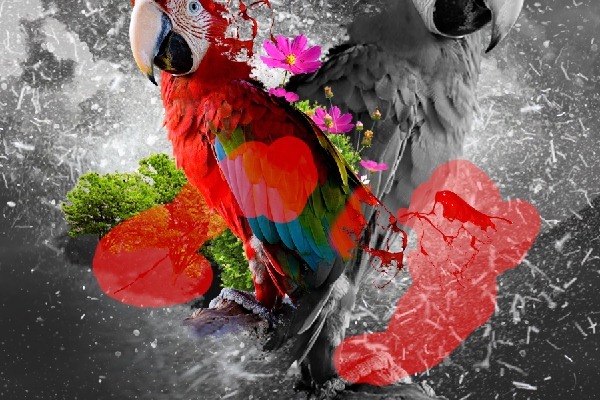
After you download Paint Throws add it to project then Select brush Tool and make sure you select Quick Mask Mode by Pressing on "Q" then start removing parts from layer by following the steps.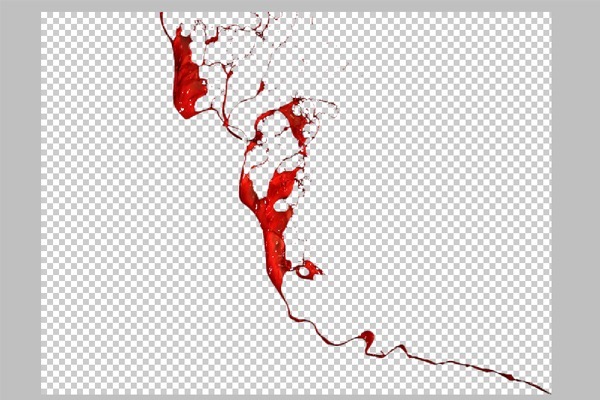
Step 33
Do the same thing as I did before in the First step.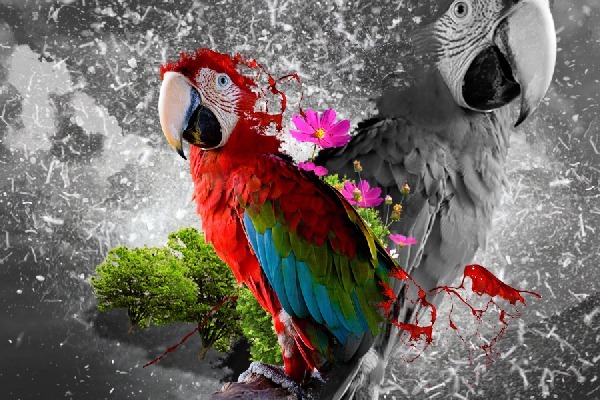
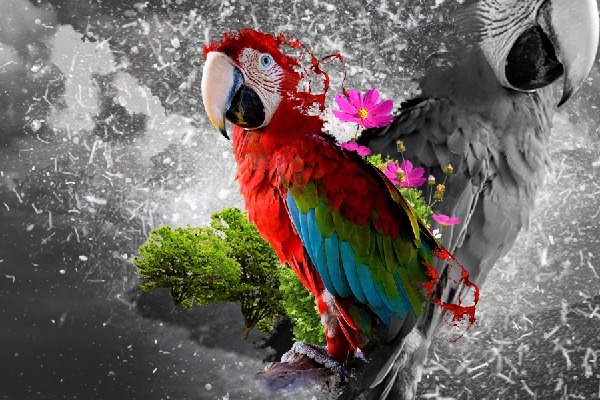
Step 34
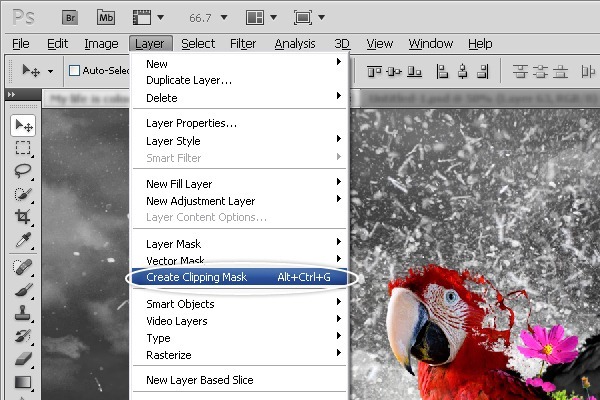
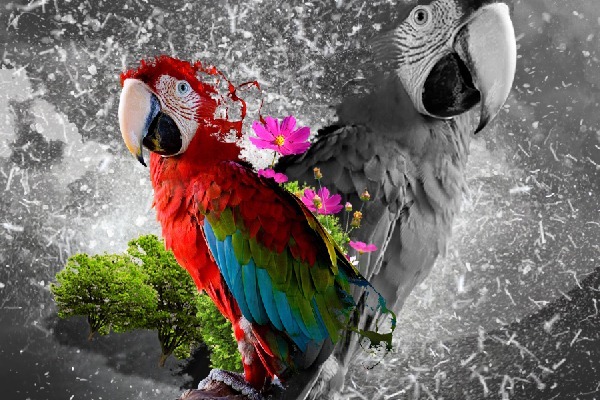
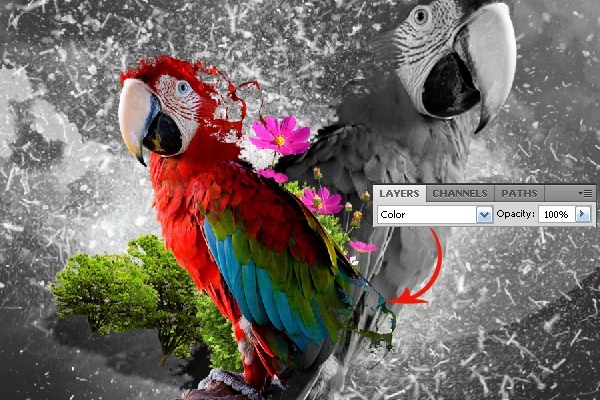
Copy a part from the parrot wing and paste it then Create Clipping Mask by following the settings Layer > Create Clipping Mask or "CTRL+ALT+G" and change mode layer to Color as you see in the image below.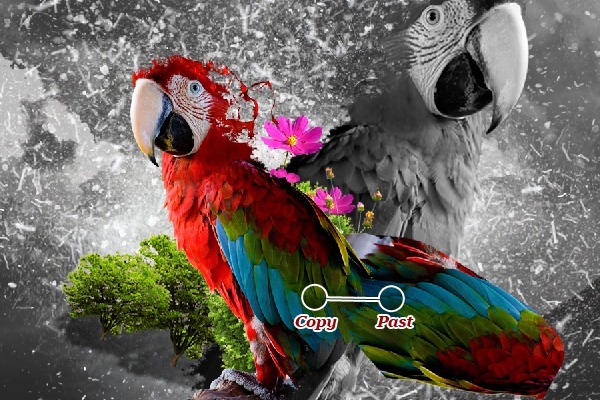
Step 35
Select Ellipse Tool and start creating Circles after this change opacity layer to 77%.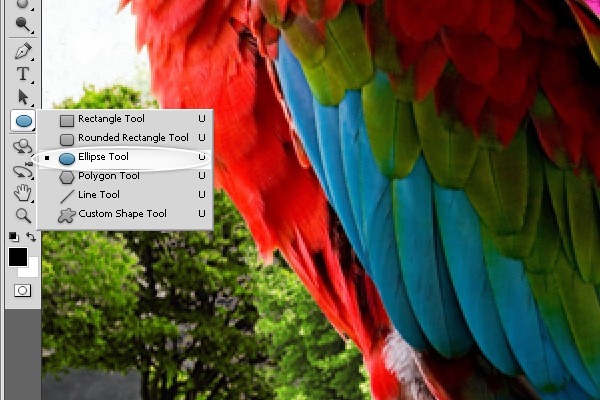
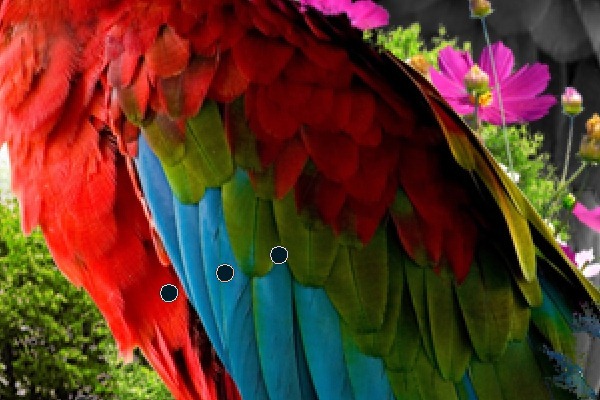
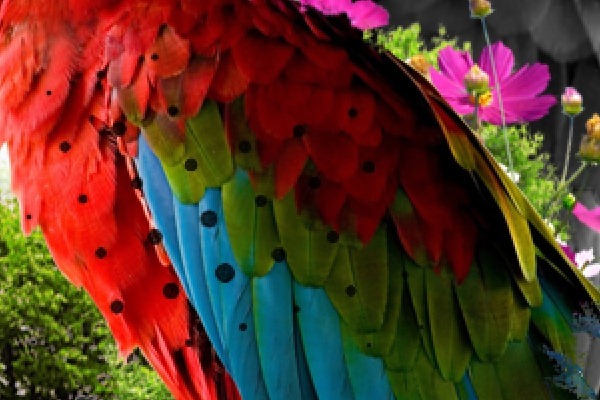

Step 36
Create a new layer and apply the settings Image > Apply Image and Select Channel: Red.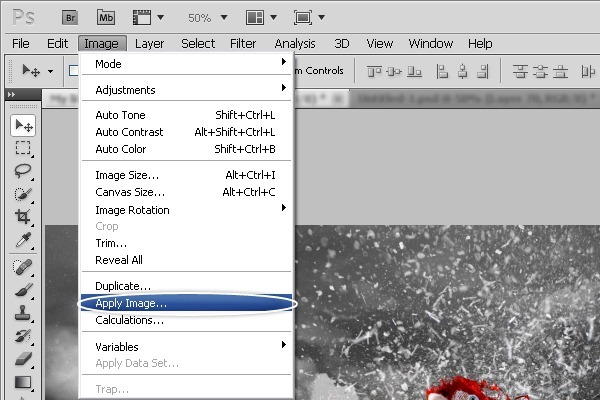
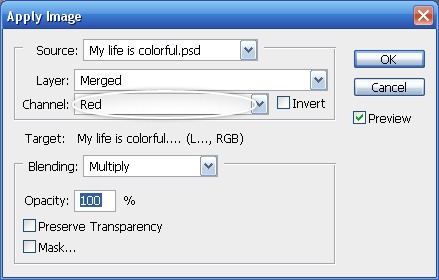
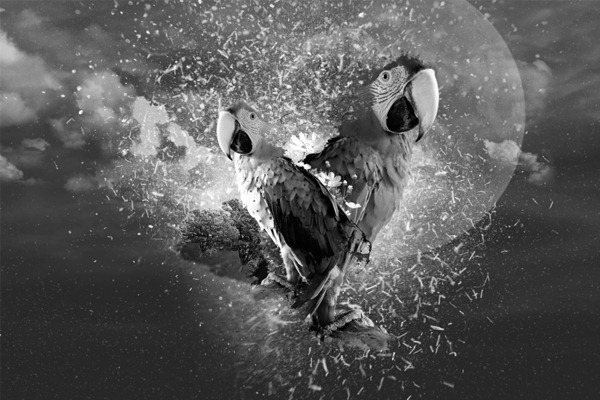
Step 37
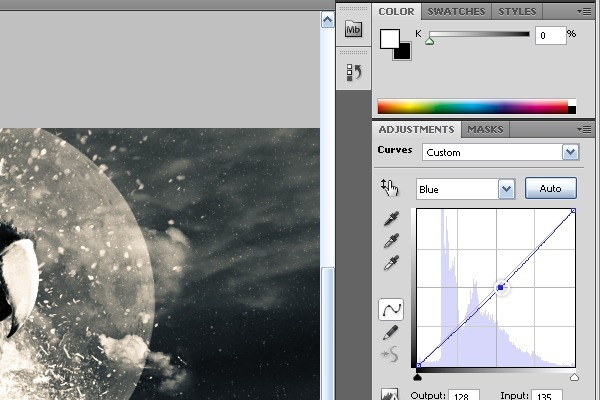
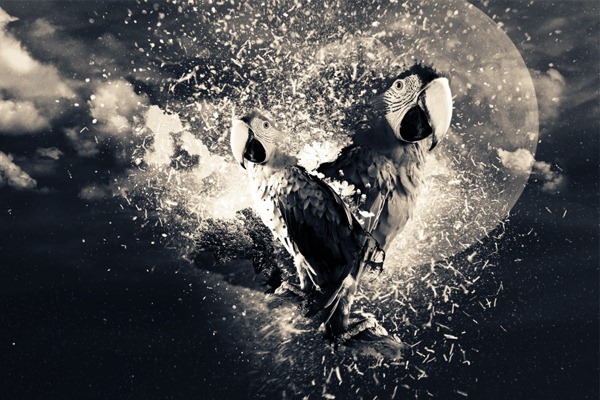
Let's Finish this by given work a beautiful view, Apply the settings Curves by following Image > Adjustments > Curves or "Ctrl+M".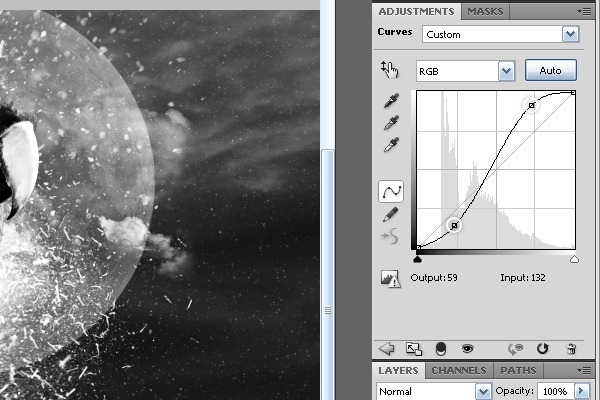
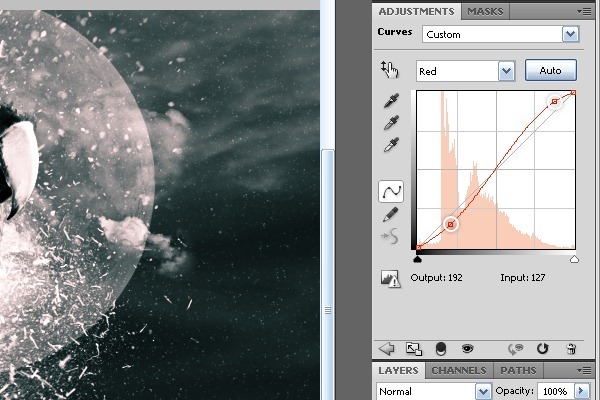
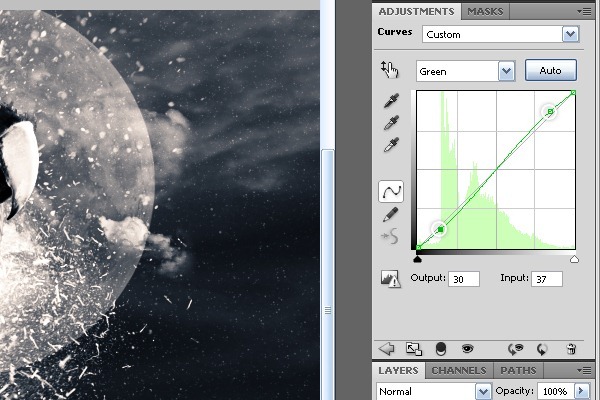
Step 38
Show the third copy of parrot and change mode layer to Soft Light.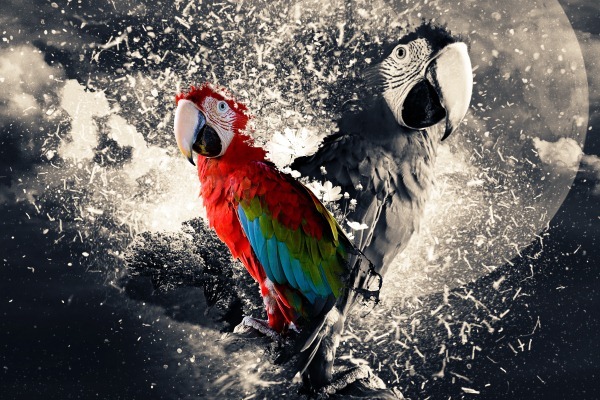
Step 39
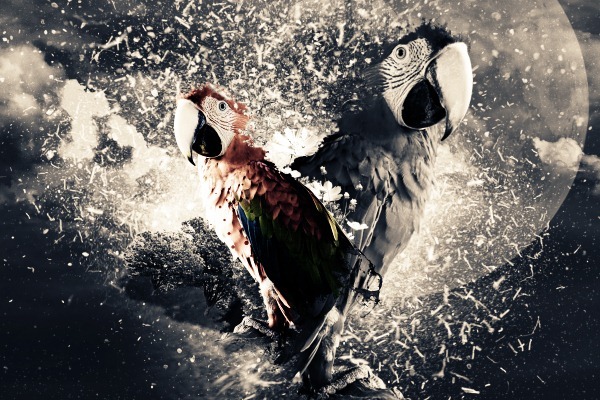
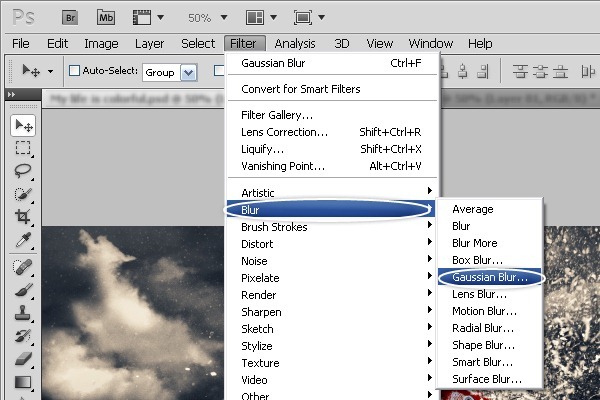
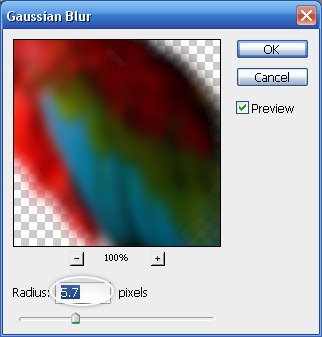
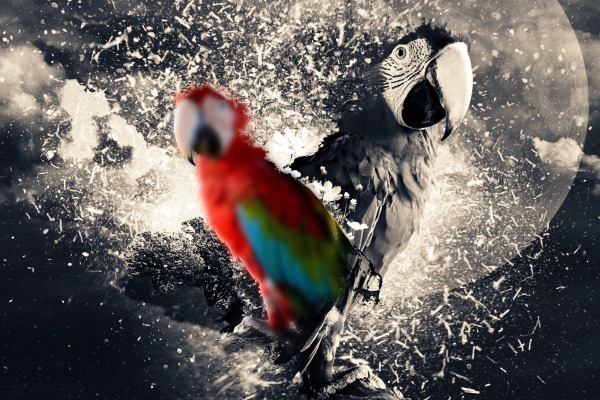
Show another copy of parrot and apply the settings Gaussian Blur by following Filter > Blur > Gaussian Blur | Radius: 5,7 Pixels.
Step 40
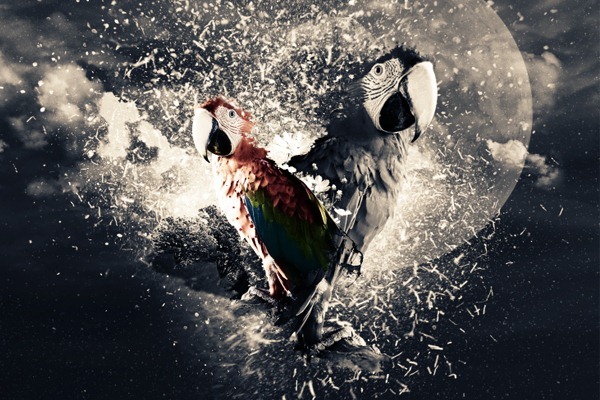
Select the original parrot layer by pressing on the layer then go back to the smooth layer and add new mask after this change mode layer to Screen and Opacity to 20%.

Step 41
Finally: add Text to work.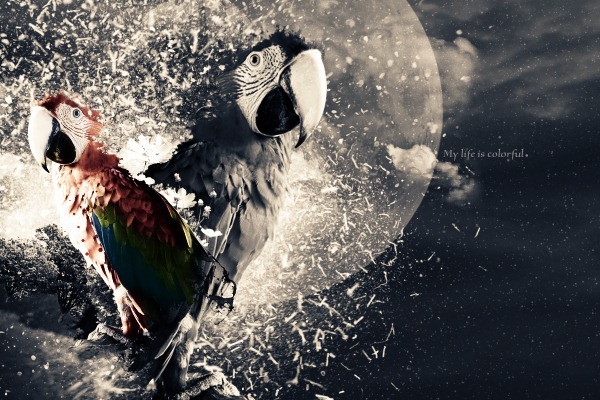
Final Results
As difficult as it looks I'm very sure if you follow my tutorial you will find a lot of help using your skills and images to produce your own creation! Ones again Thank you for using our tutorial, we will be very happy to answer any questions that you may have, You can simply leave a feedback and or a comment bellow![final-results[1] final-results[1]](http://photoshoptutorials.ws/images/stories/e06066252b86_1287C/final-results1.png)
Keine Kommentare:
Kommentar veröffentlichen